Peter Roche
Linda Buis
In Relation: Performance Works 1979–1985
Curated by Gregory Burke and Christina Barton
12 May – 30 July 2023
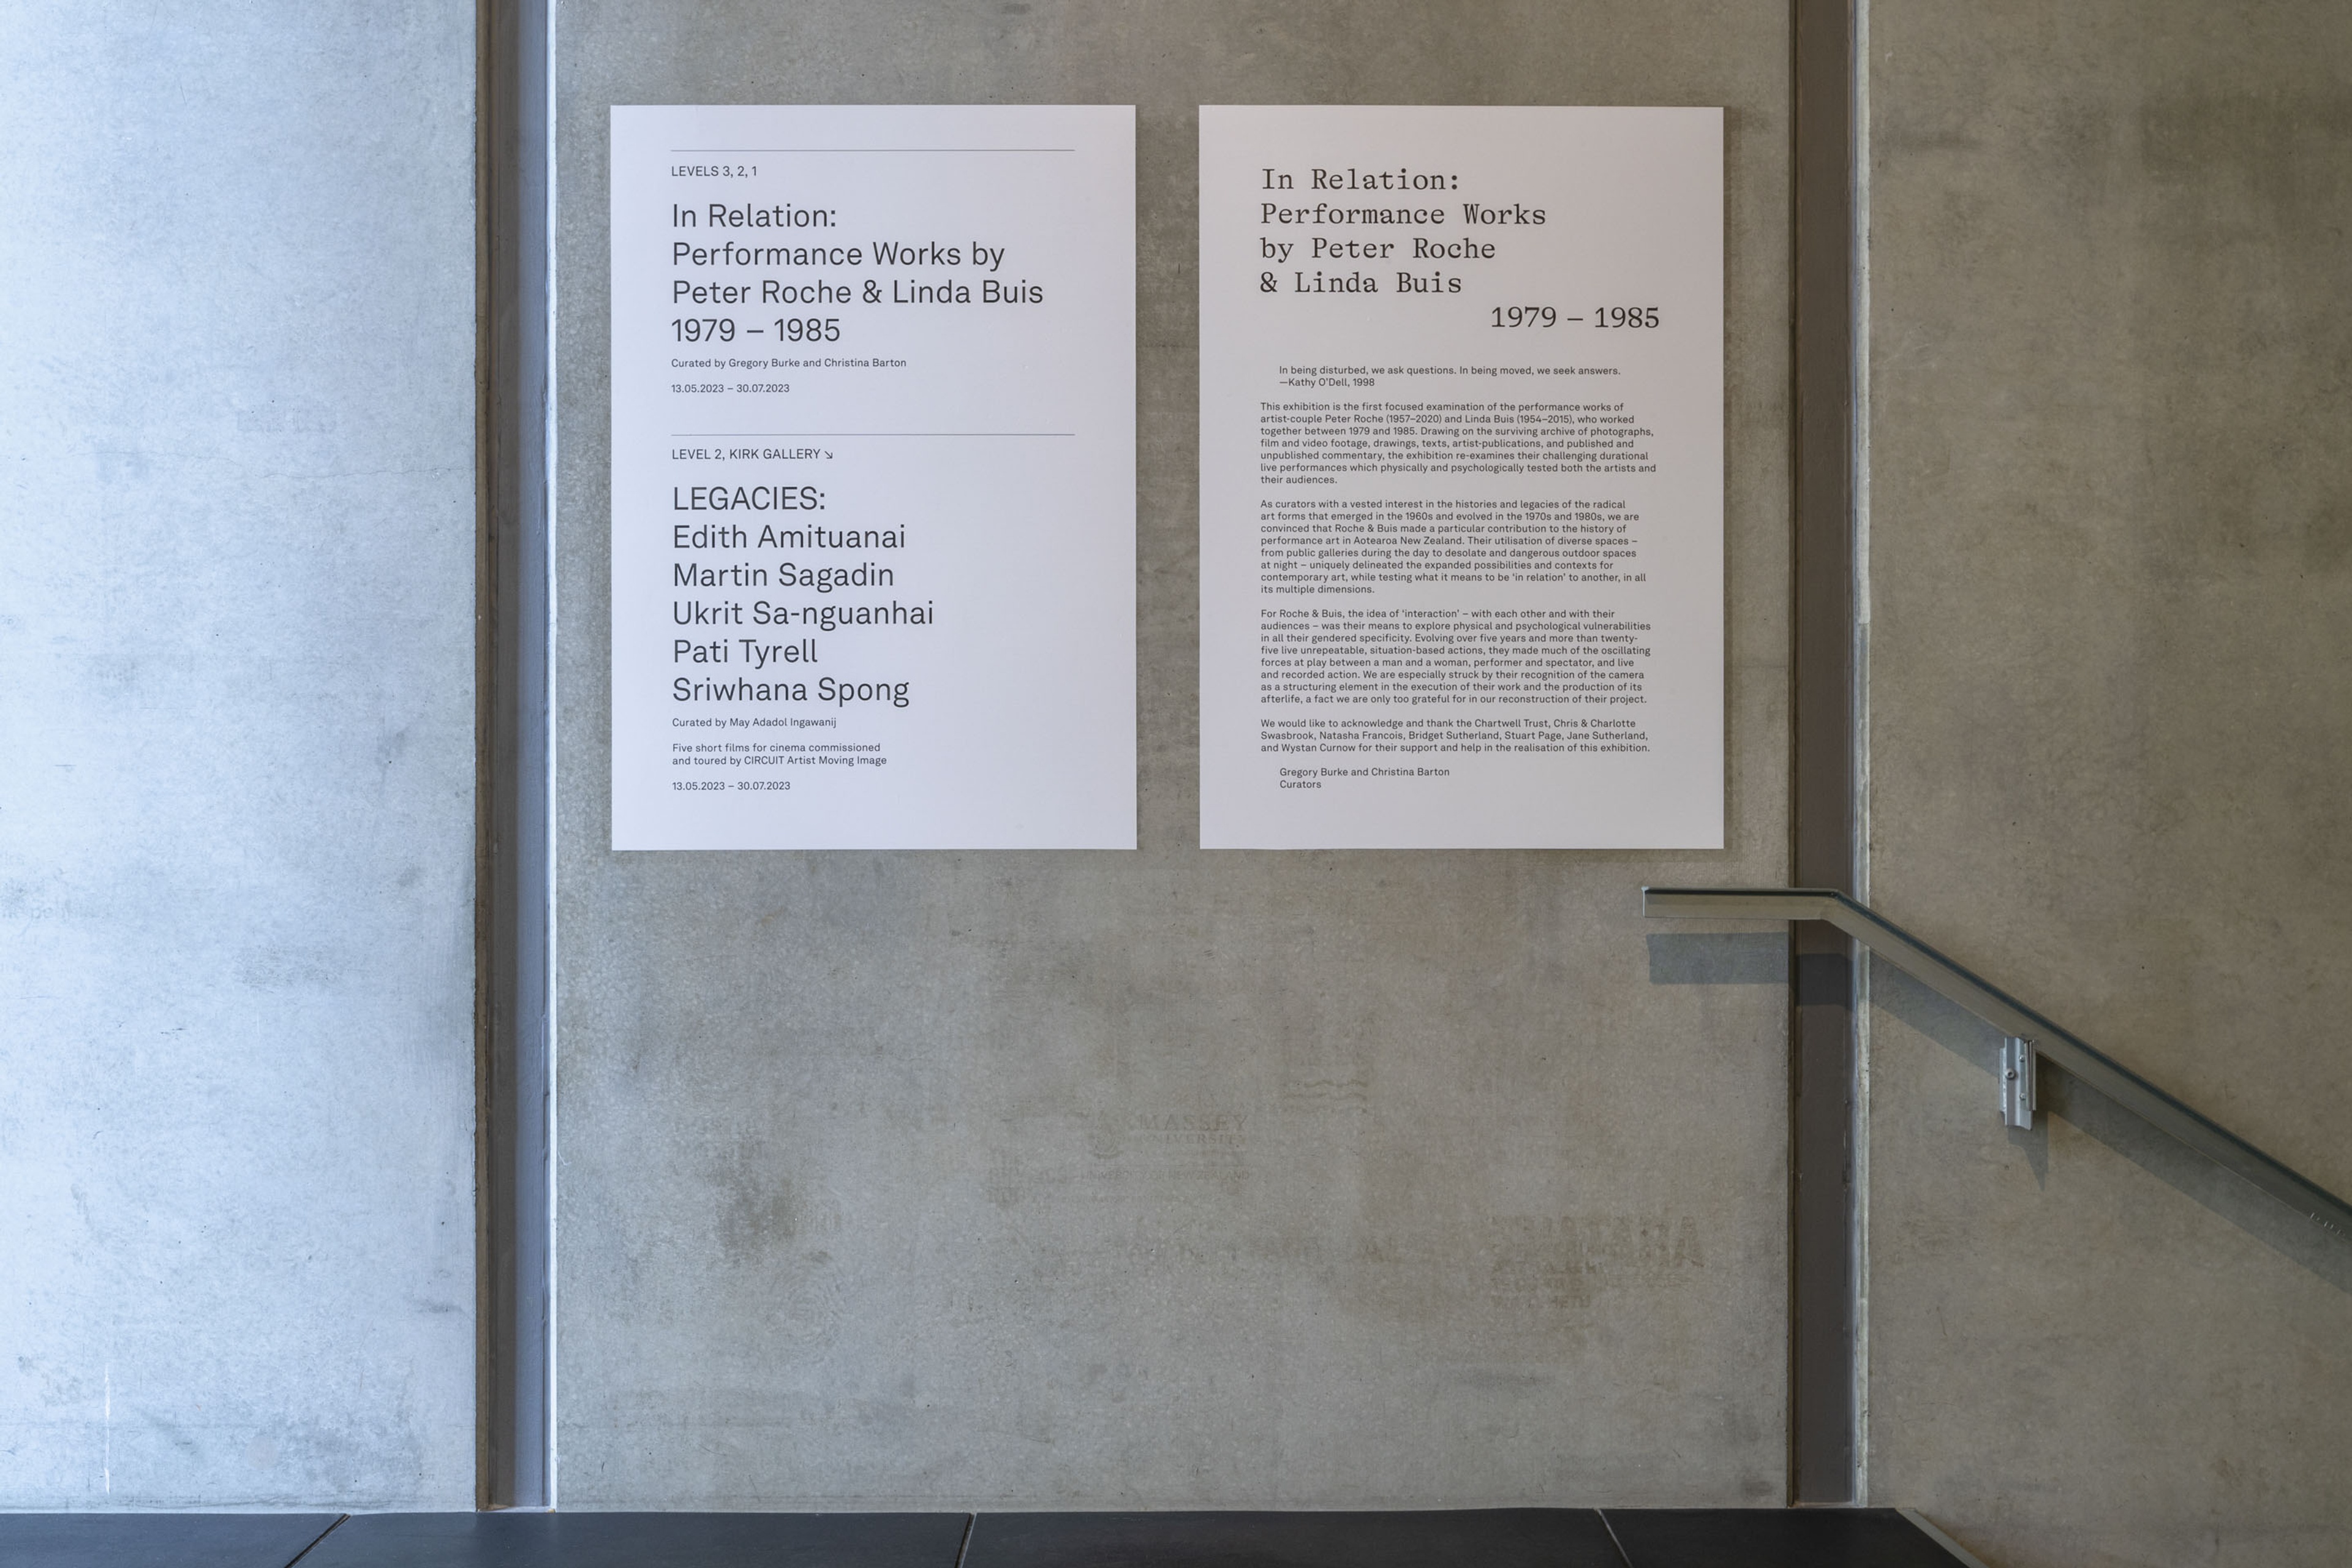
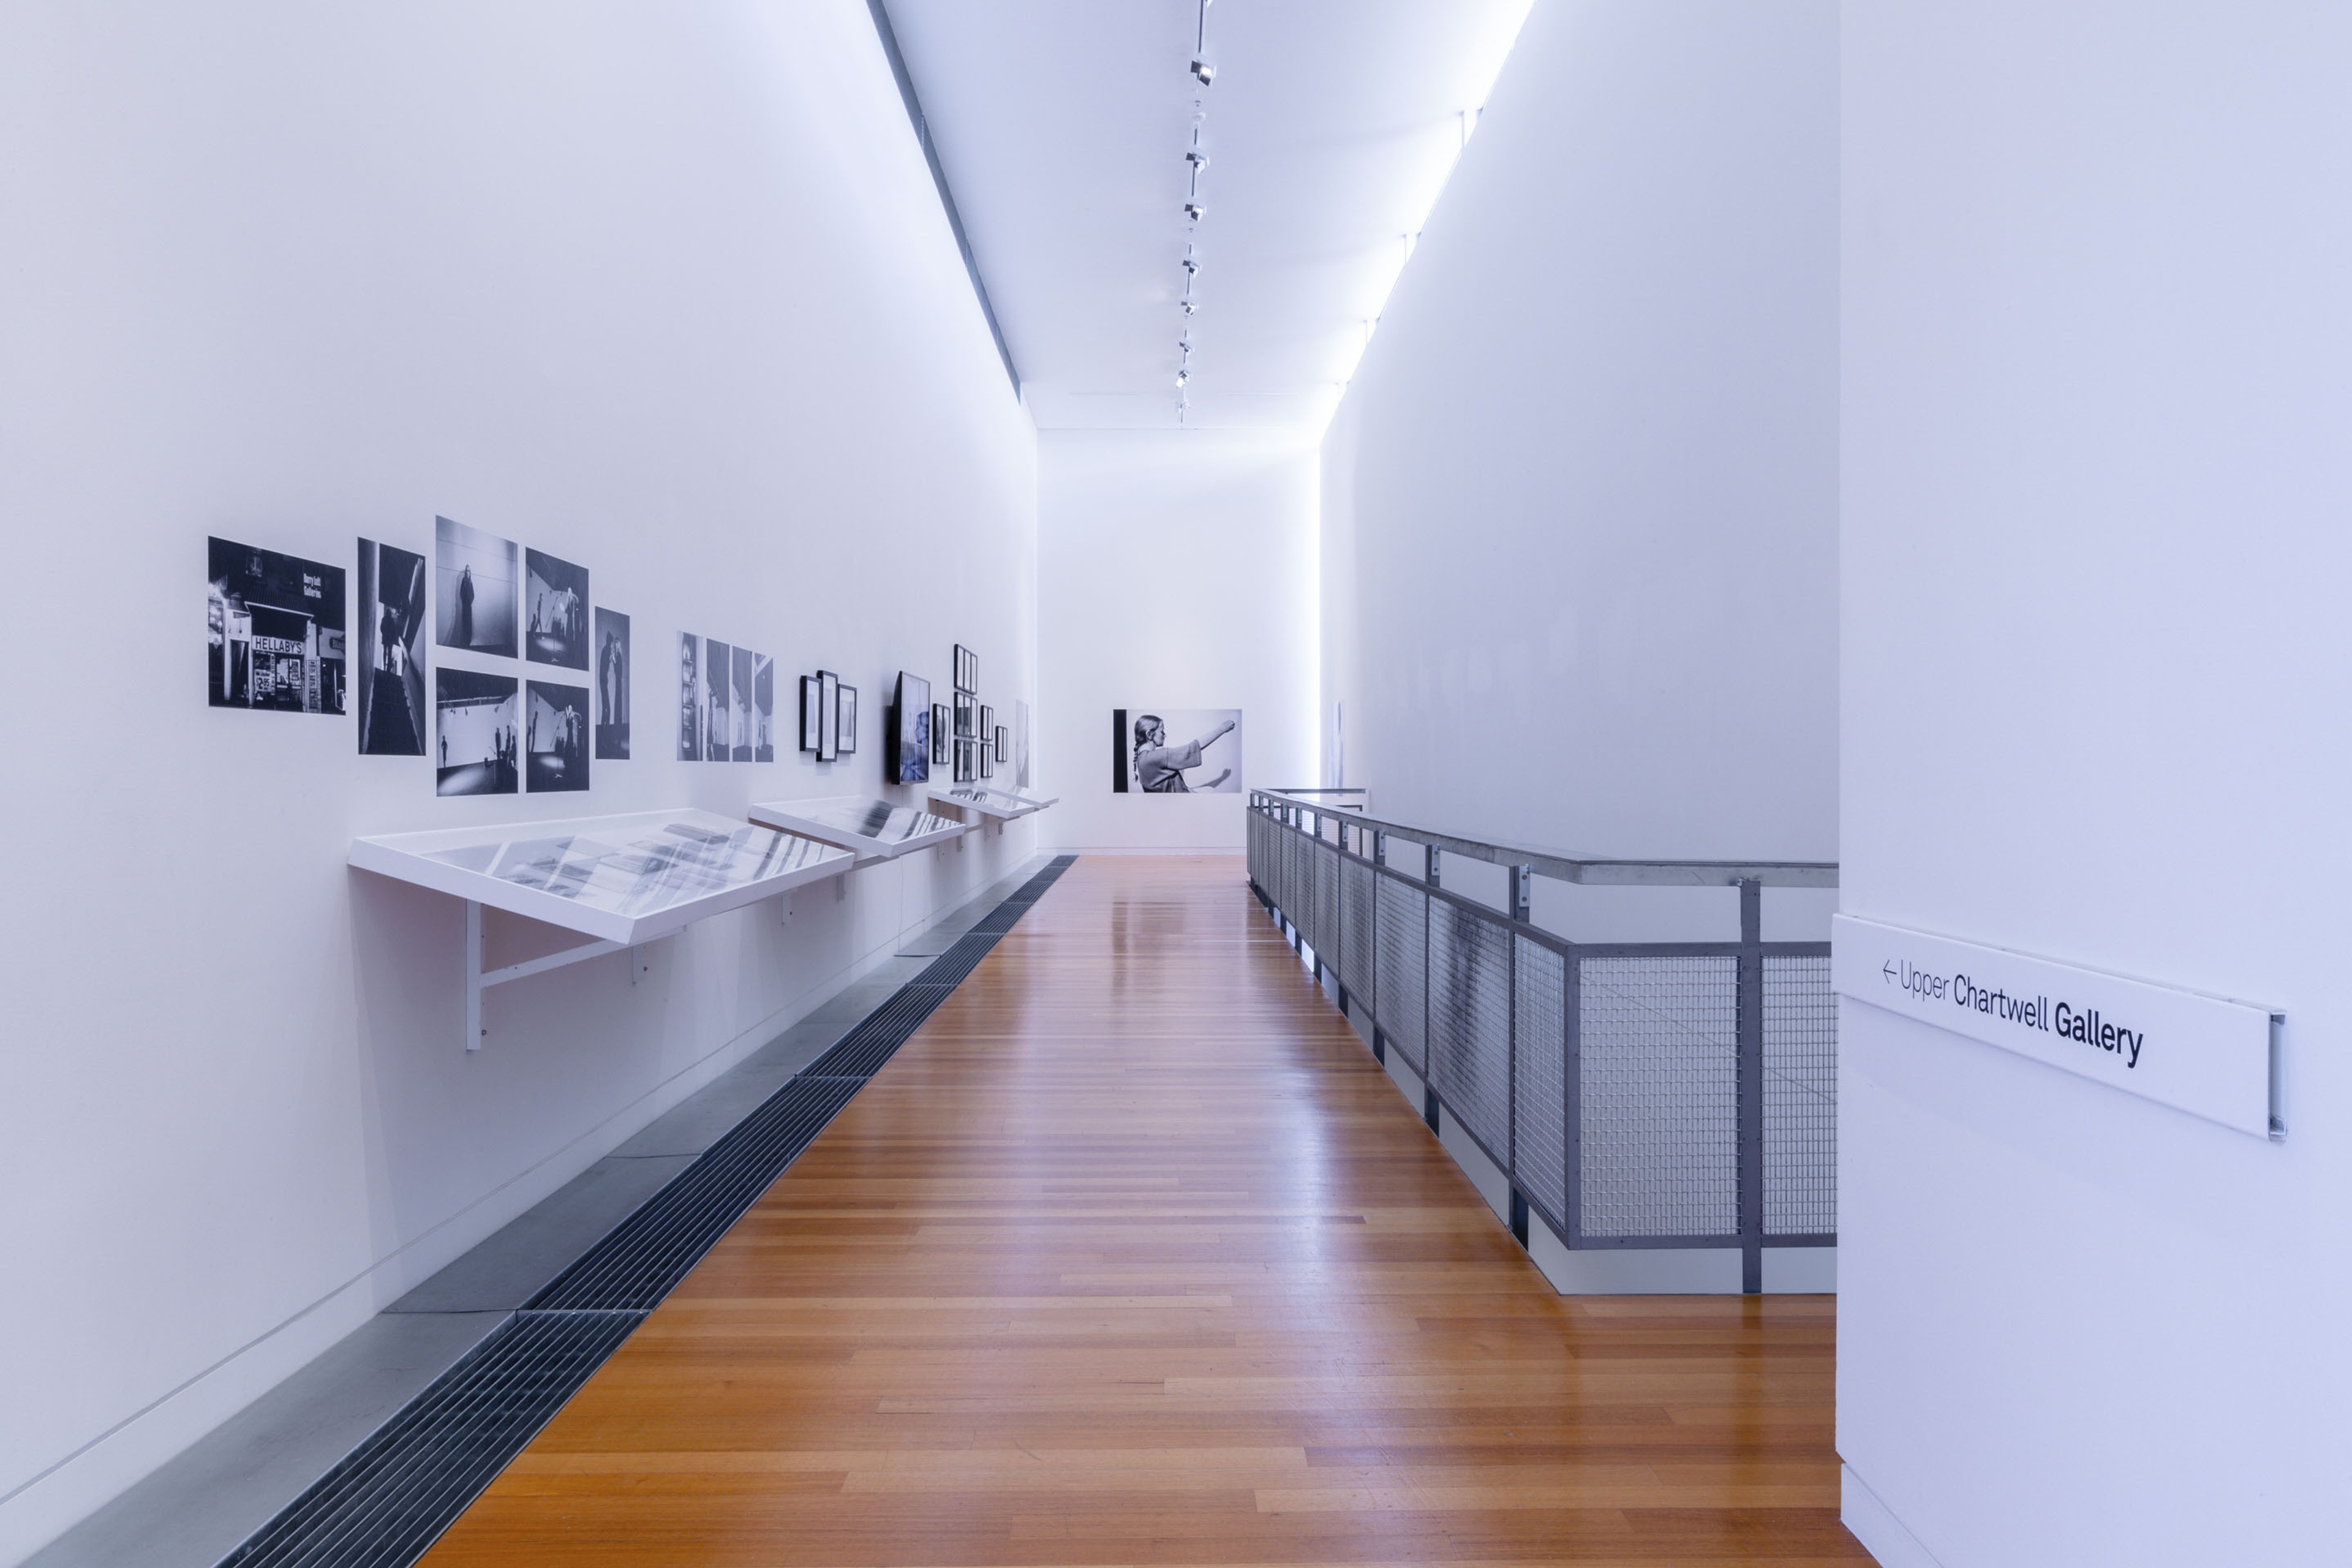
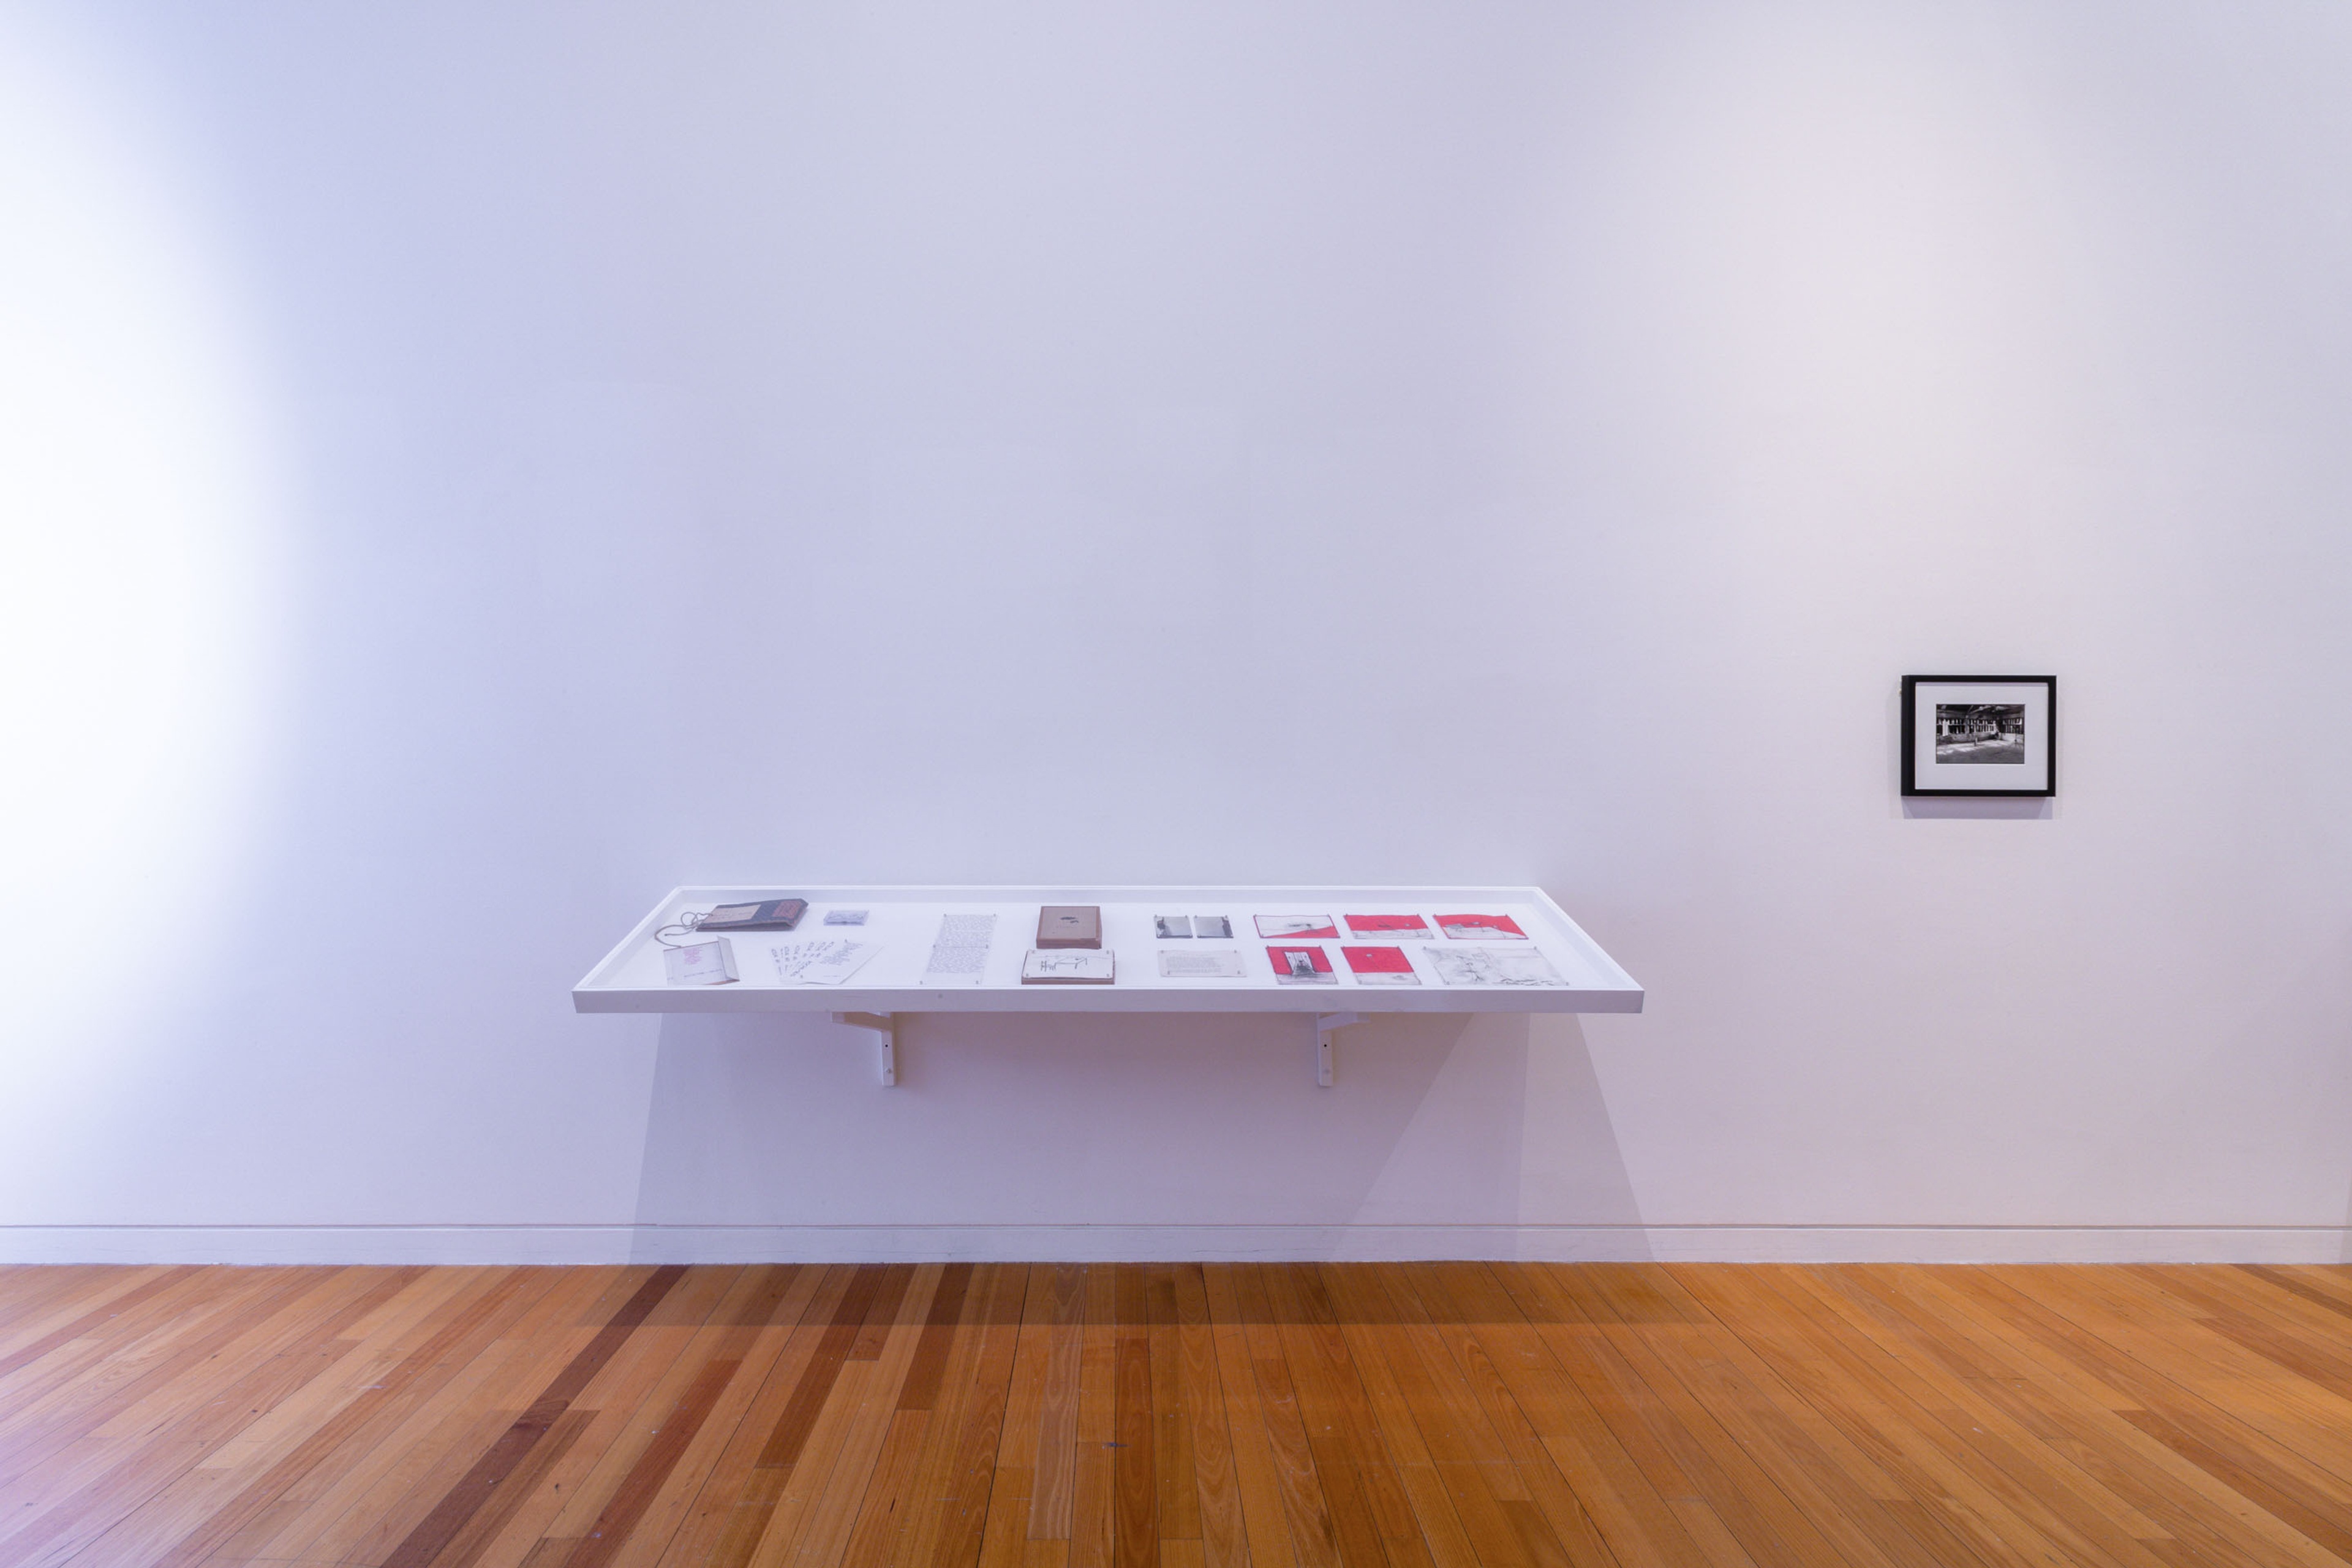
Installation view, In Relation: Performance Works by Peter Roche & Linda Buis 1979–1985, Te Pātaka Toi Adam Art Gallery, Te Herenga Waka—Victoria University of Wellington. Photo: Ted Whitaker
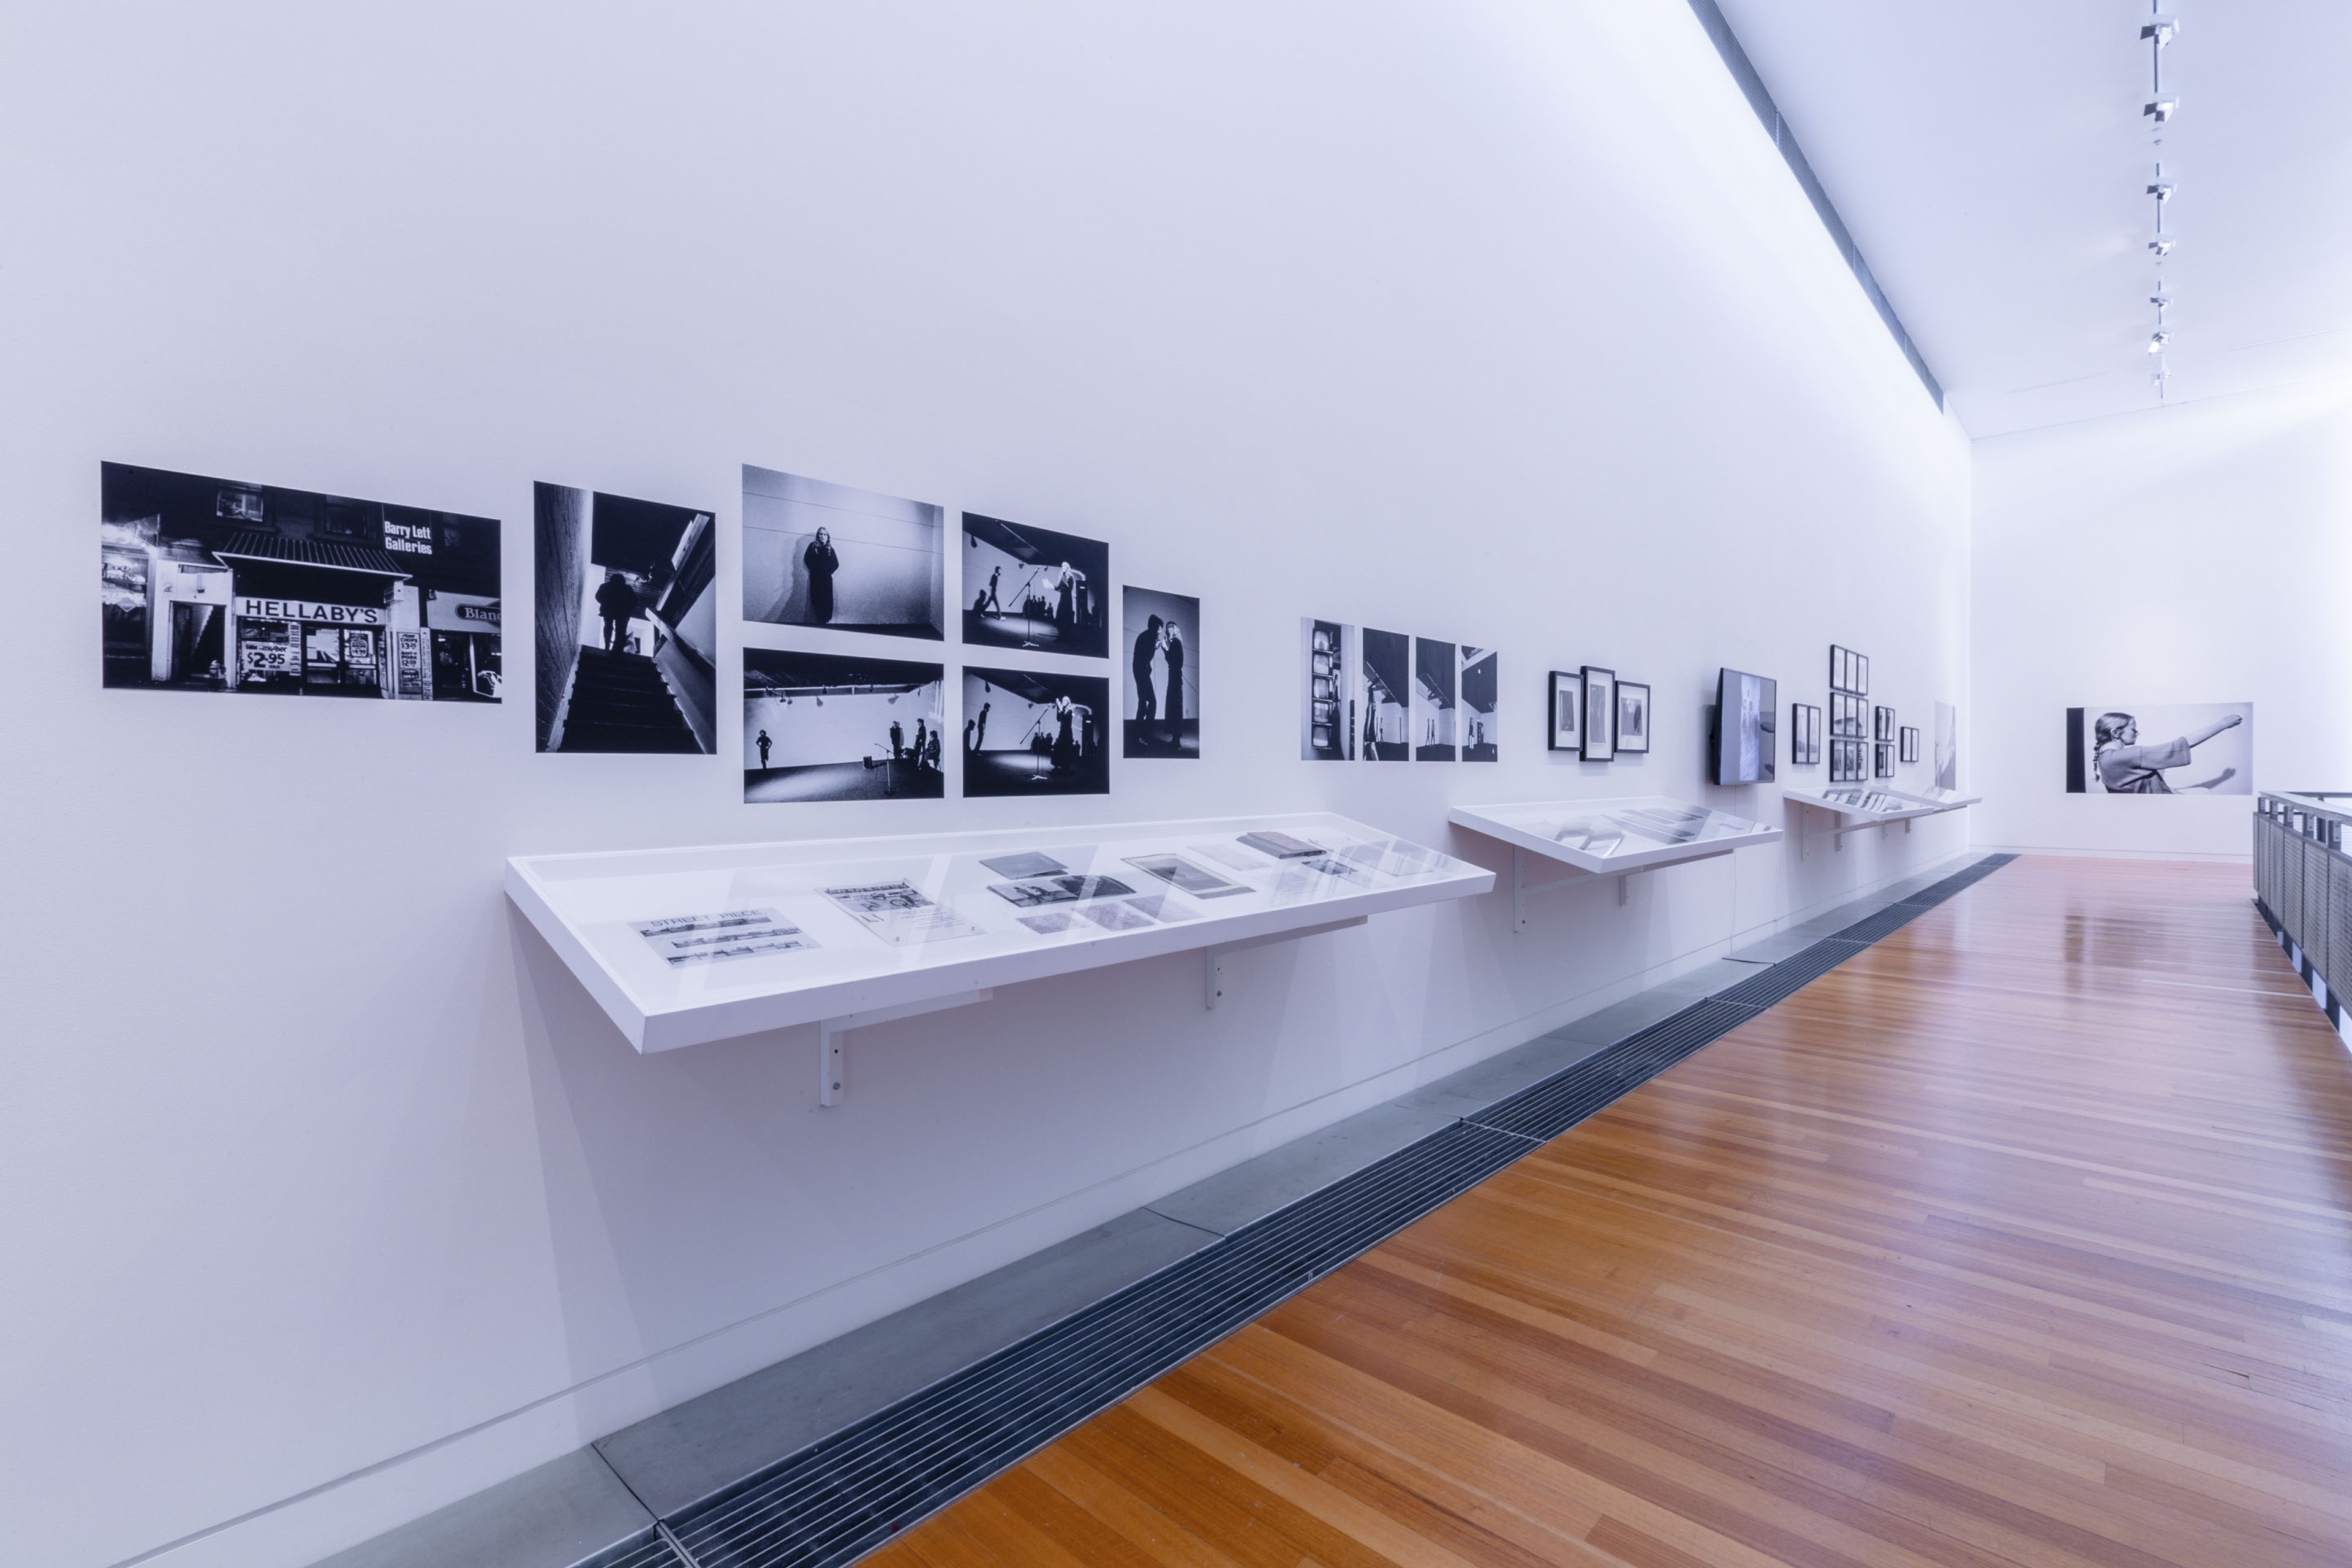
Installation view, In Relation: Performance Works by Peter Roche & Linda Buis 1979–1985, Te Pātaka Toi Adam Art Gallery, Te Herenga Waka—Victoria University of Wellington. Photo: Ted Whitaker
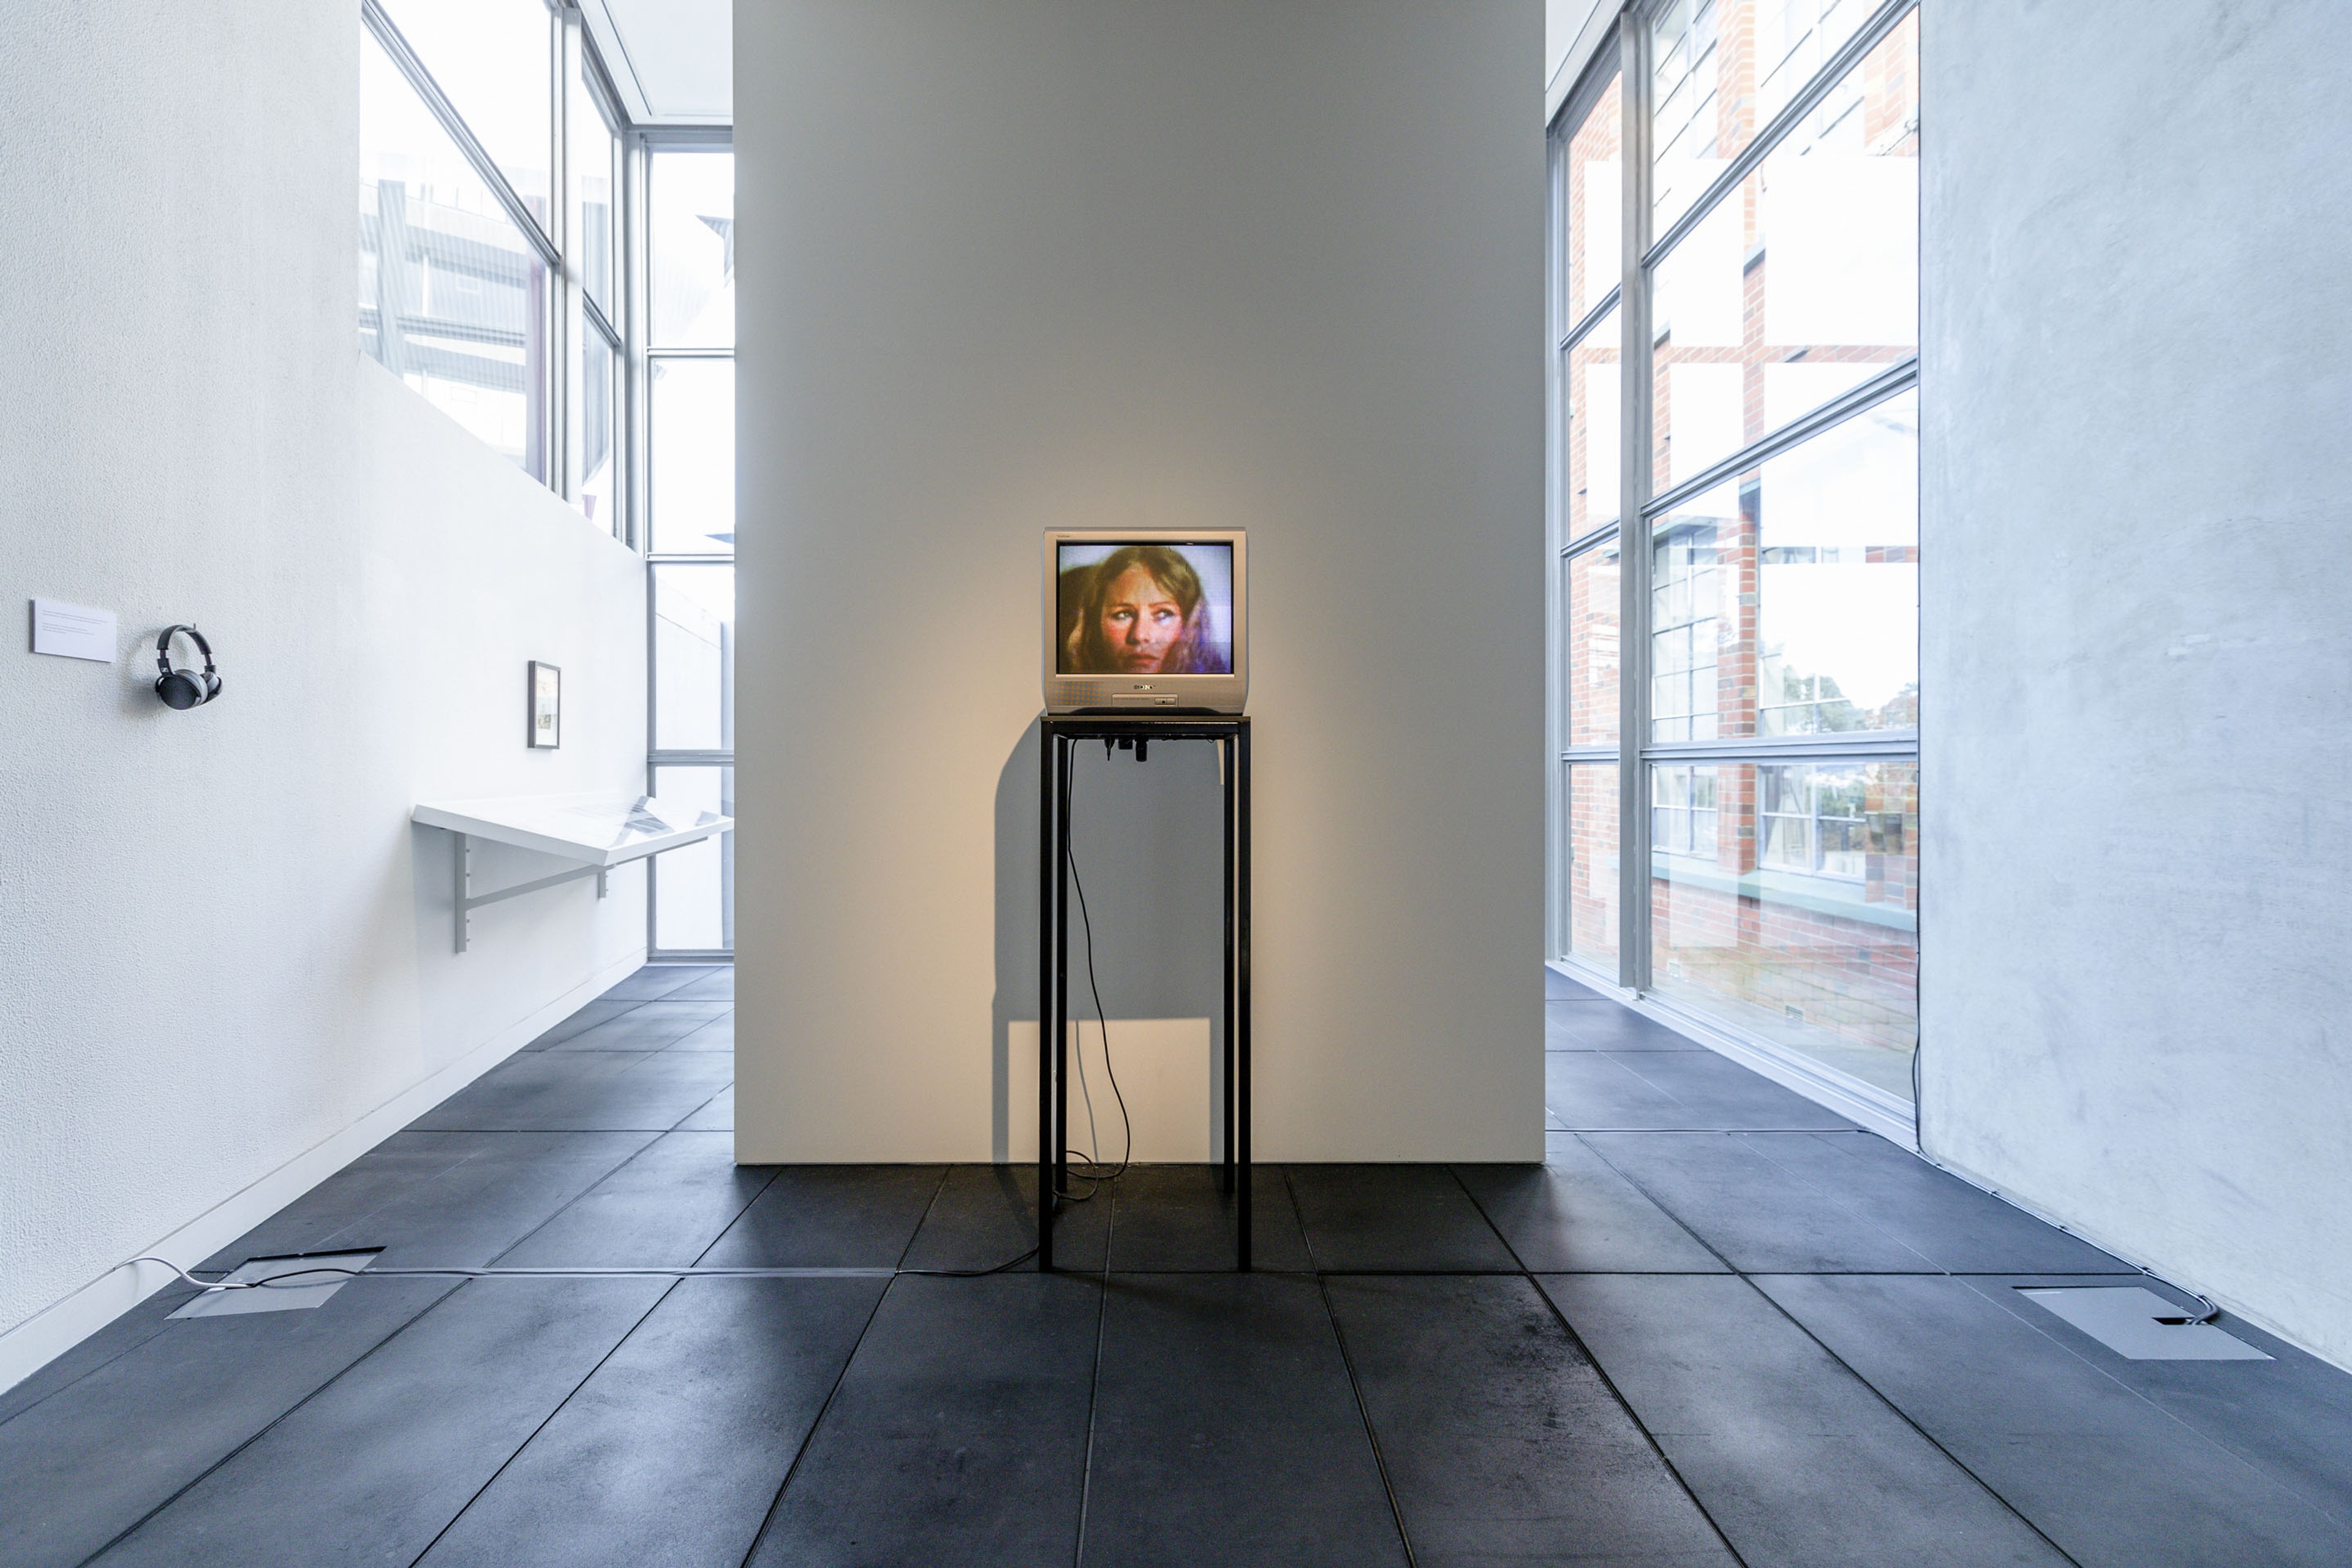
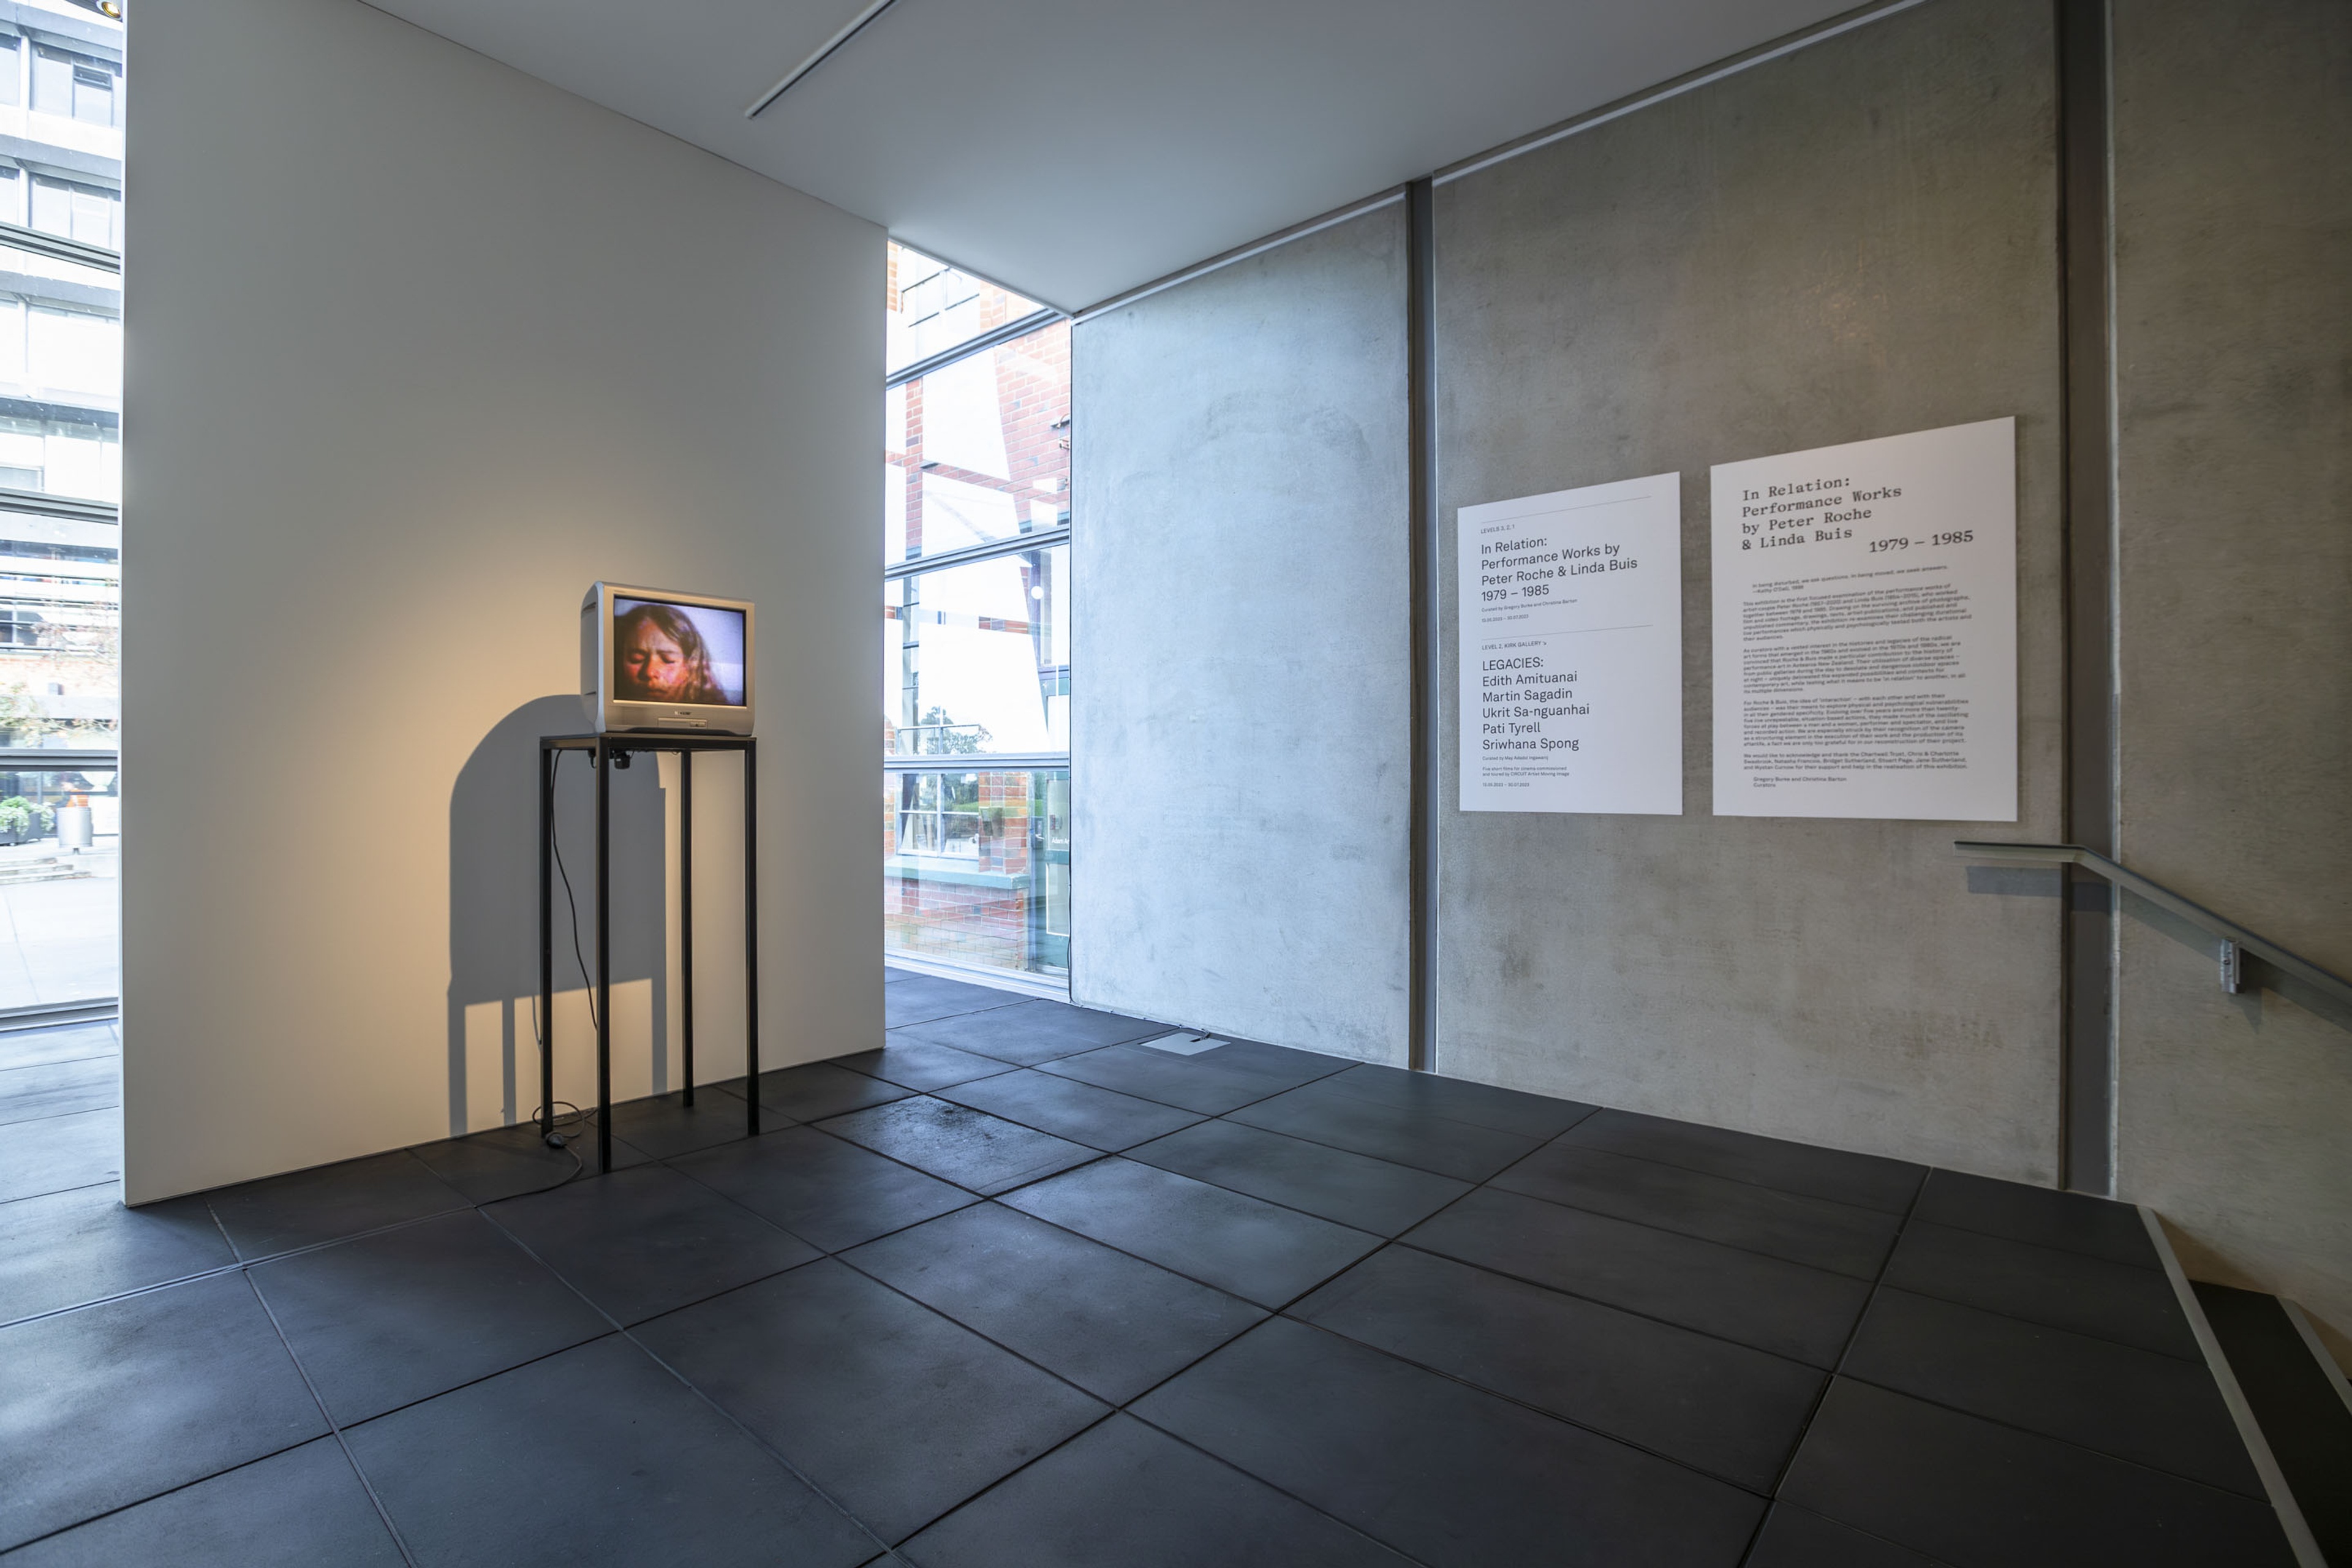
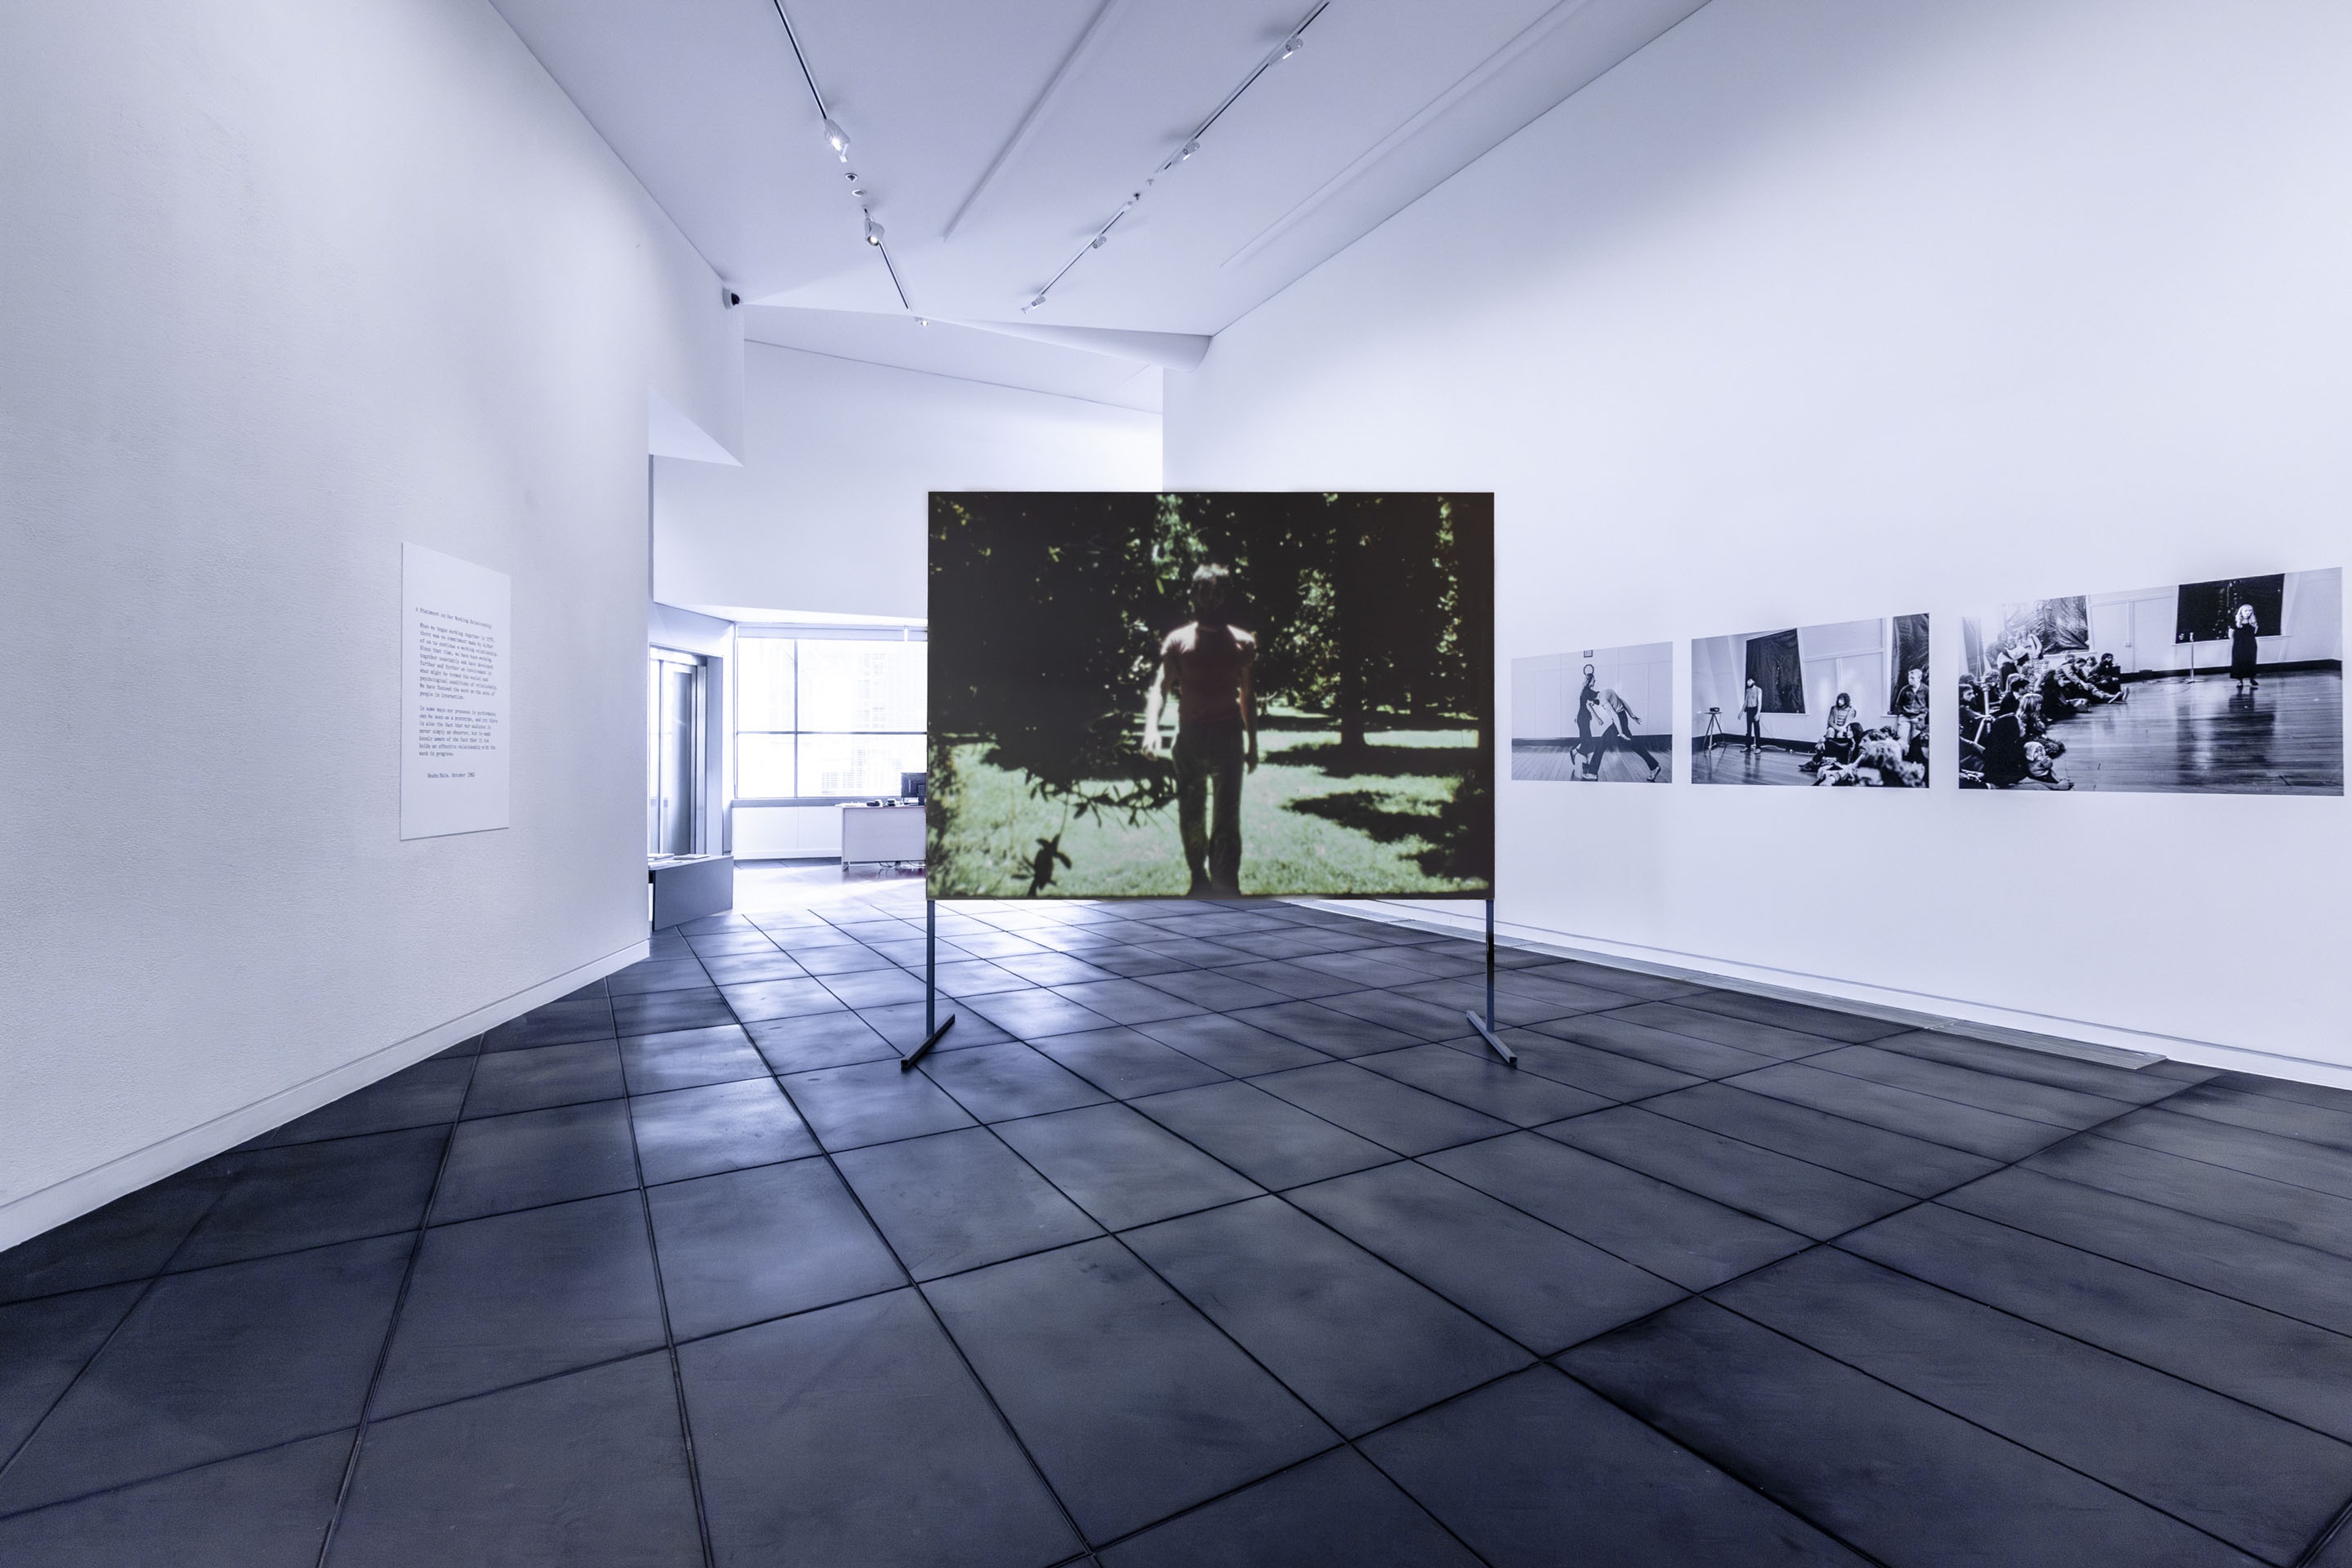
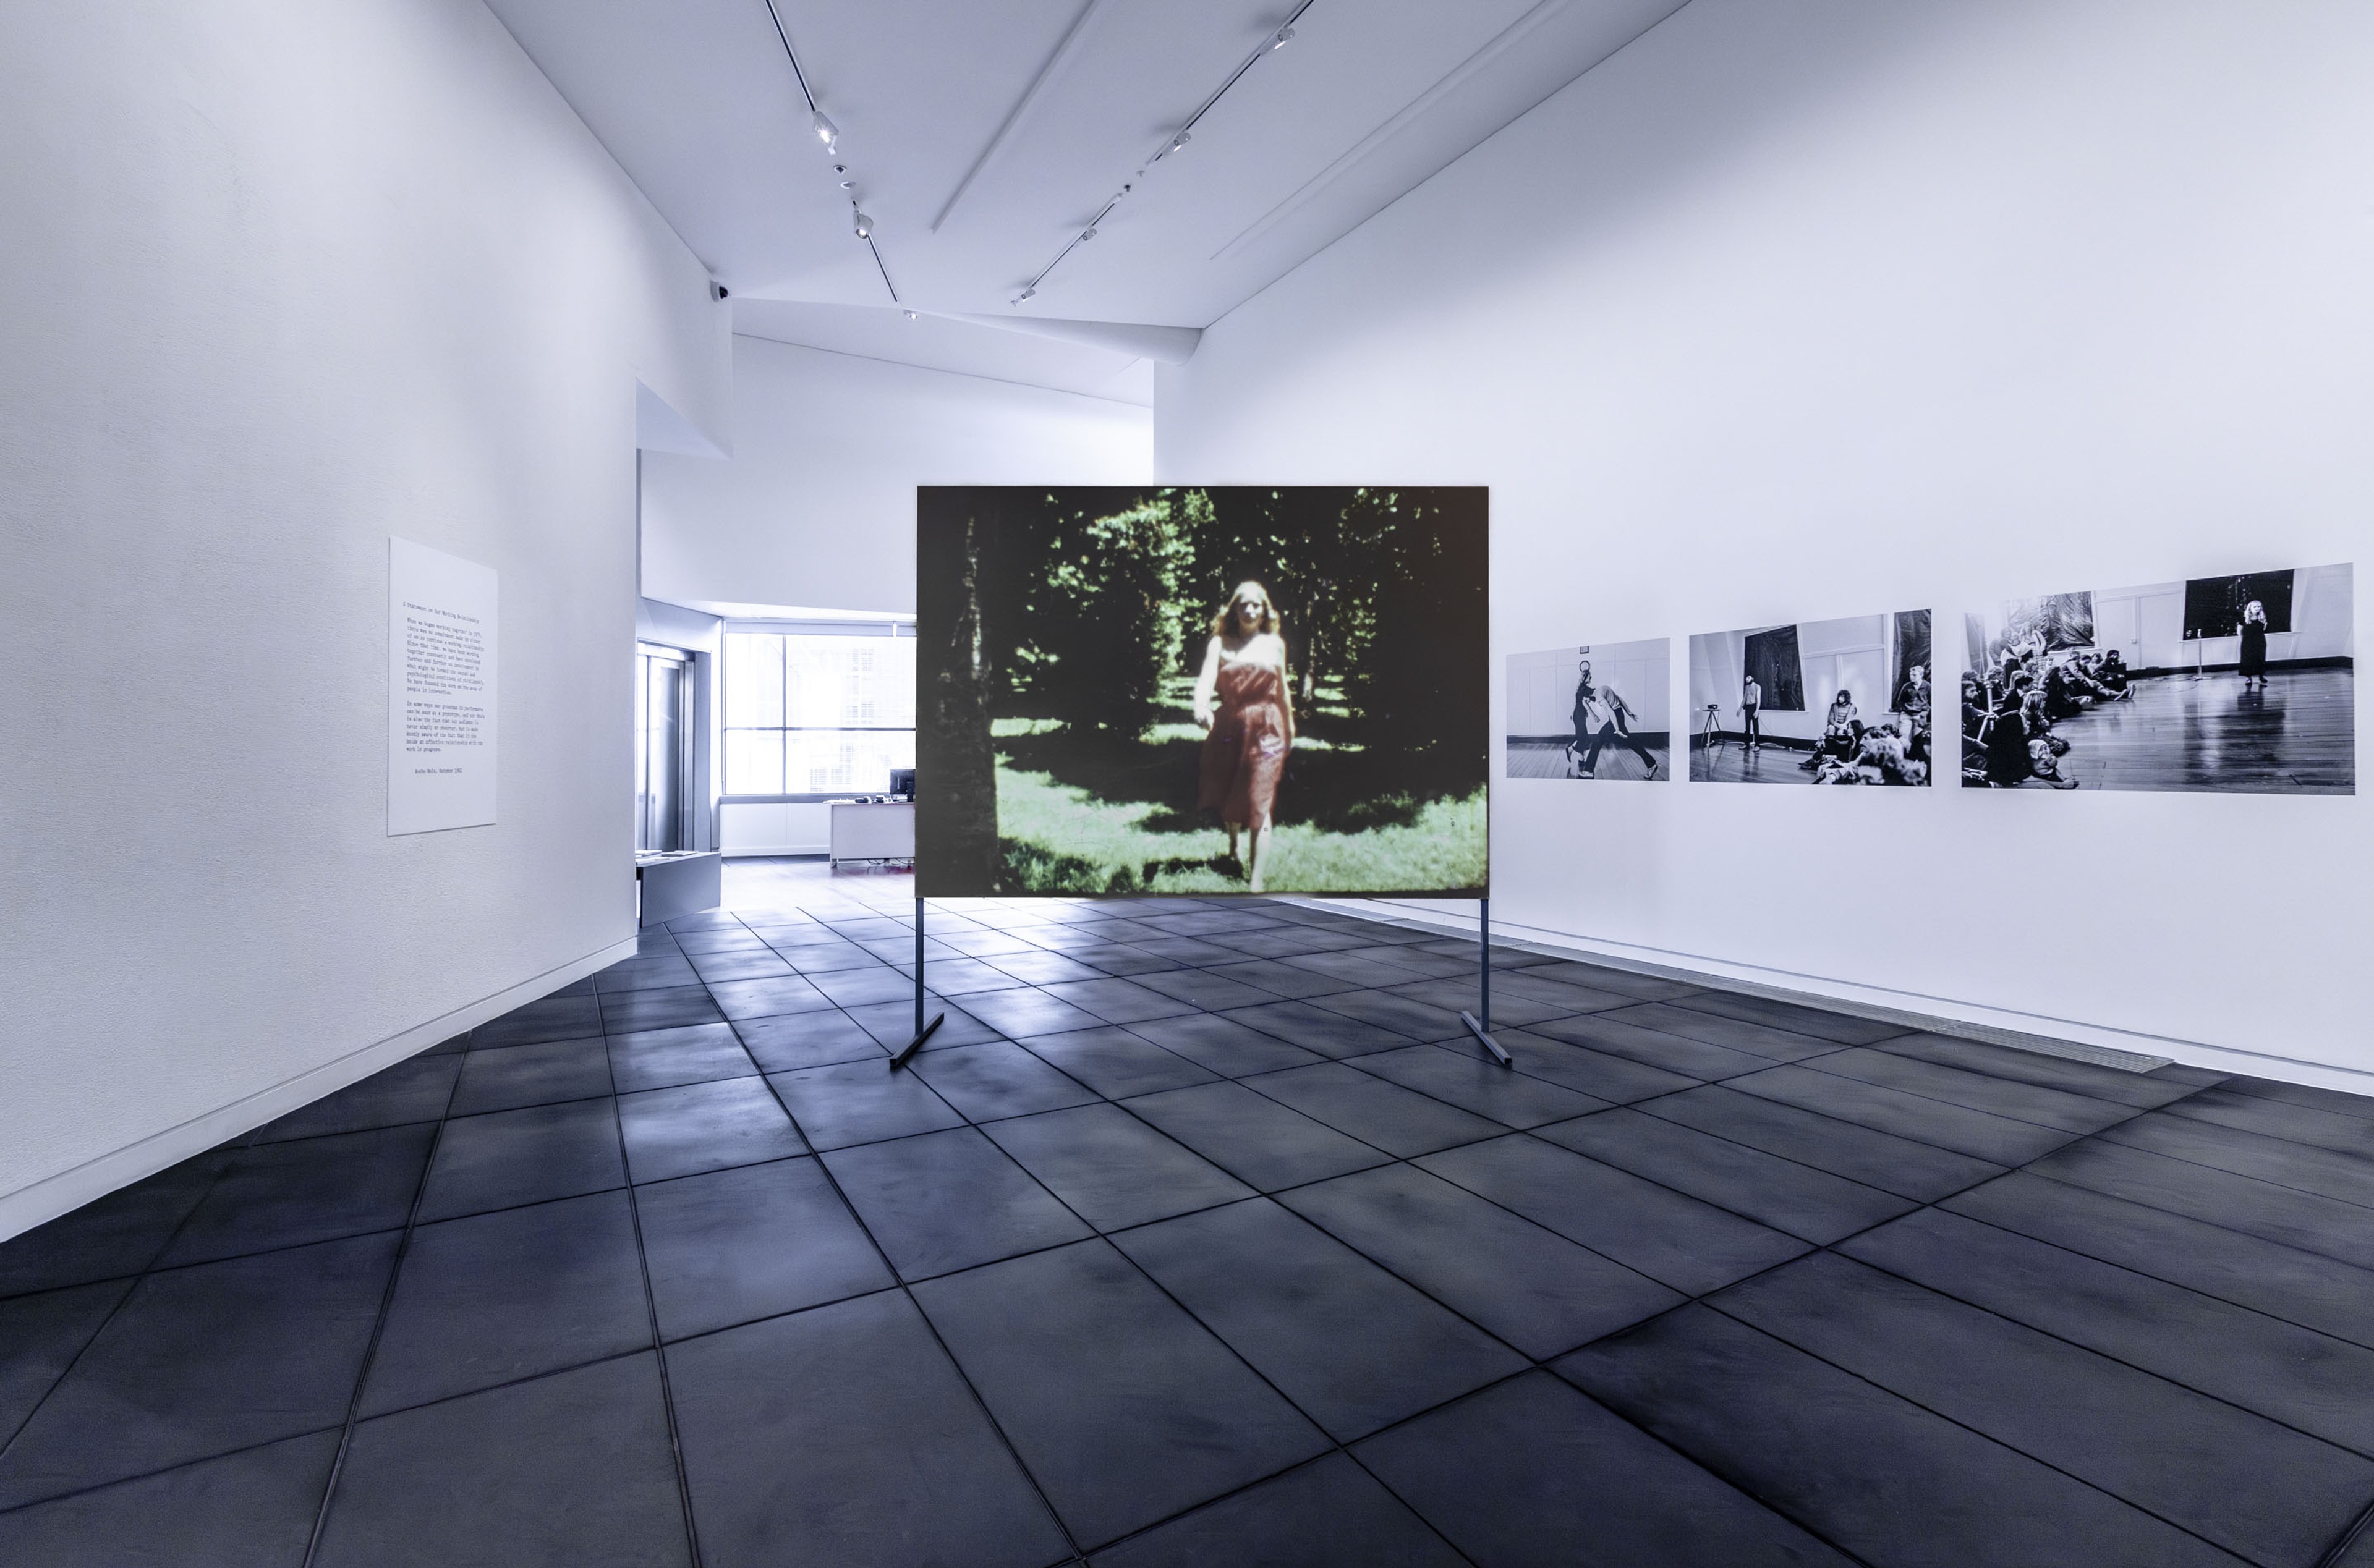
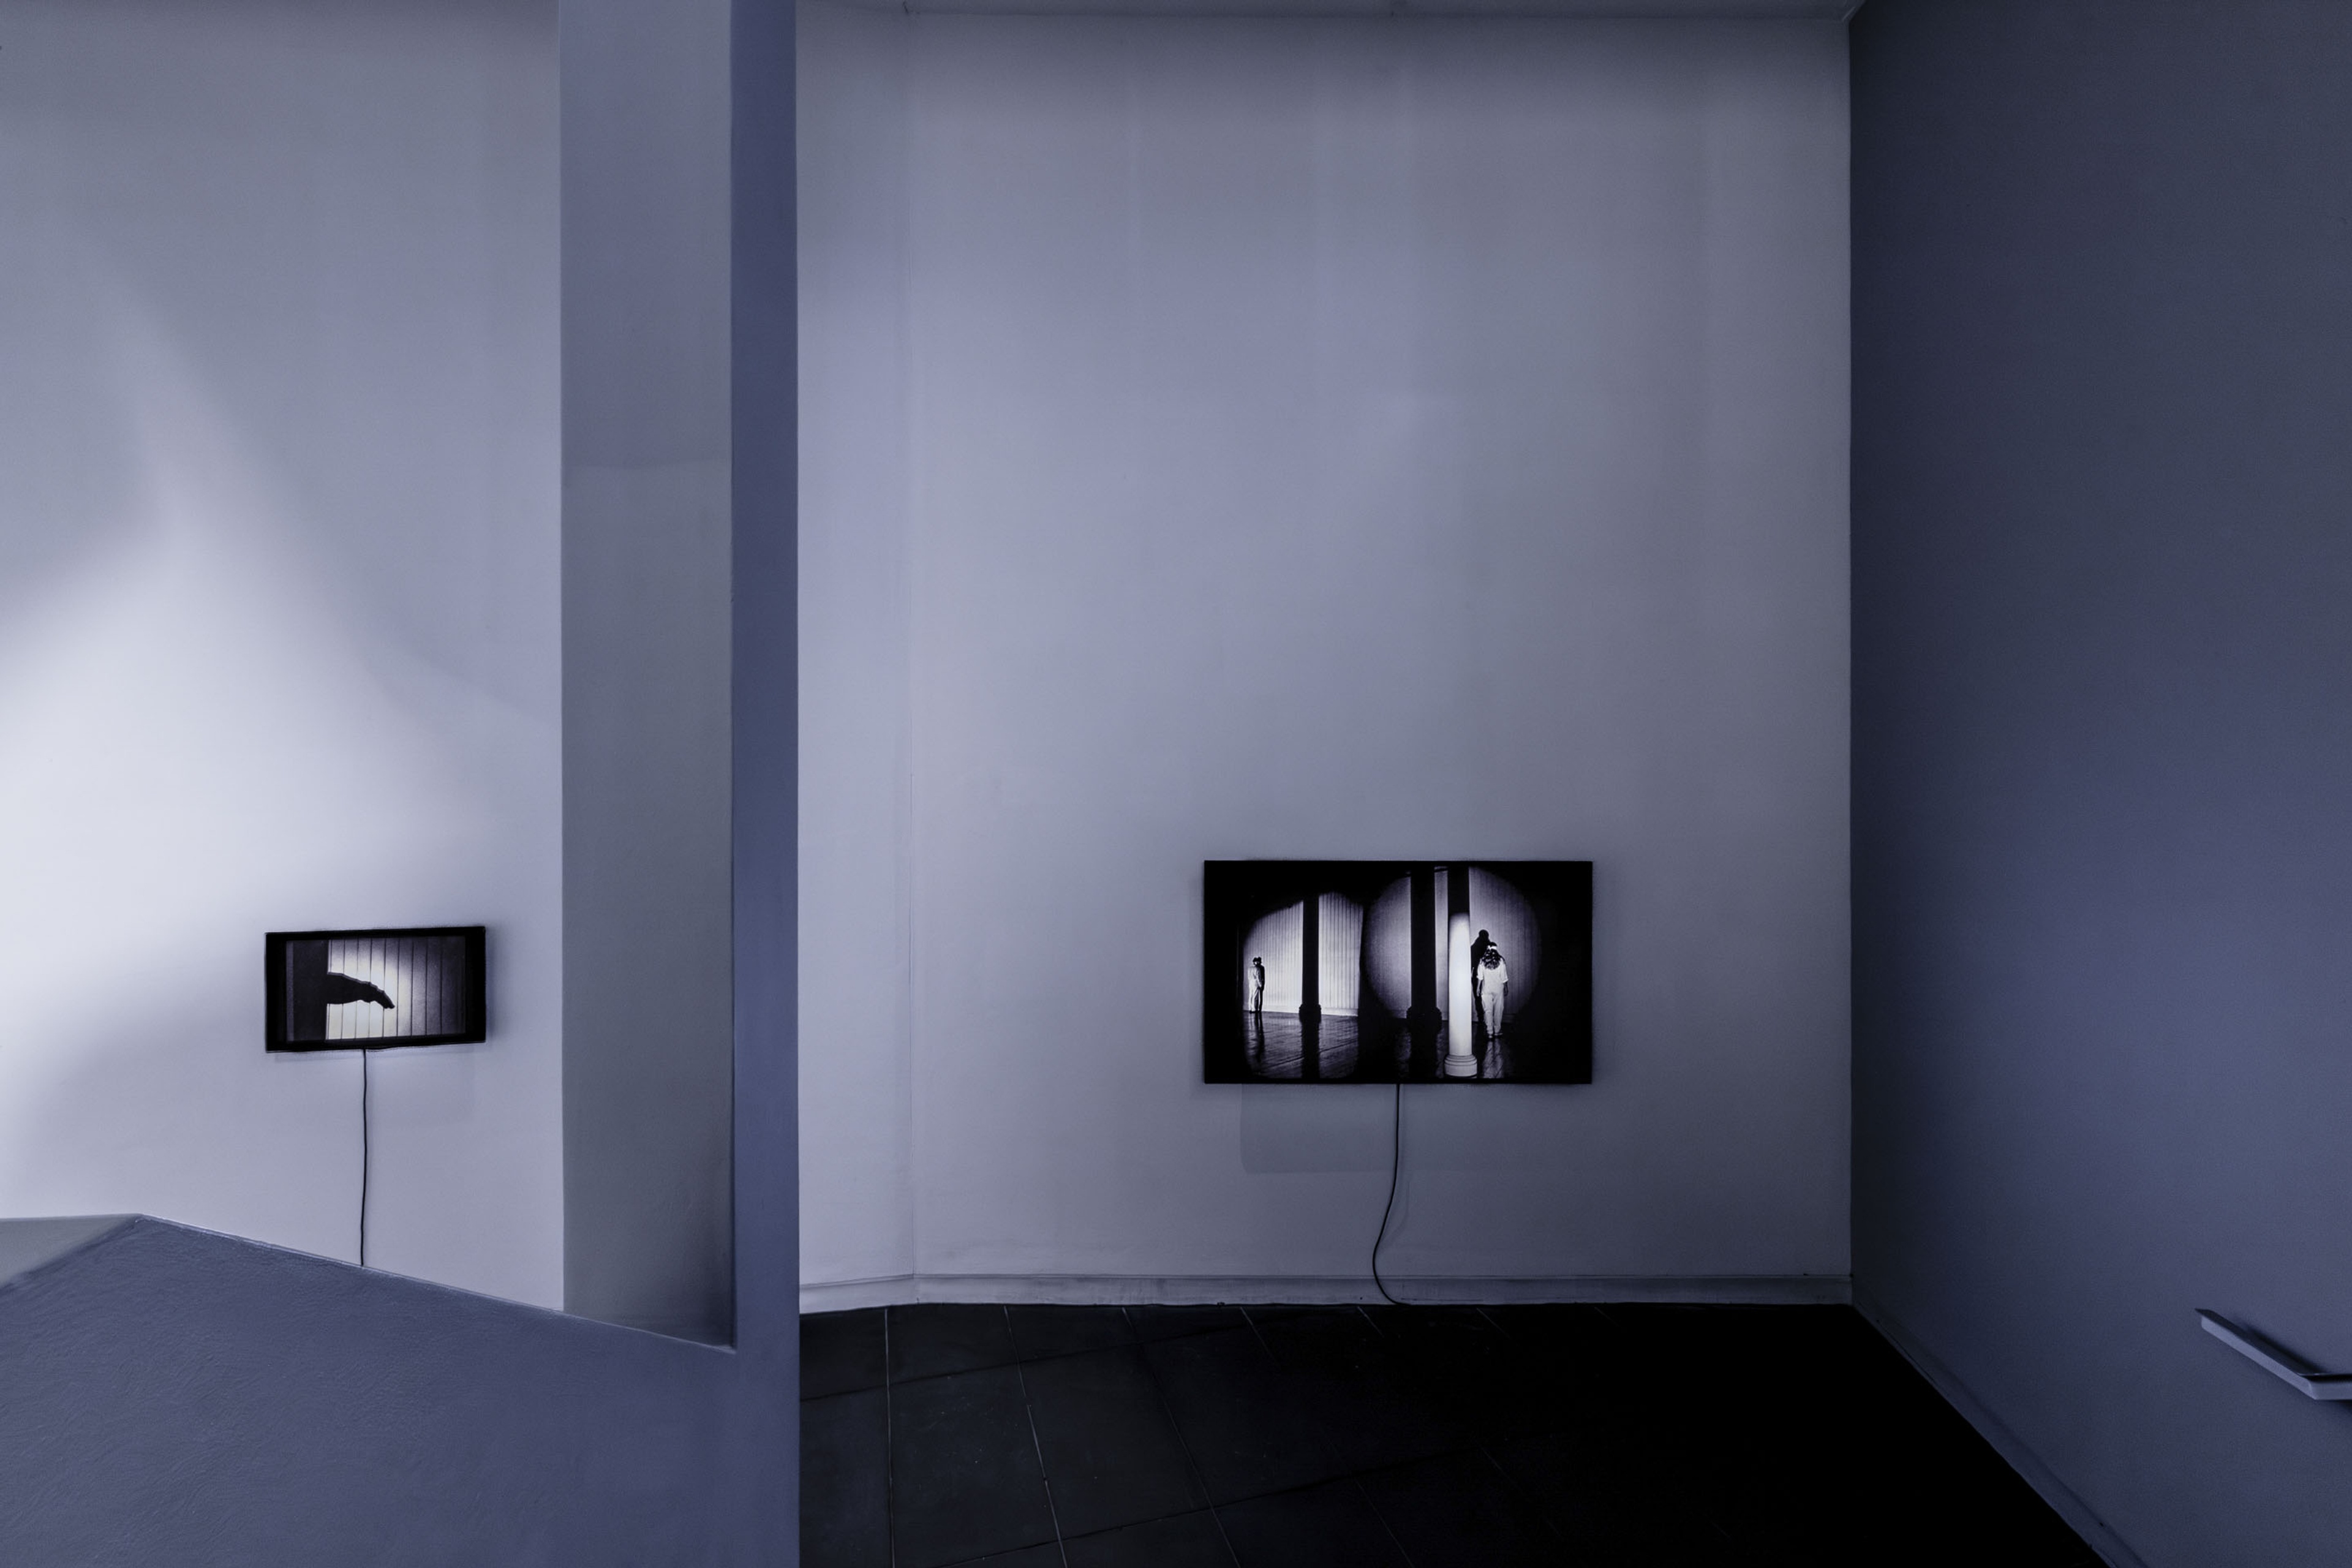
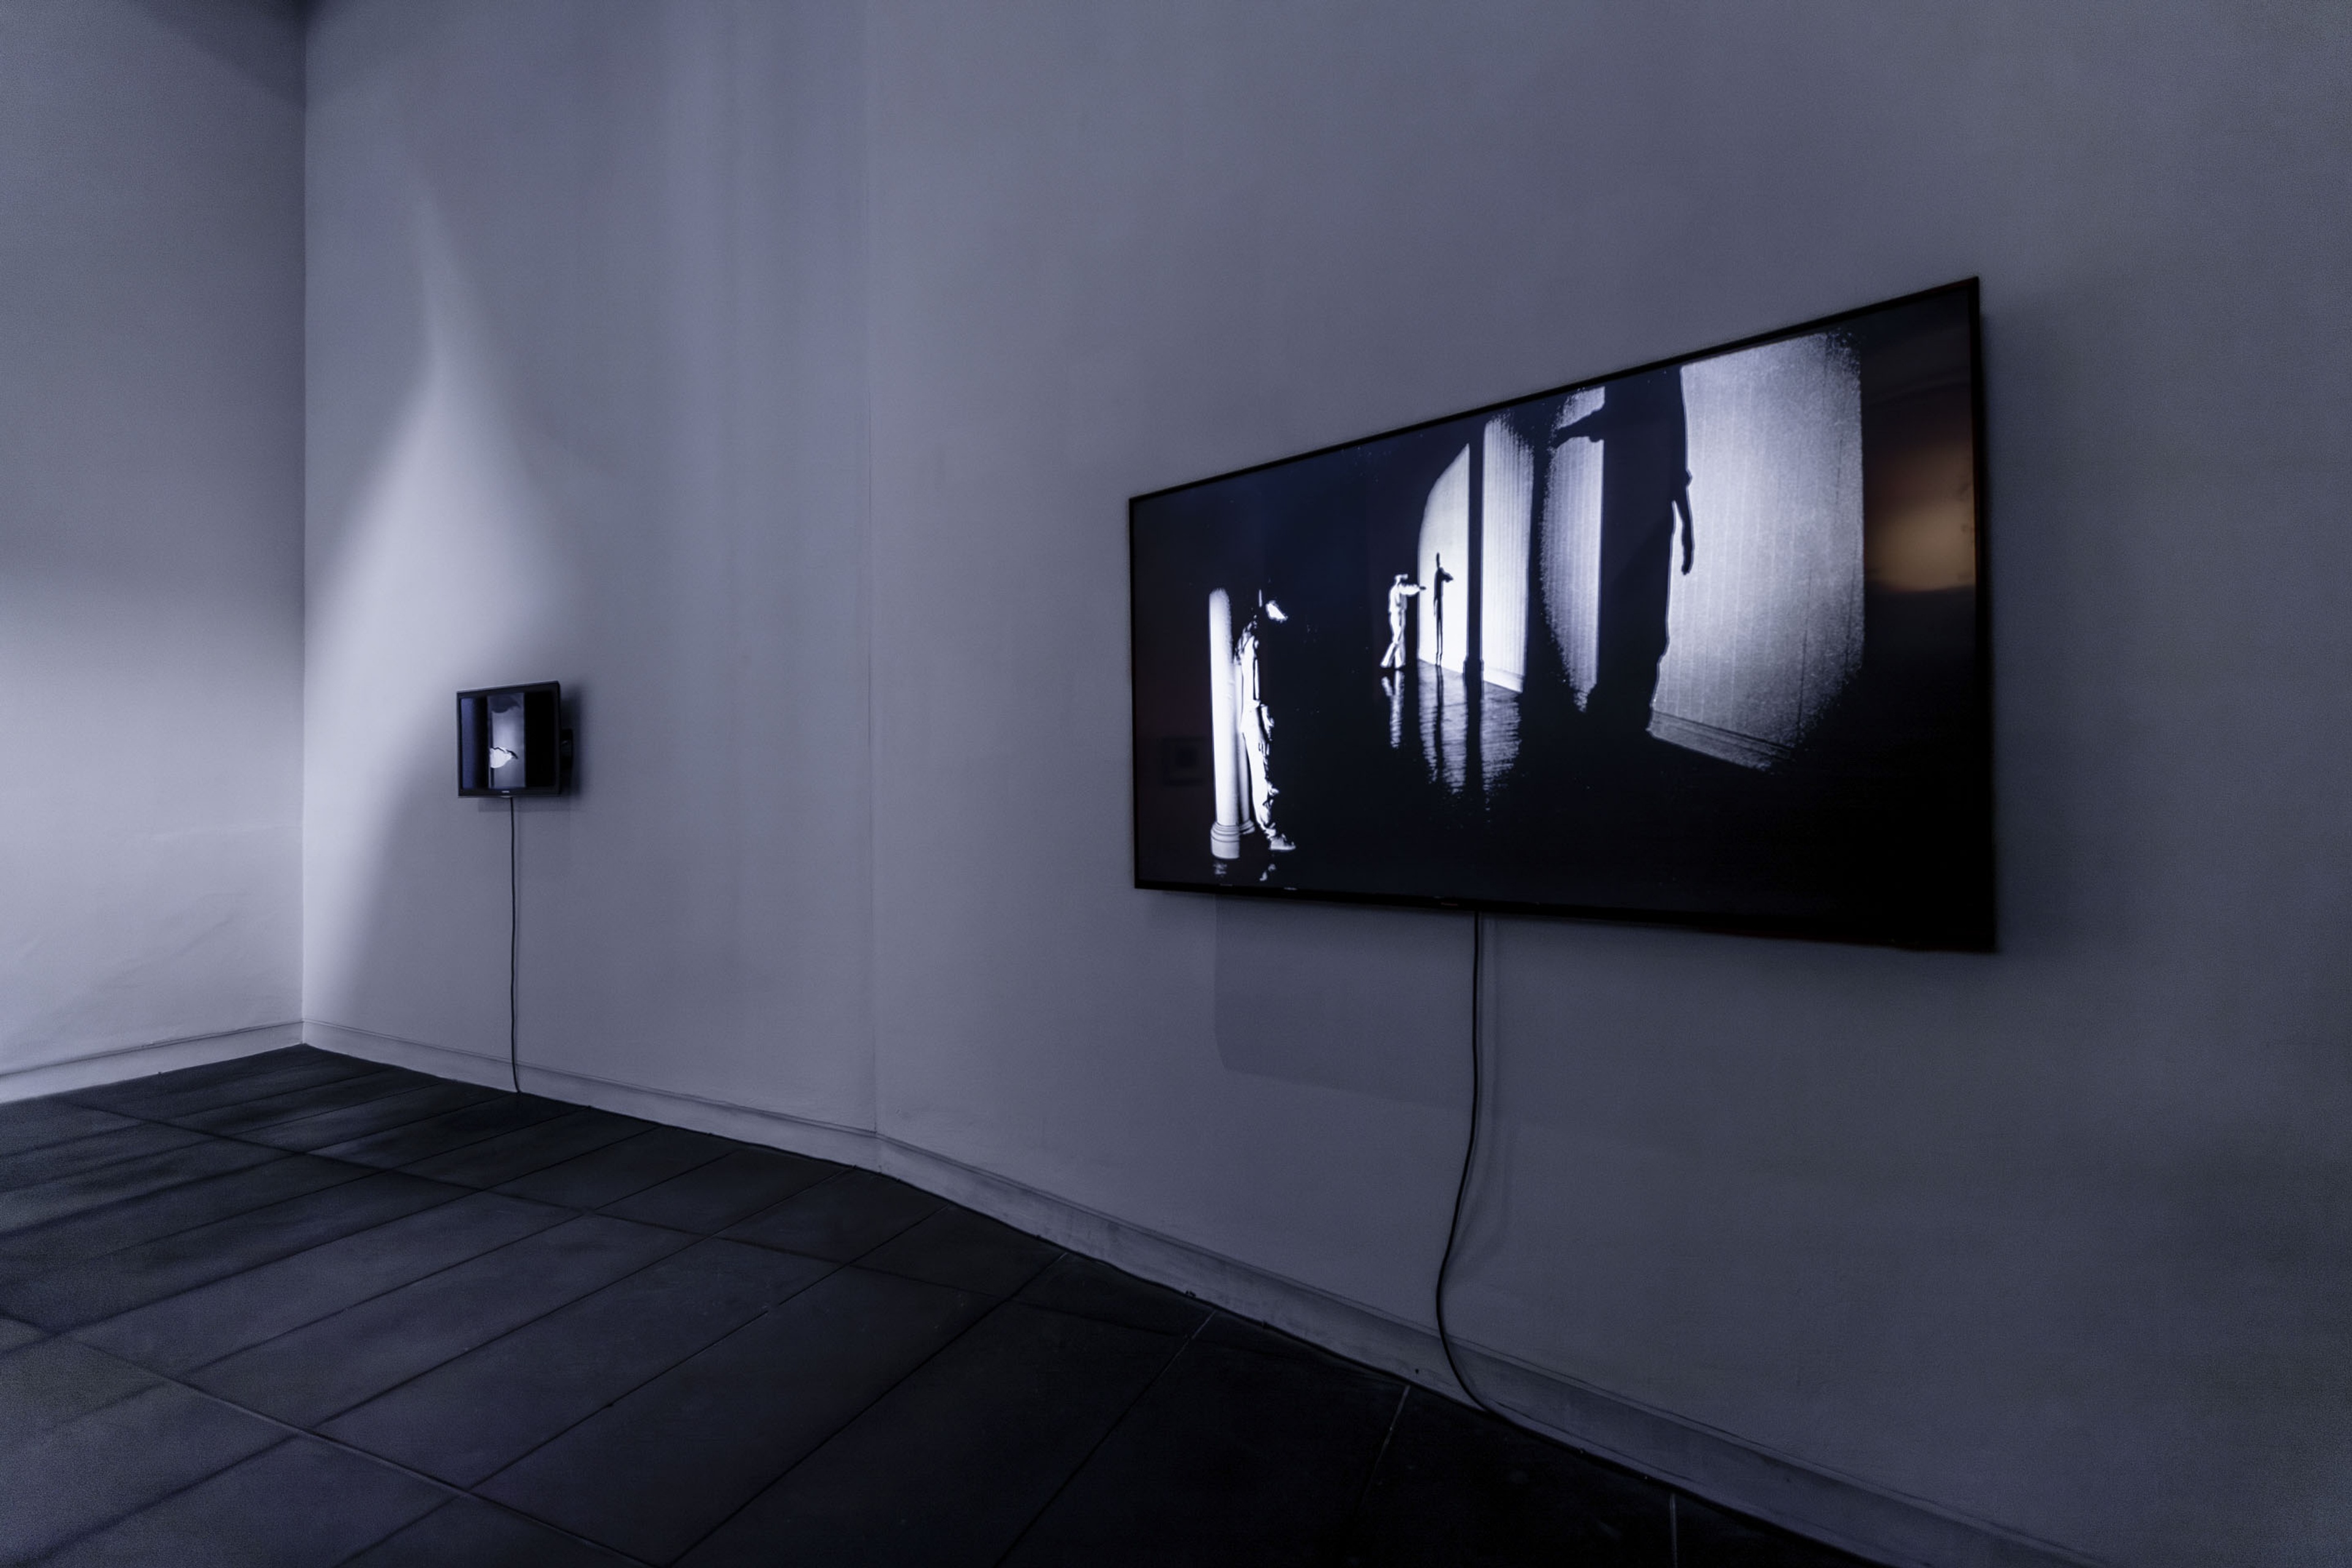
Peter Roche, Oh Shit No, On the Contrary, performance, October 1979, Super-8 film transferred to digital video, audio. Installation view, In Relation: Performance Worksby Peter Roche & Linda Buis 1979–1985, Te Pātaka Toi Adam Art Gallery, Te Herenga Waka—Victoria University of Wellington. Photo: Ted Whitaker

Peter Roche, Oh Shit No, On the Contrary, performance, October 1979, Super-8 film transferred to digital video, audio. Installation view, In Relation: Performance Worksby Peter Roche & Linda Buis 1979–1985, Te Pātaka Toi Adam Art Gallery, Te Herenga Waka—Victoria University of Wellington. Photo: Ted Whitaker
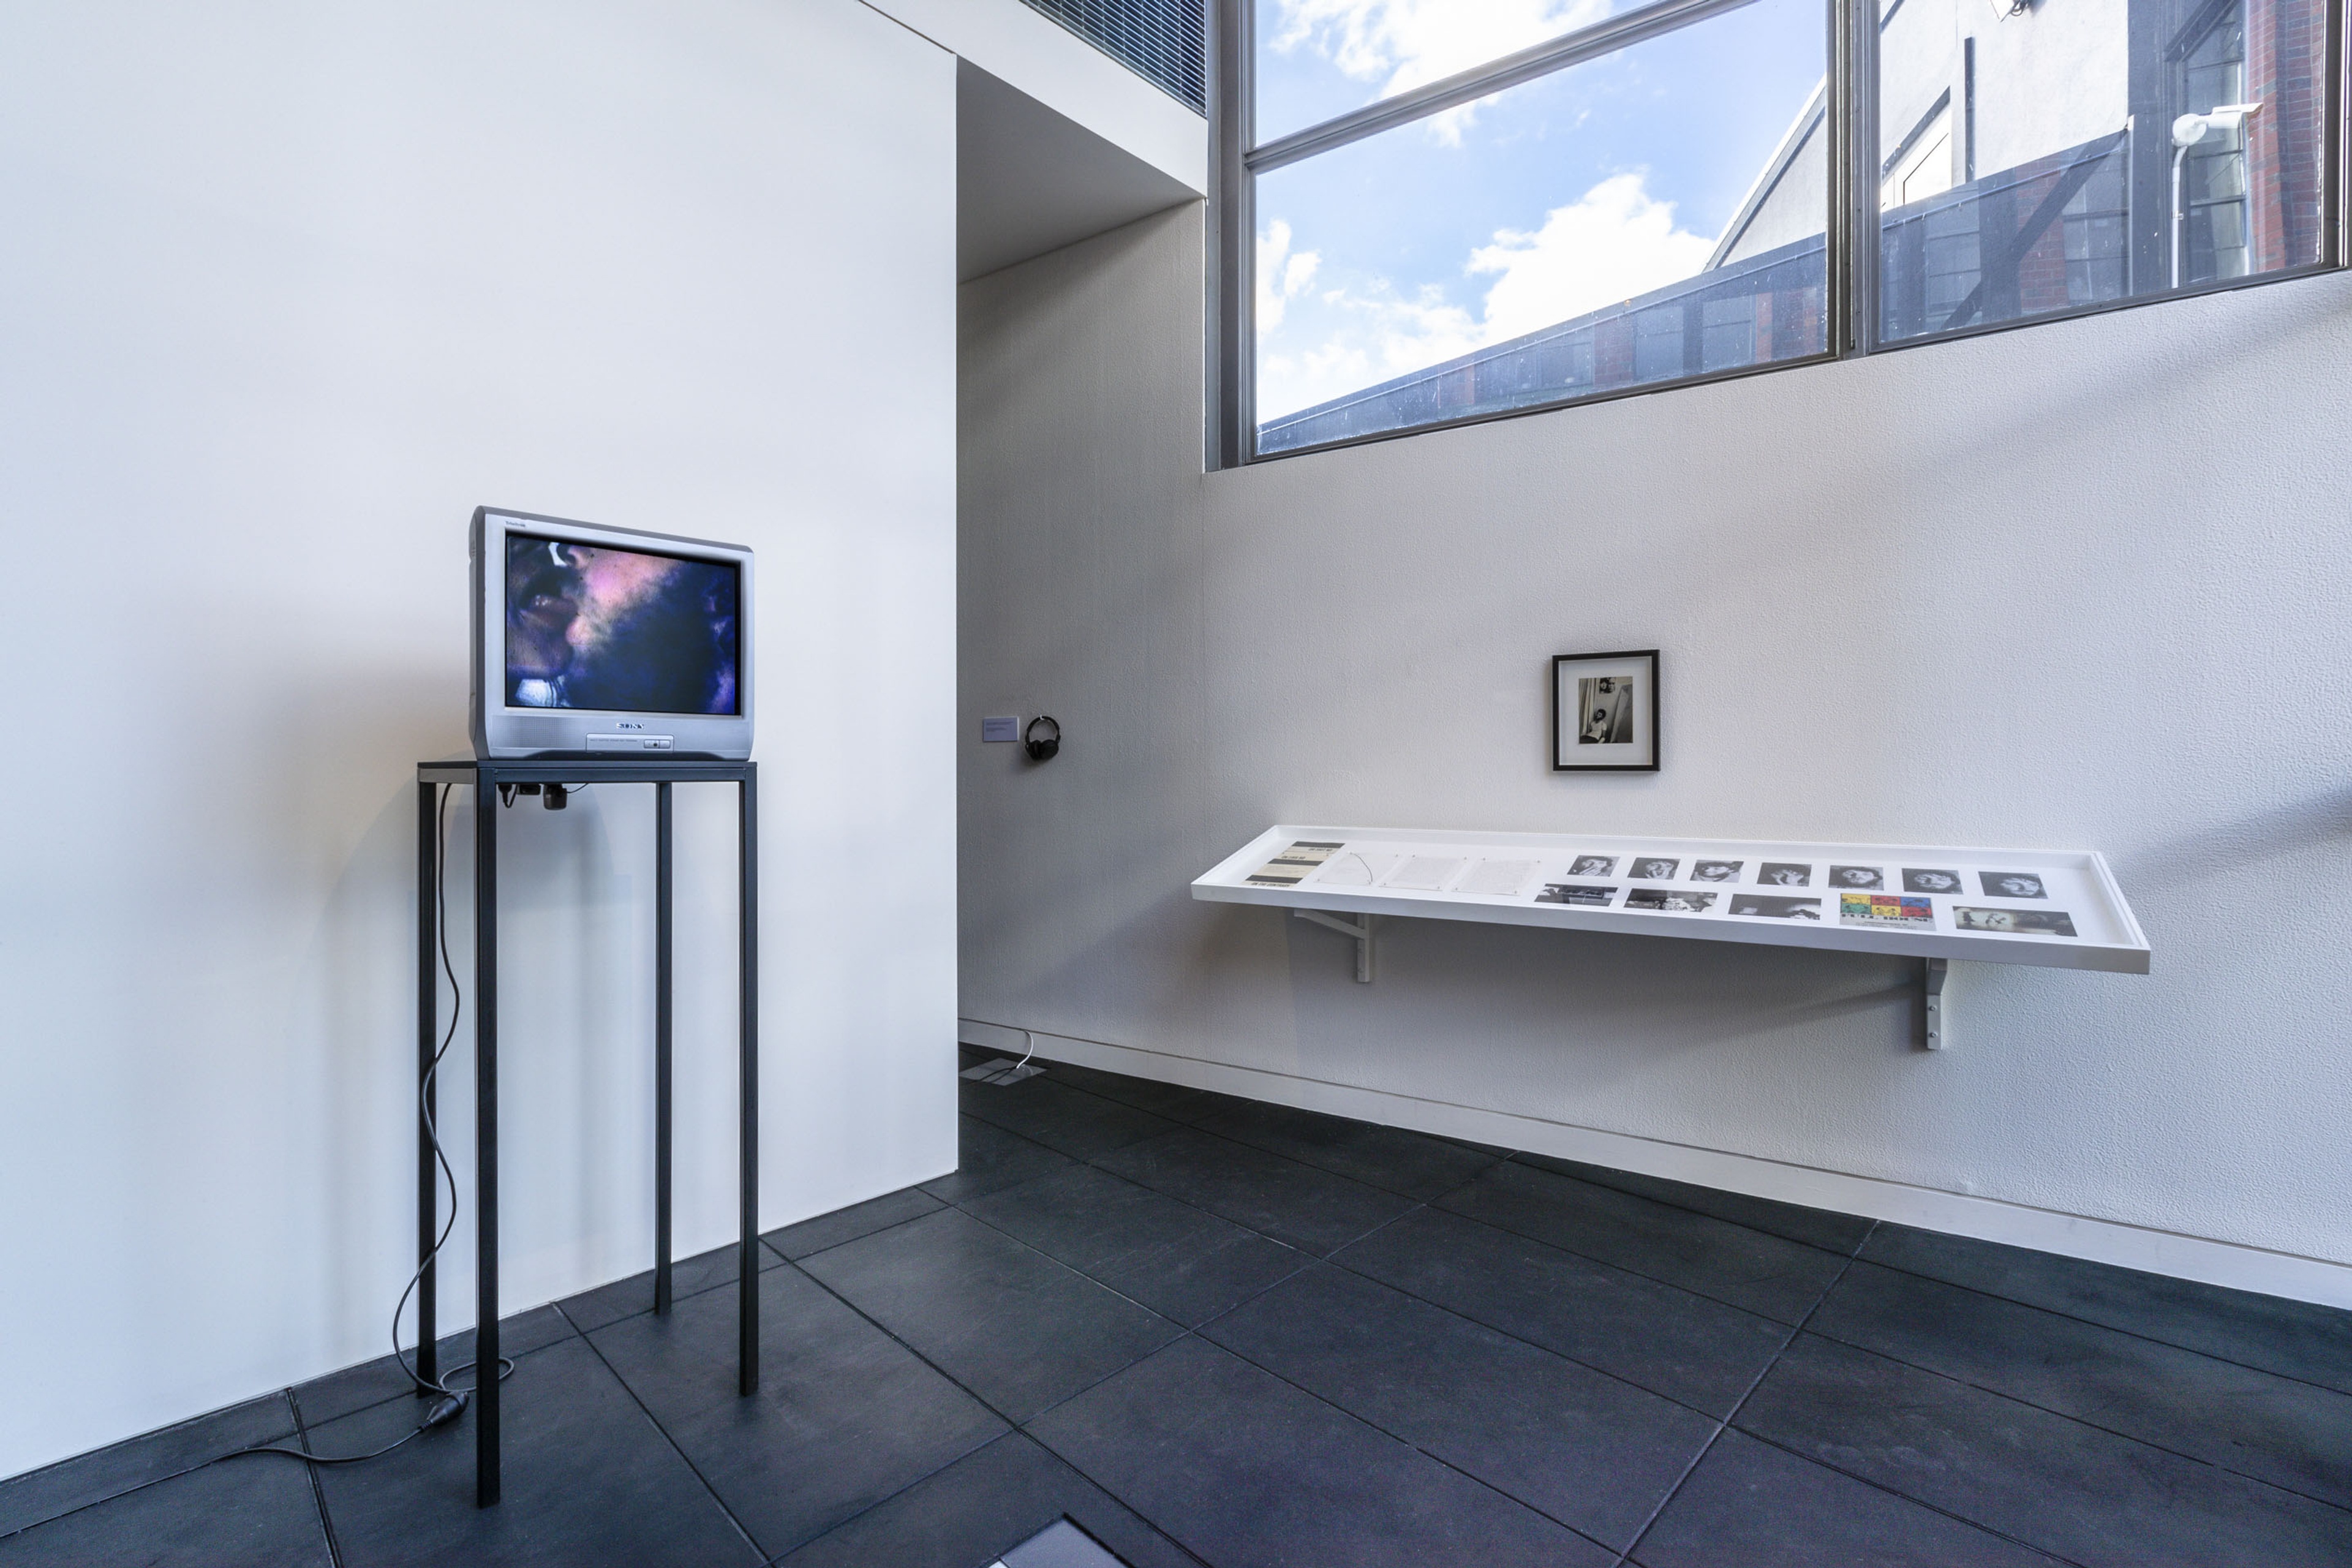
Peter Roche, Oh Shit No, On the Contrary, performance, October 1979, Super-8 film transferred to digital video, audio; Peter Roche, You Are Invited To Be Accepted, performance, January 1979, black and white photograph, photographer unknown. Installation view, In Relation: Performance Works by Peter Roche & Linda Buis 1979–1985, Te Pātaka Toi Adam Art Gallery, Te Herenga Waka—Victoria University of Wellington. Photo: Ted Whitaker
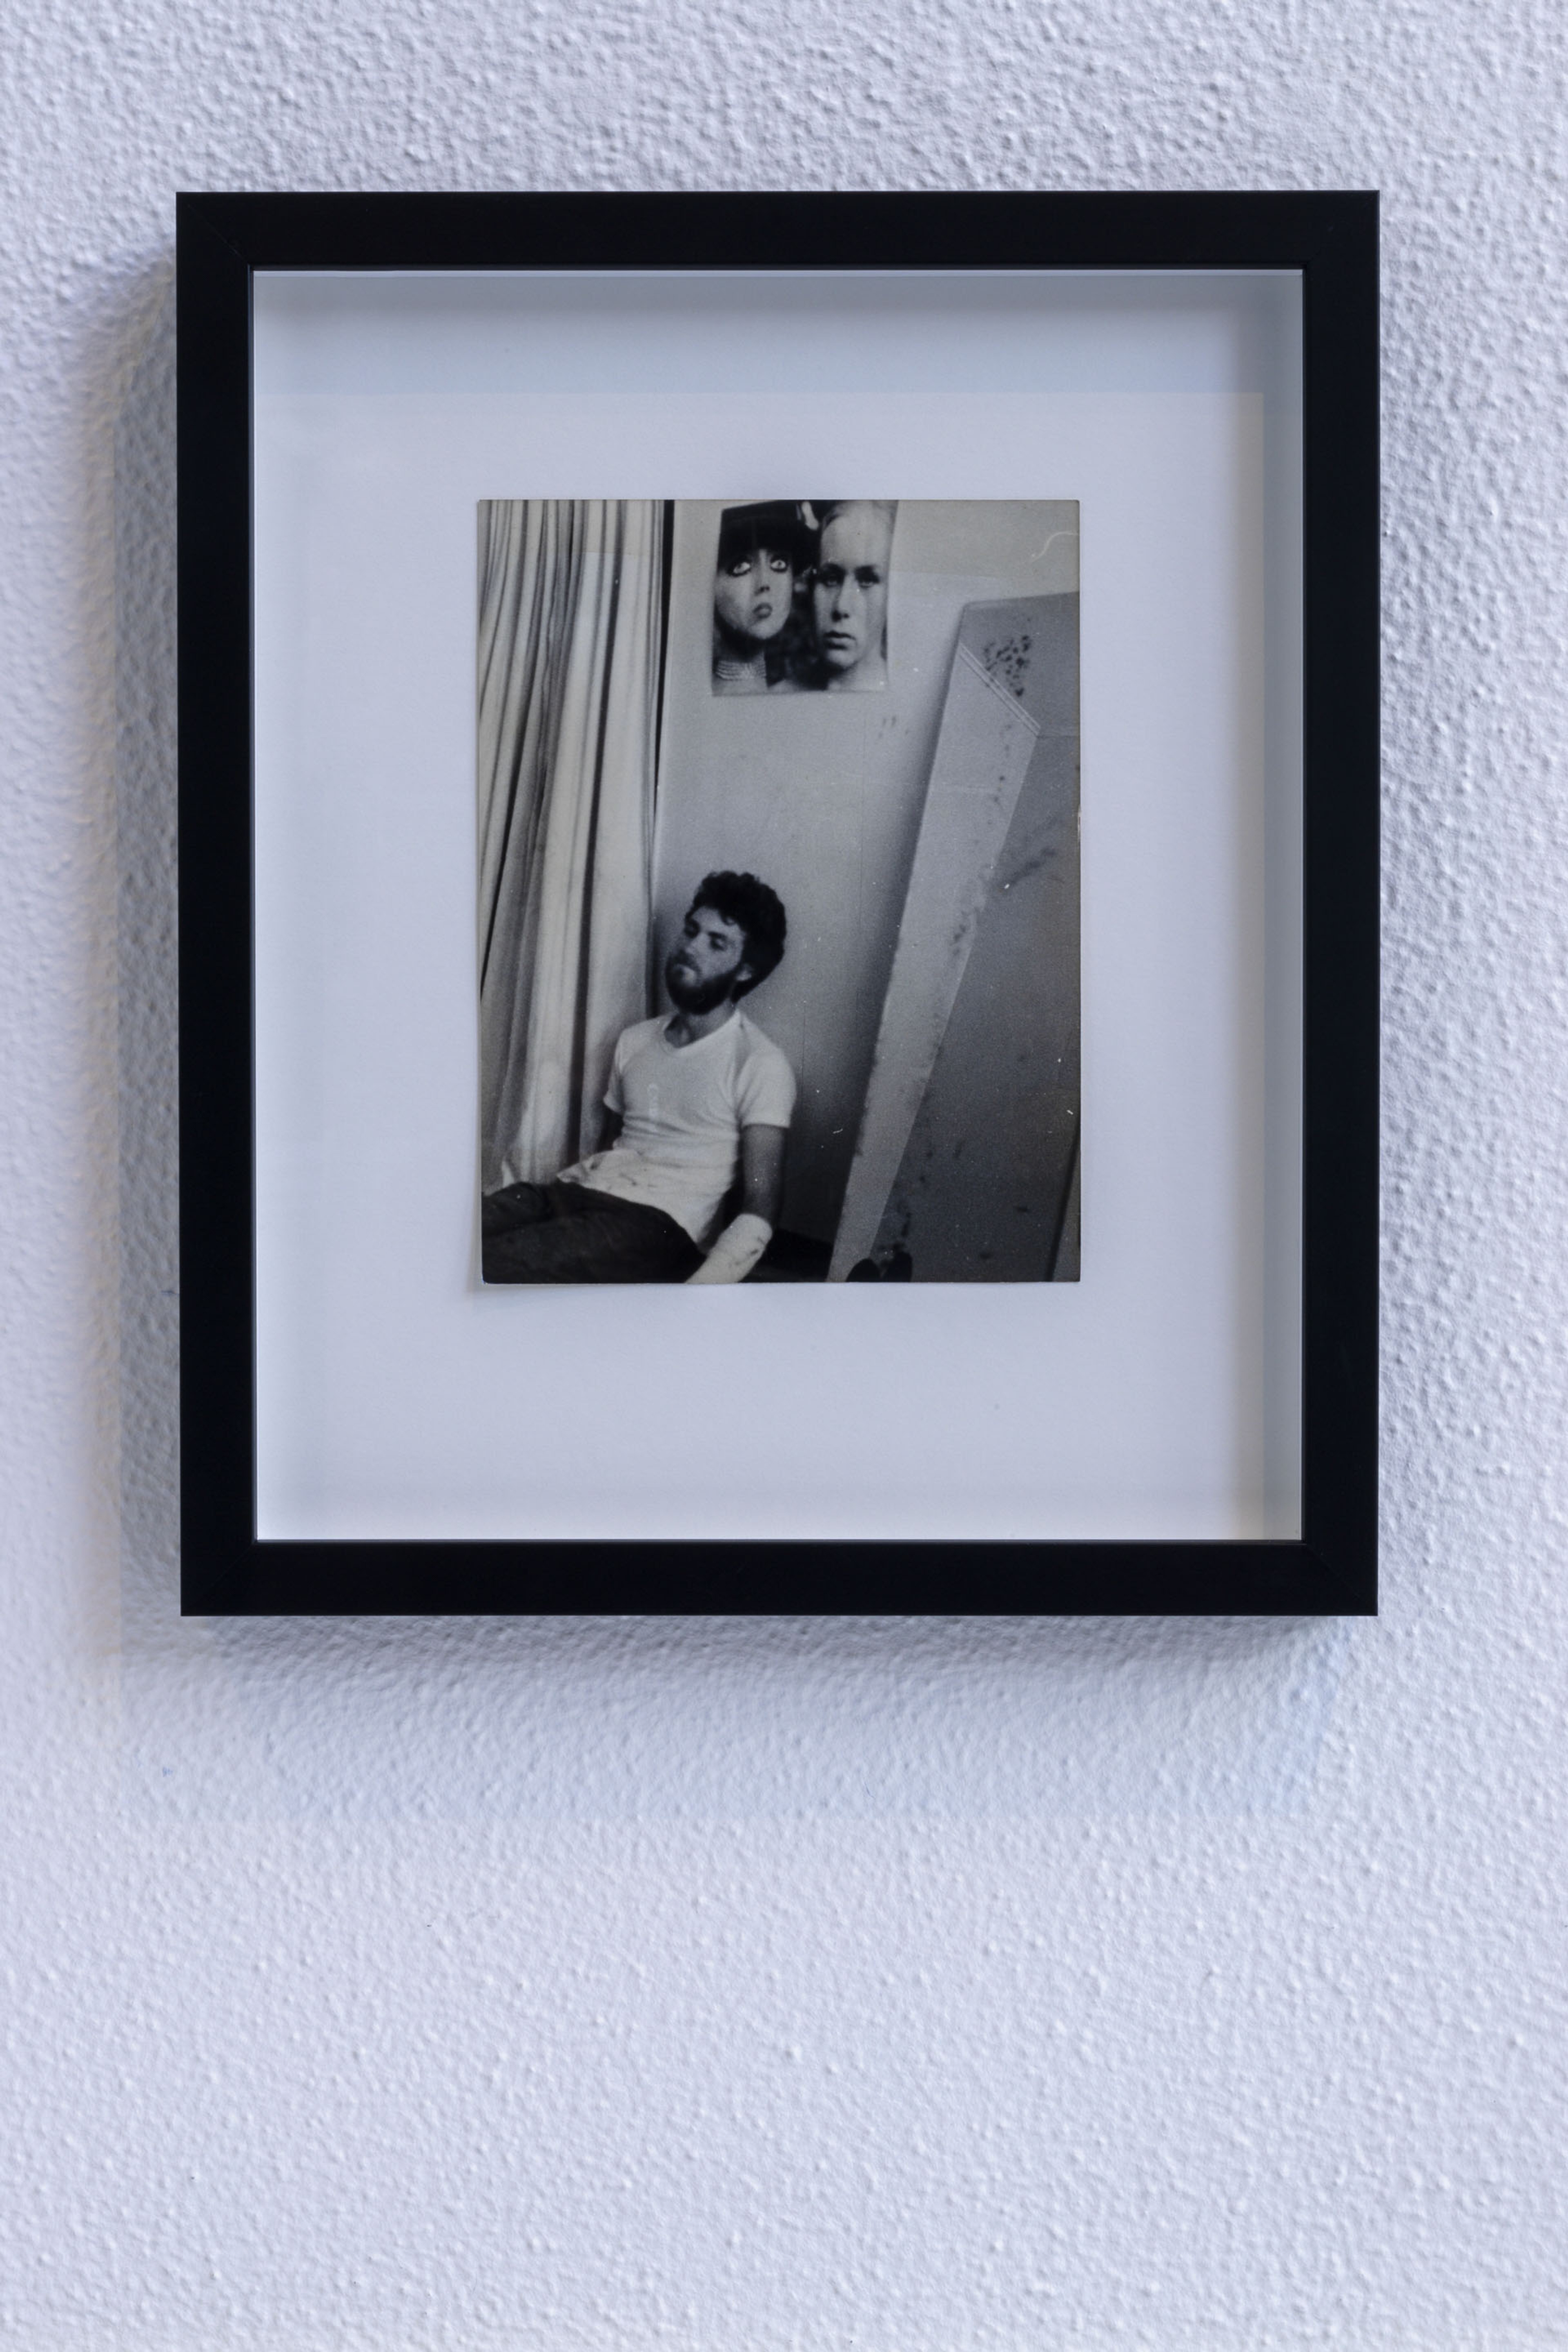
Peter Roche, You Are Invited To Be Accepted, performance, January 1979, black and white photograph, photographer unknown. In Relation: Performance Works by Peter Roche & Linda Buis 1979–1985, Te Pātaka Toi Adam Art Gallery, Te Herenga Waka—Victoria University of Wellington. Photo: Ted Whitaker
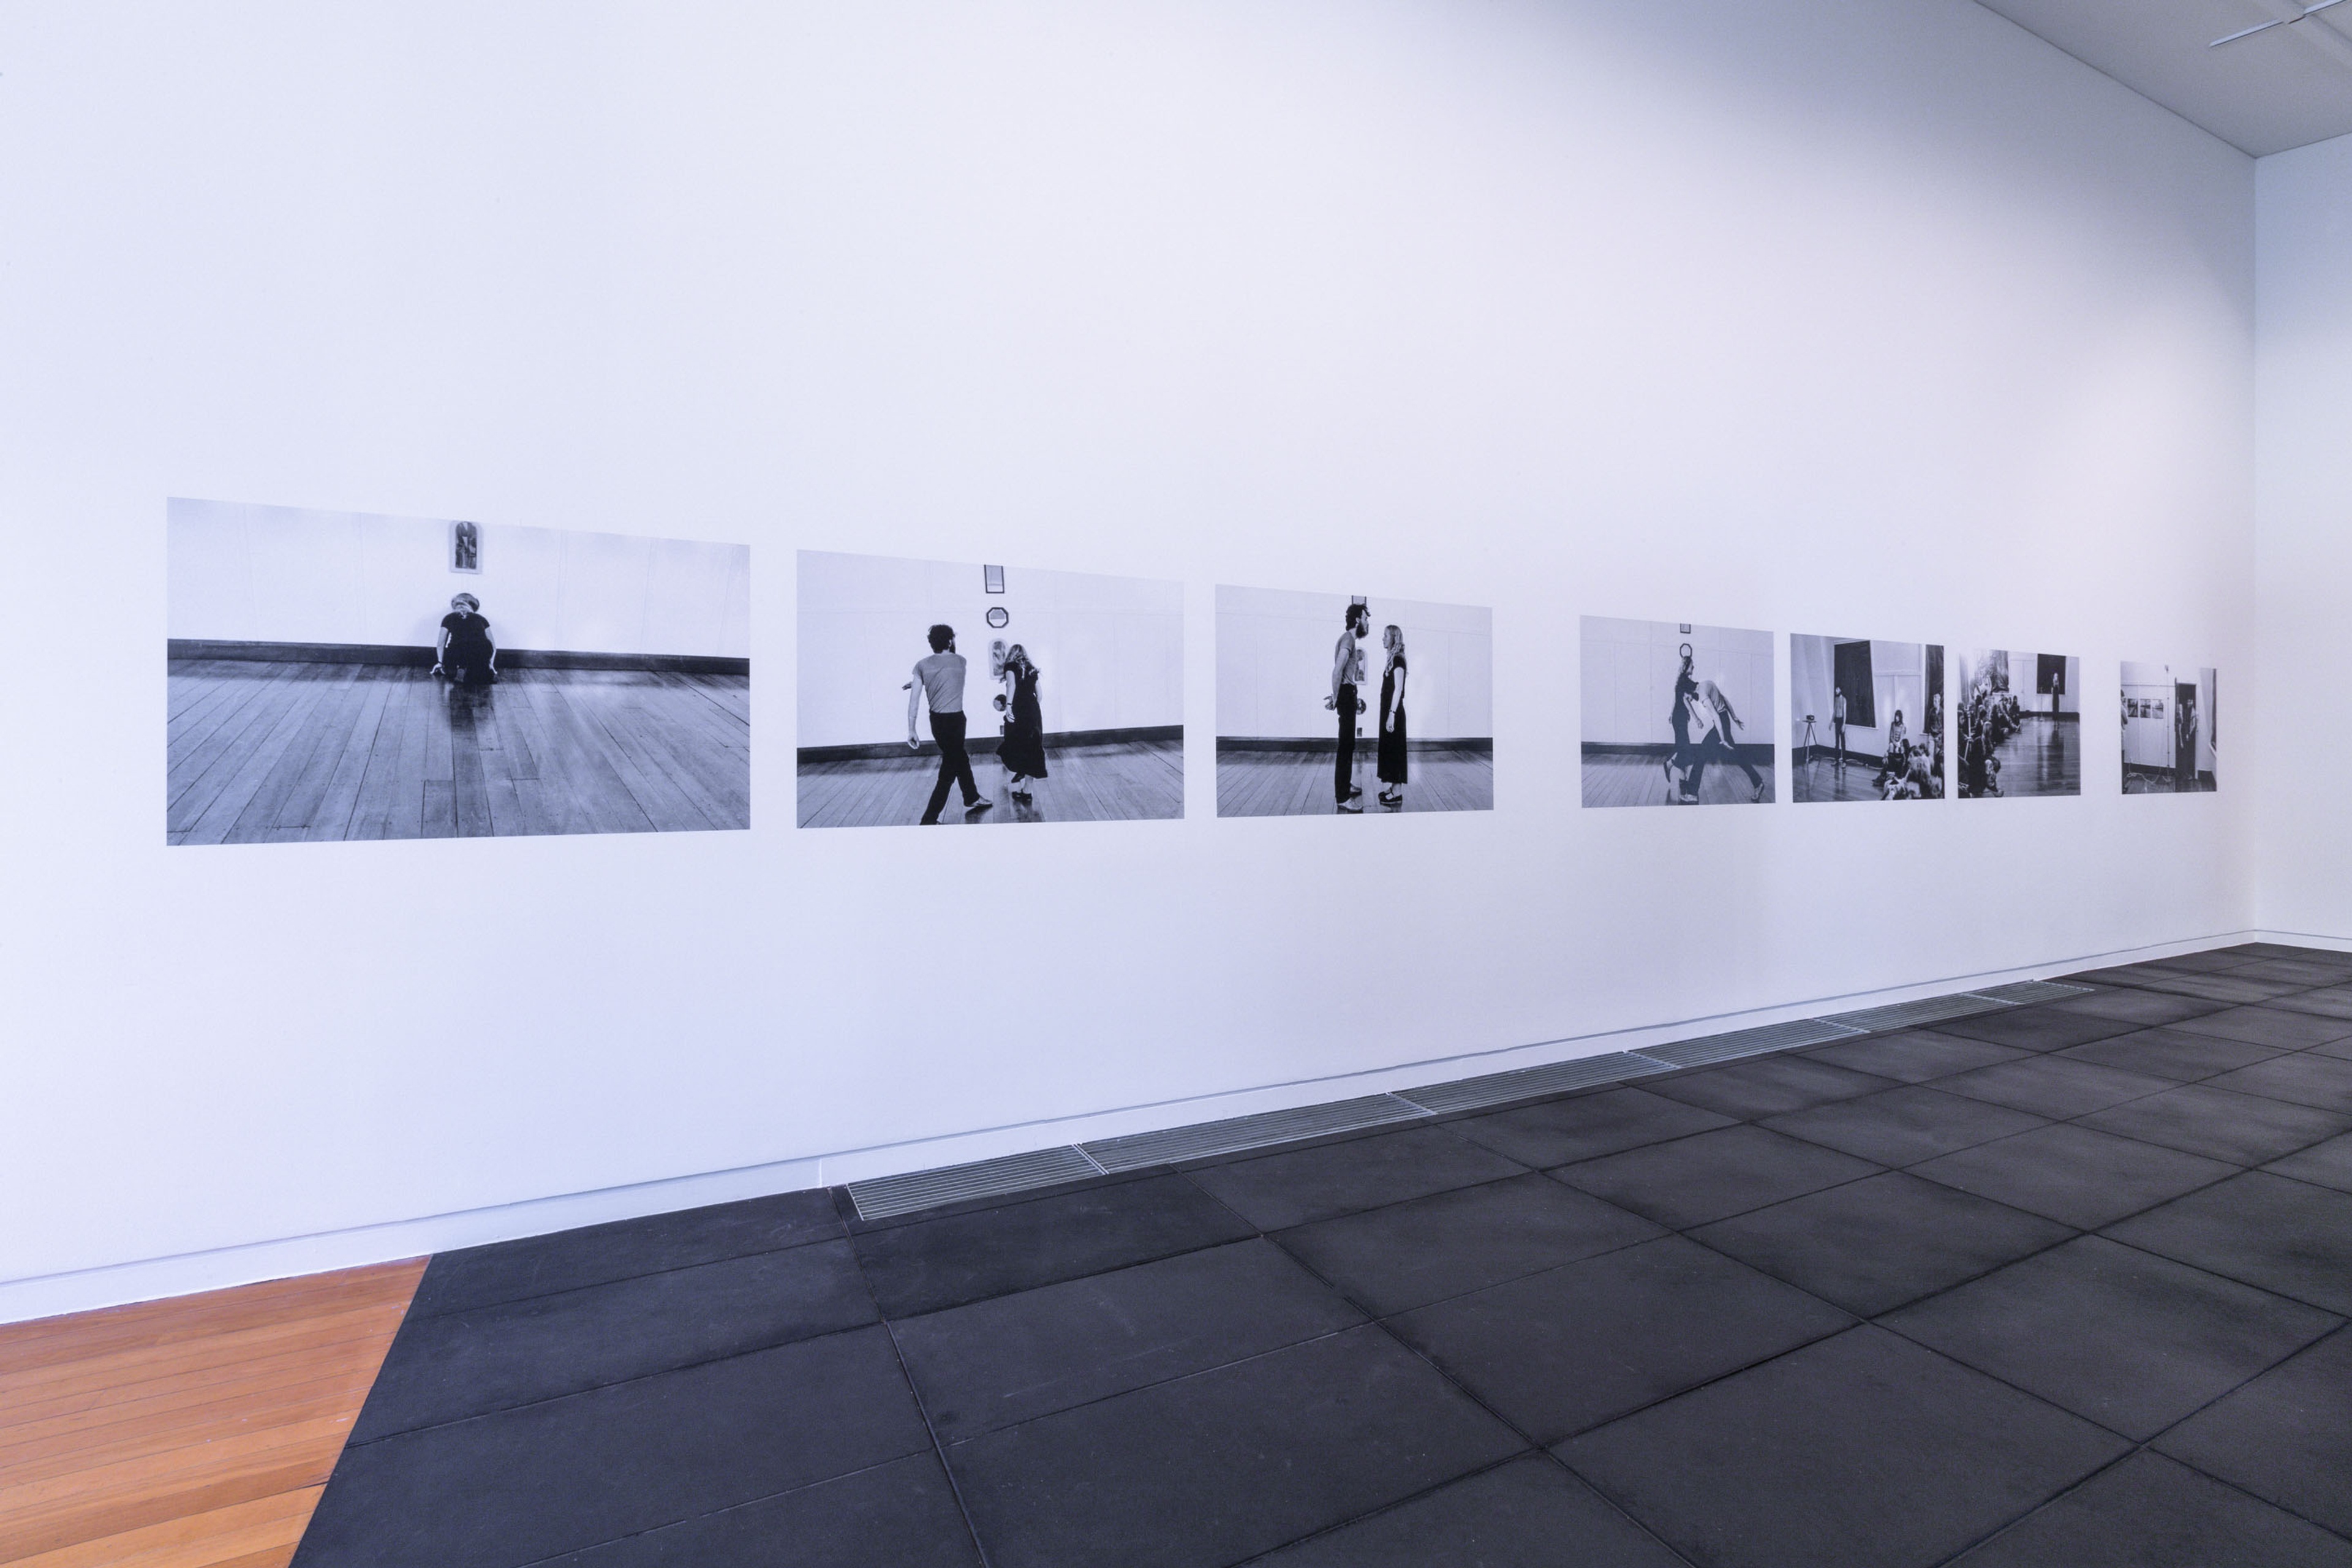
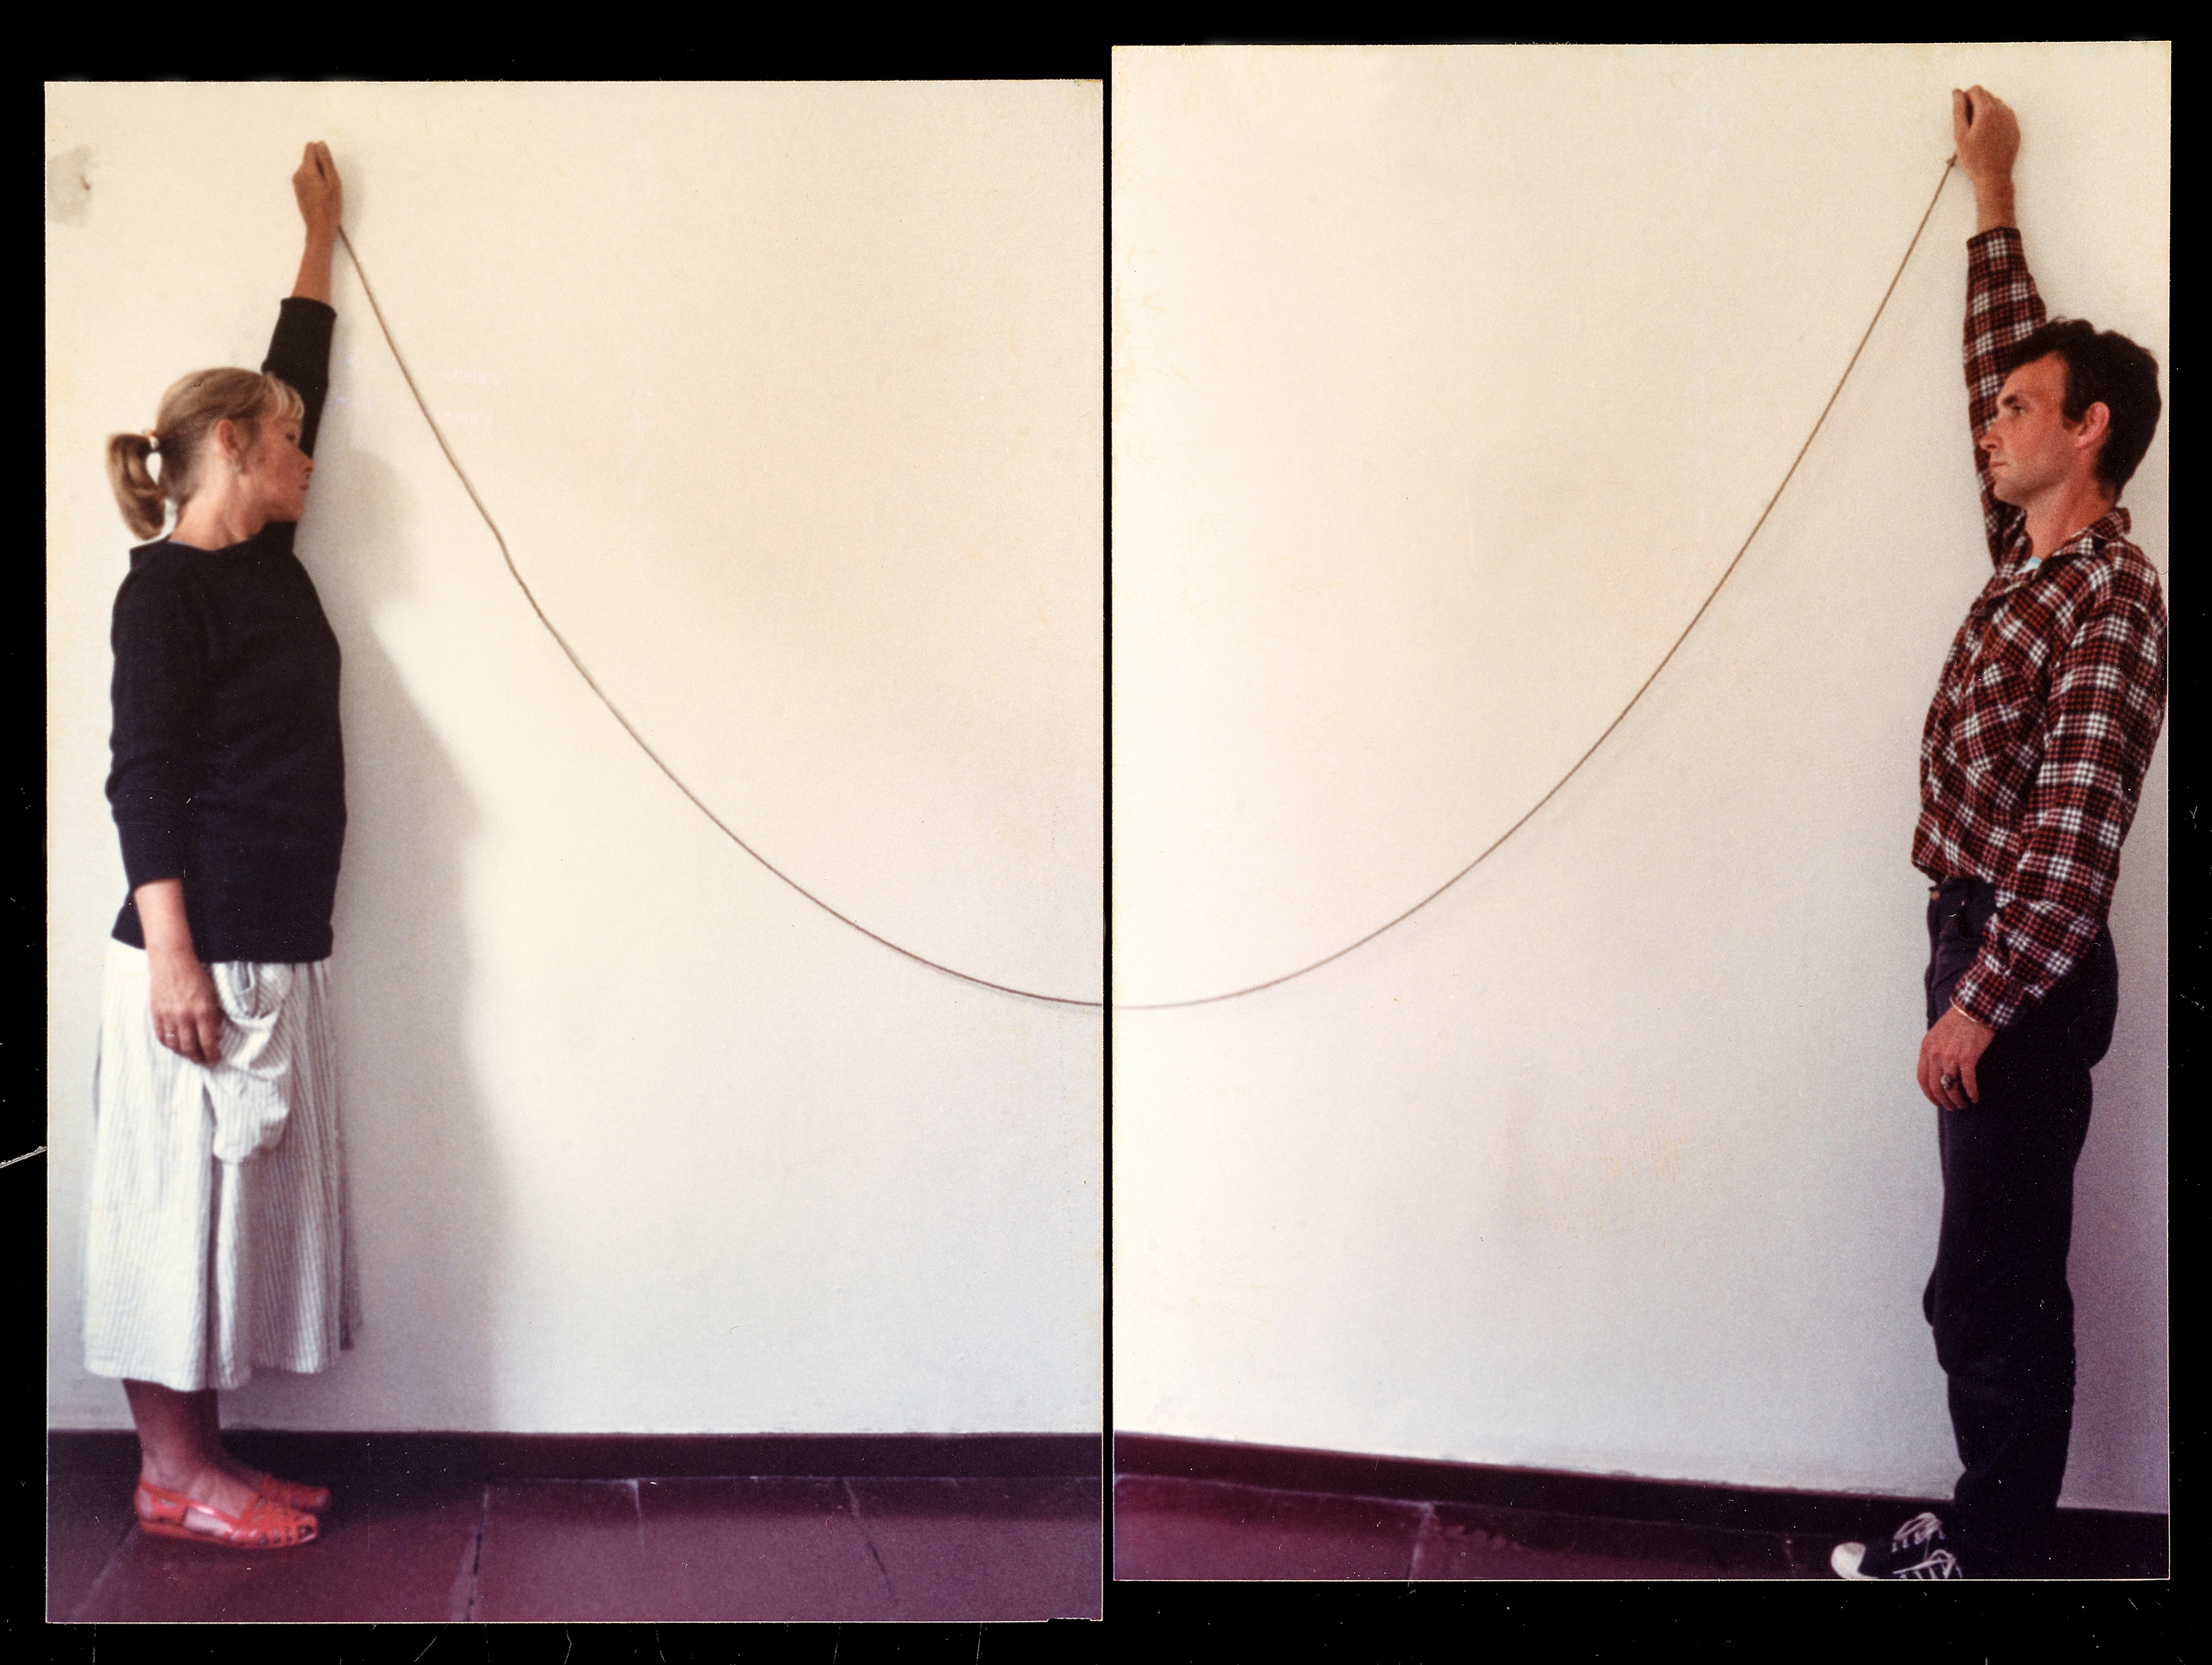
Peter Roche & Linda Buis, Liaison, performance, March 1980, seven black and white photographs transferred to digital, photographs by Gregory Burke. Installation view, In Relation: Performance Worksby Peter Roche & Linda Buis 1979–1985, Te Pātaka Toi Adam Art Gallery, Te Herenga Waka—Victoria University of Wellington. Photo: Ted Whitaker
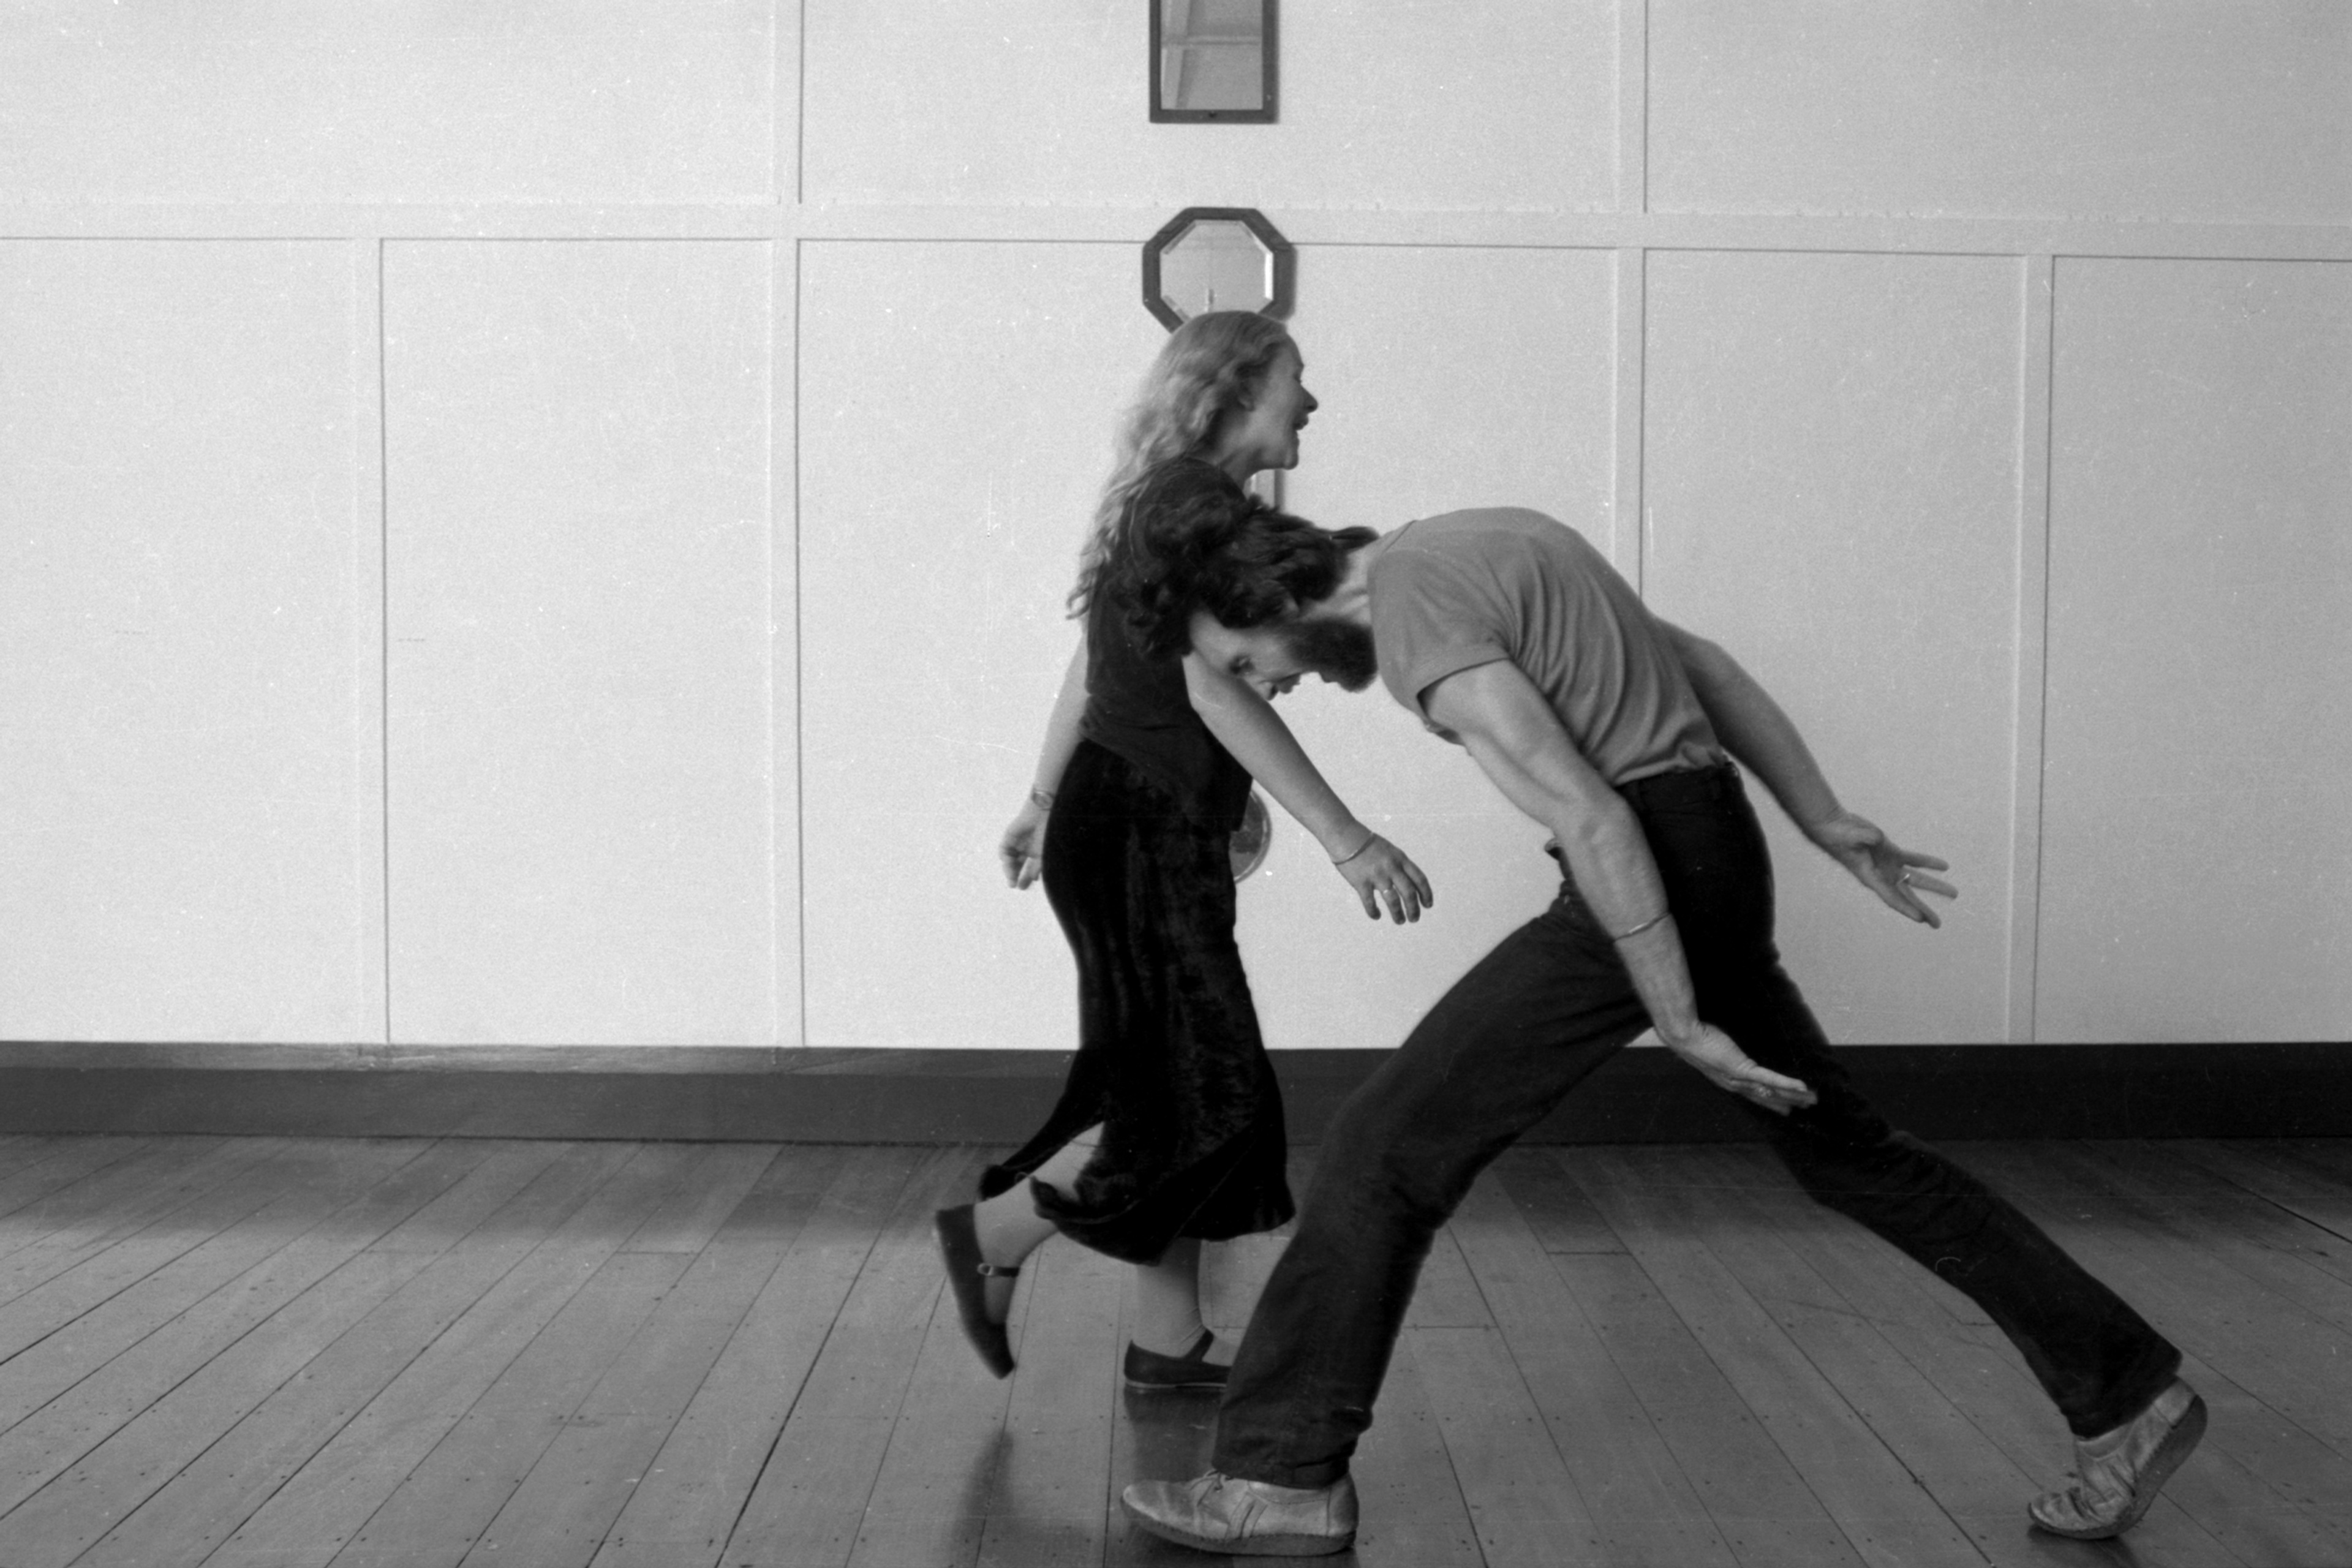
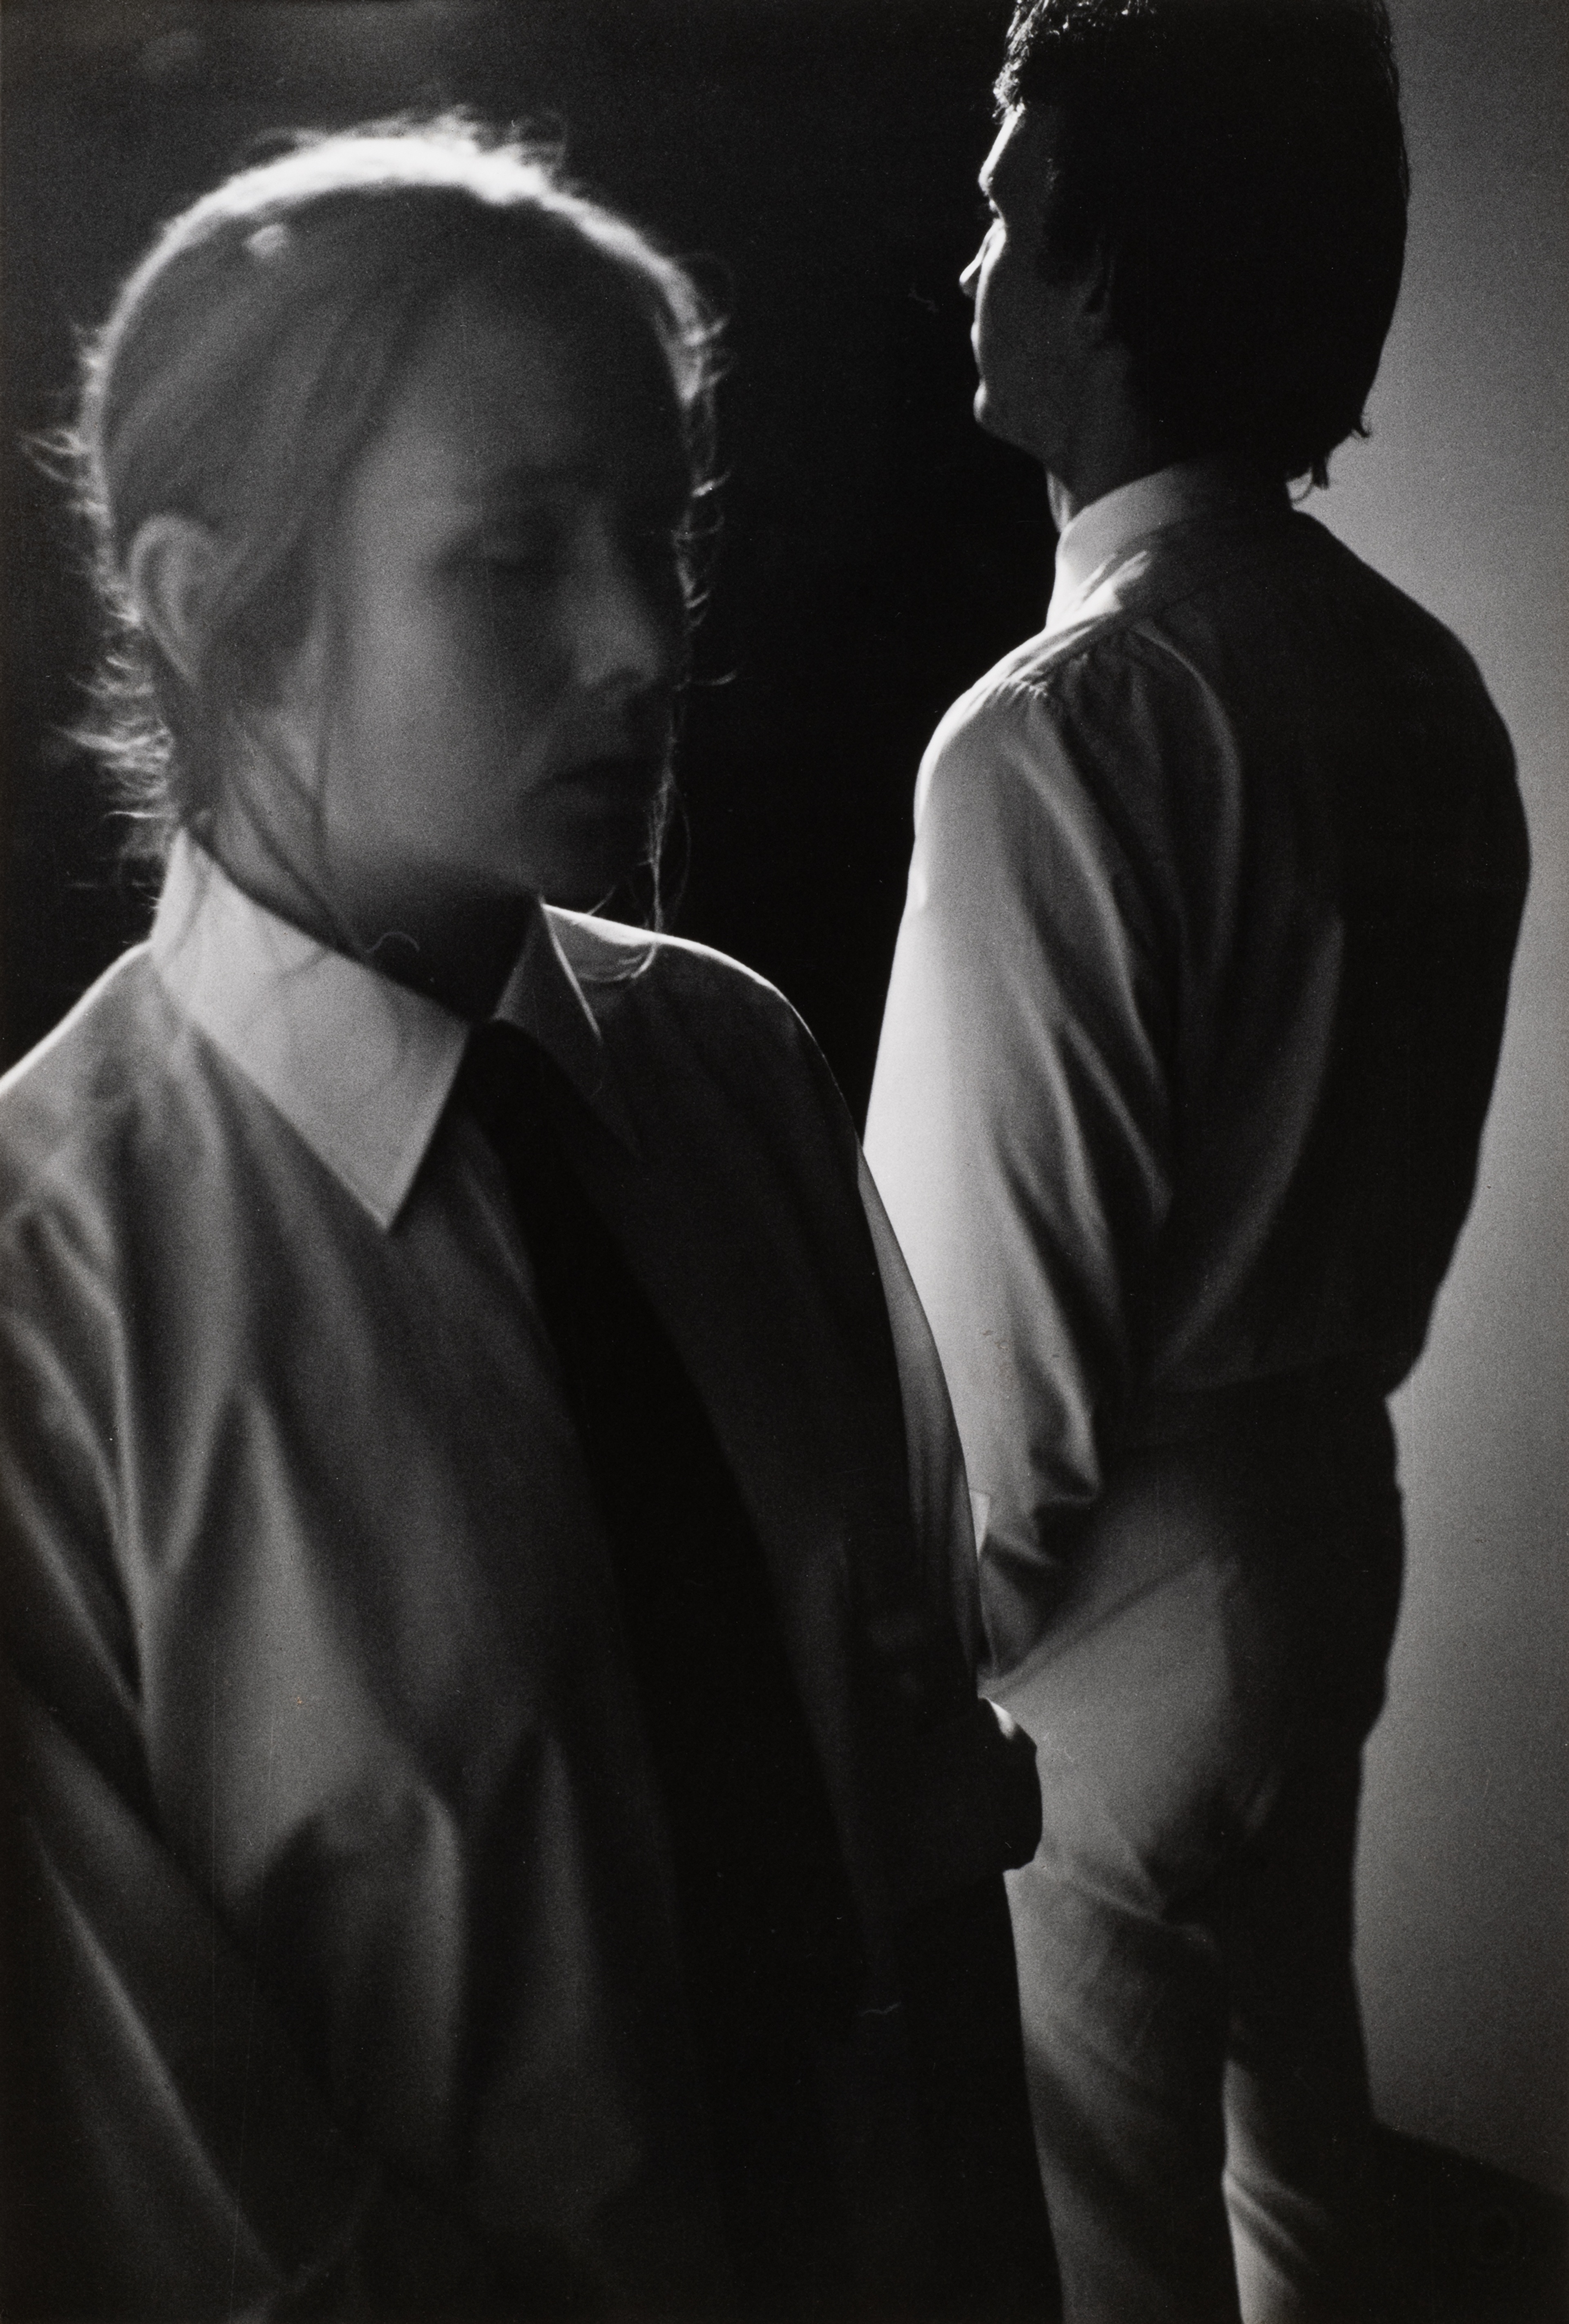
Peter Roche & Linda Buis, Liaison, (part two), performance, Real Pictures, Auckland, March 1980, photograph: Gregory Burke, courtesy of Peter Roche Estate
Installation view, In Relation: Performance Works by Peter Roche & Linda Buis 1979–1985, Te Pātaka Toi Adam Art Gallery, Te Herenga Waka—Victoria University of Wellington. Photo: Ted Whitaker
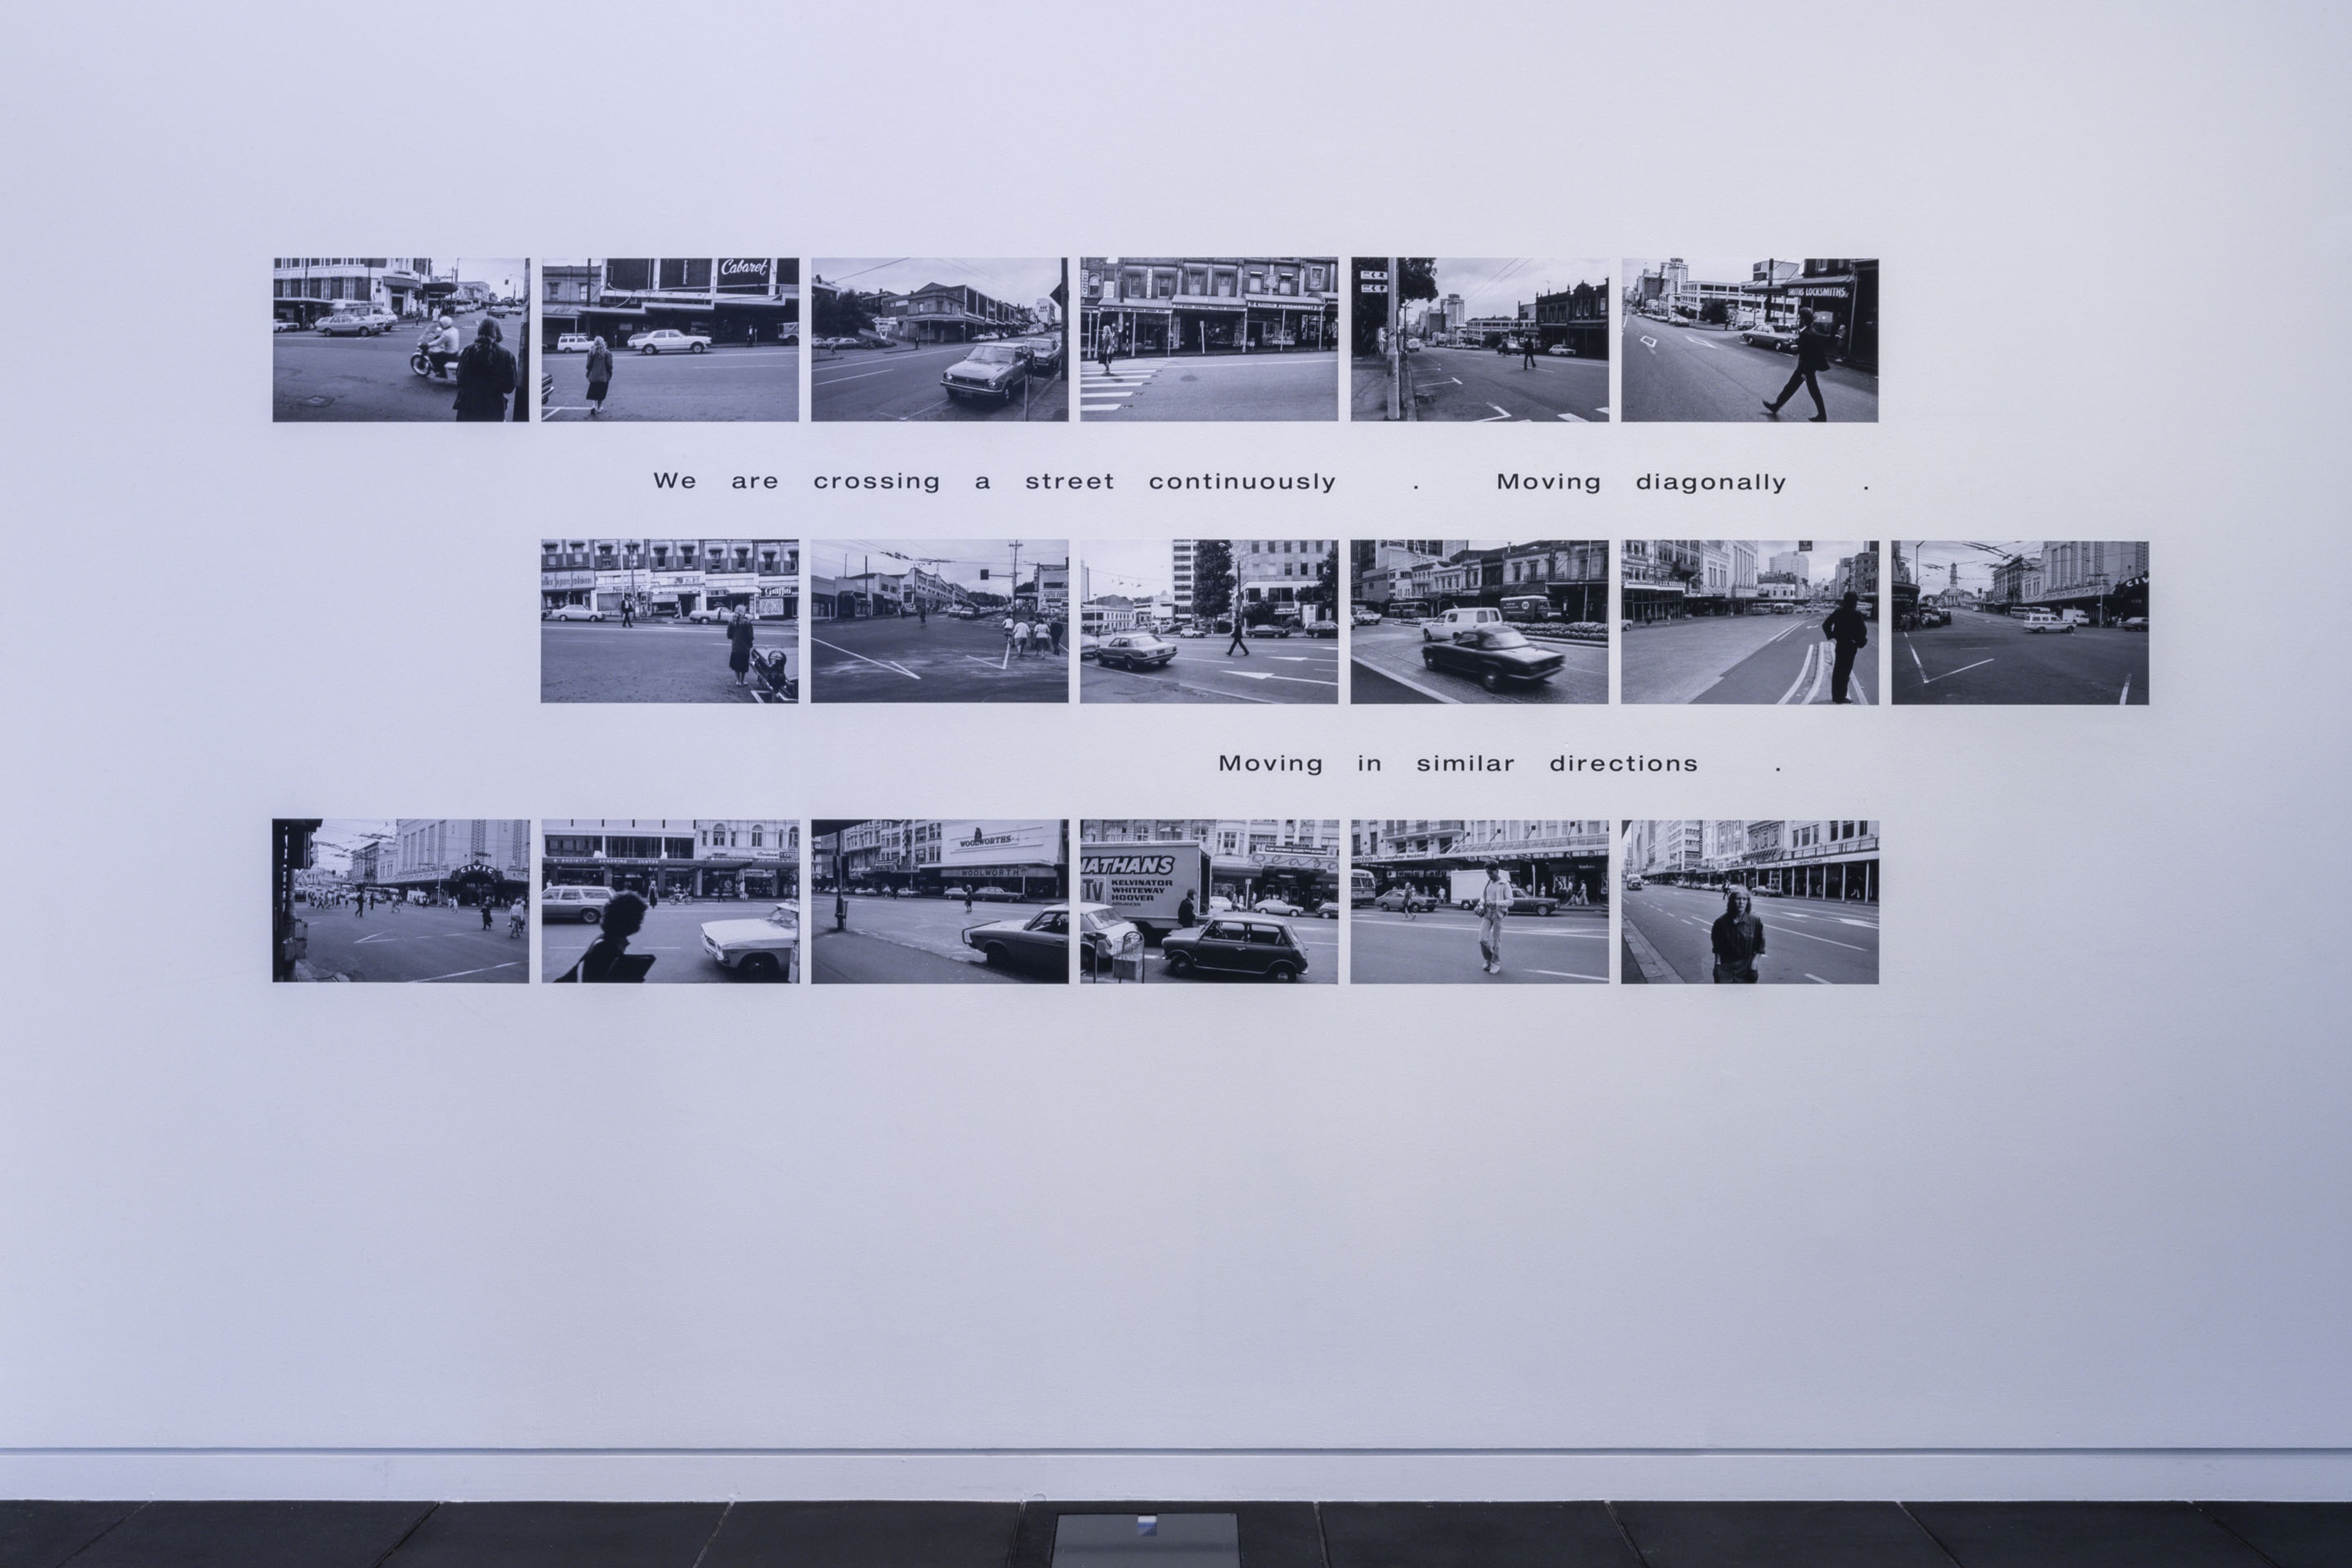
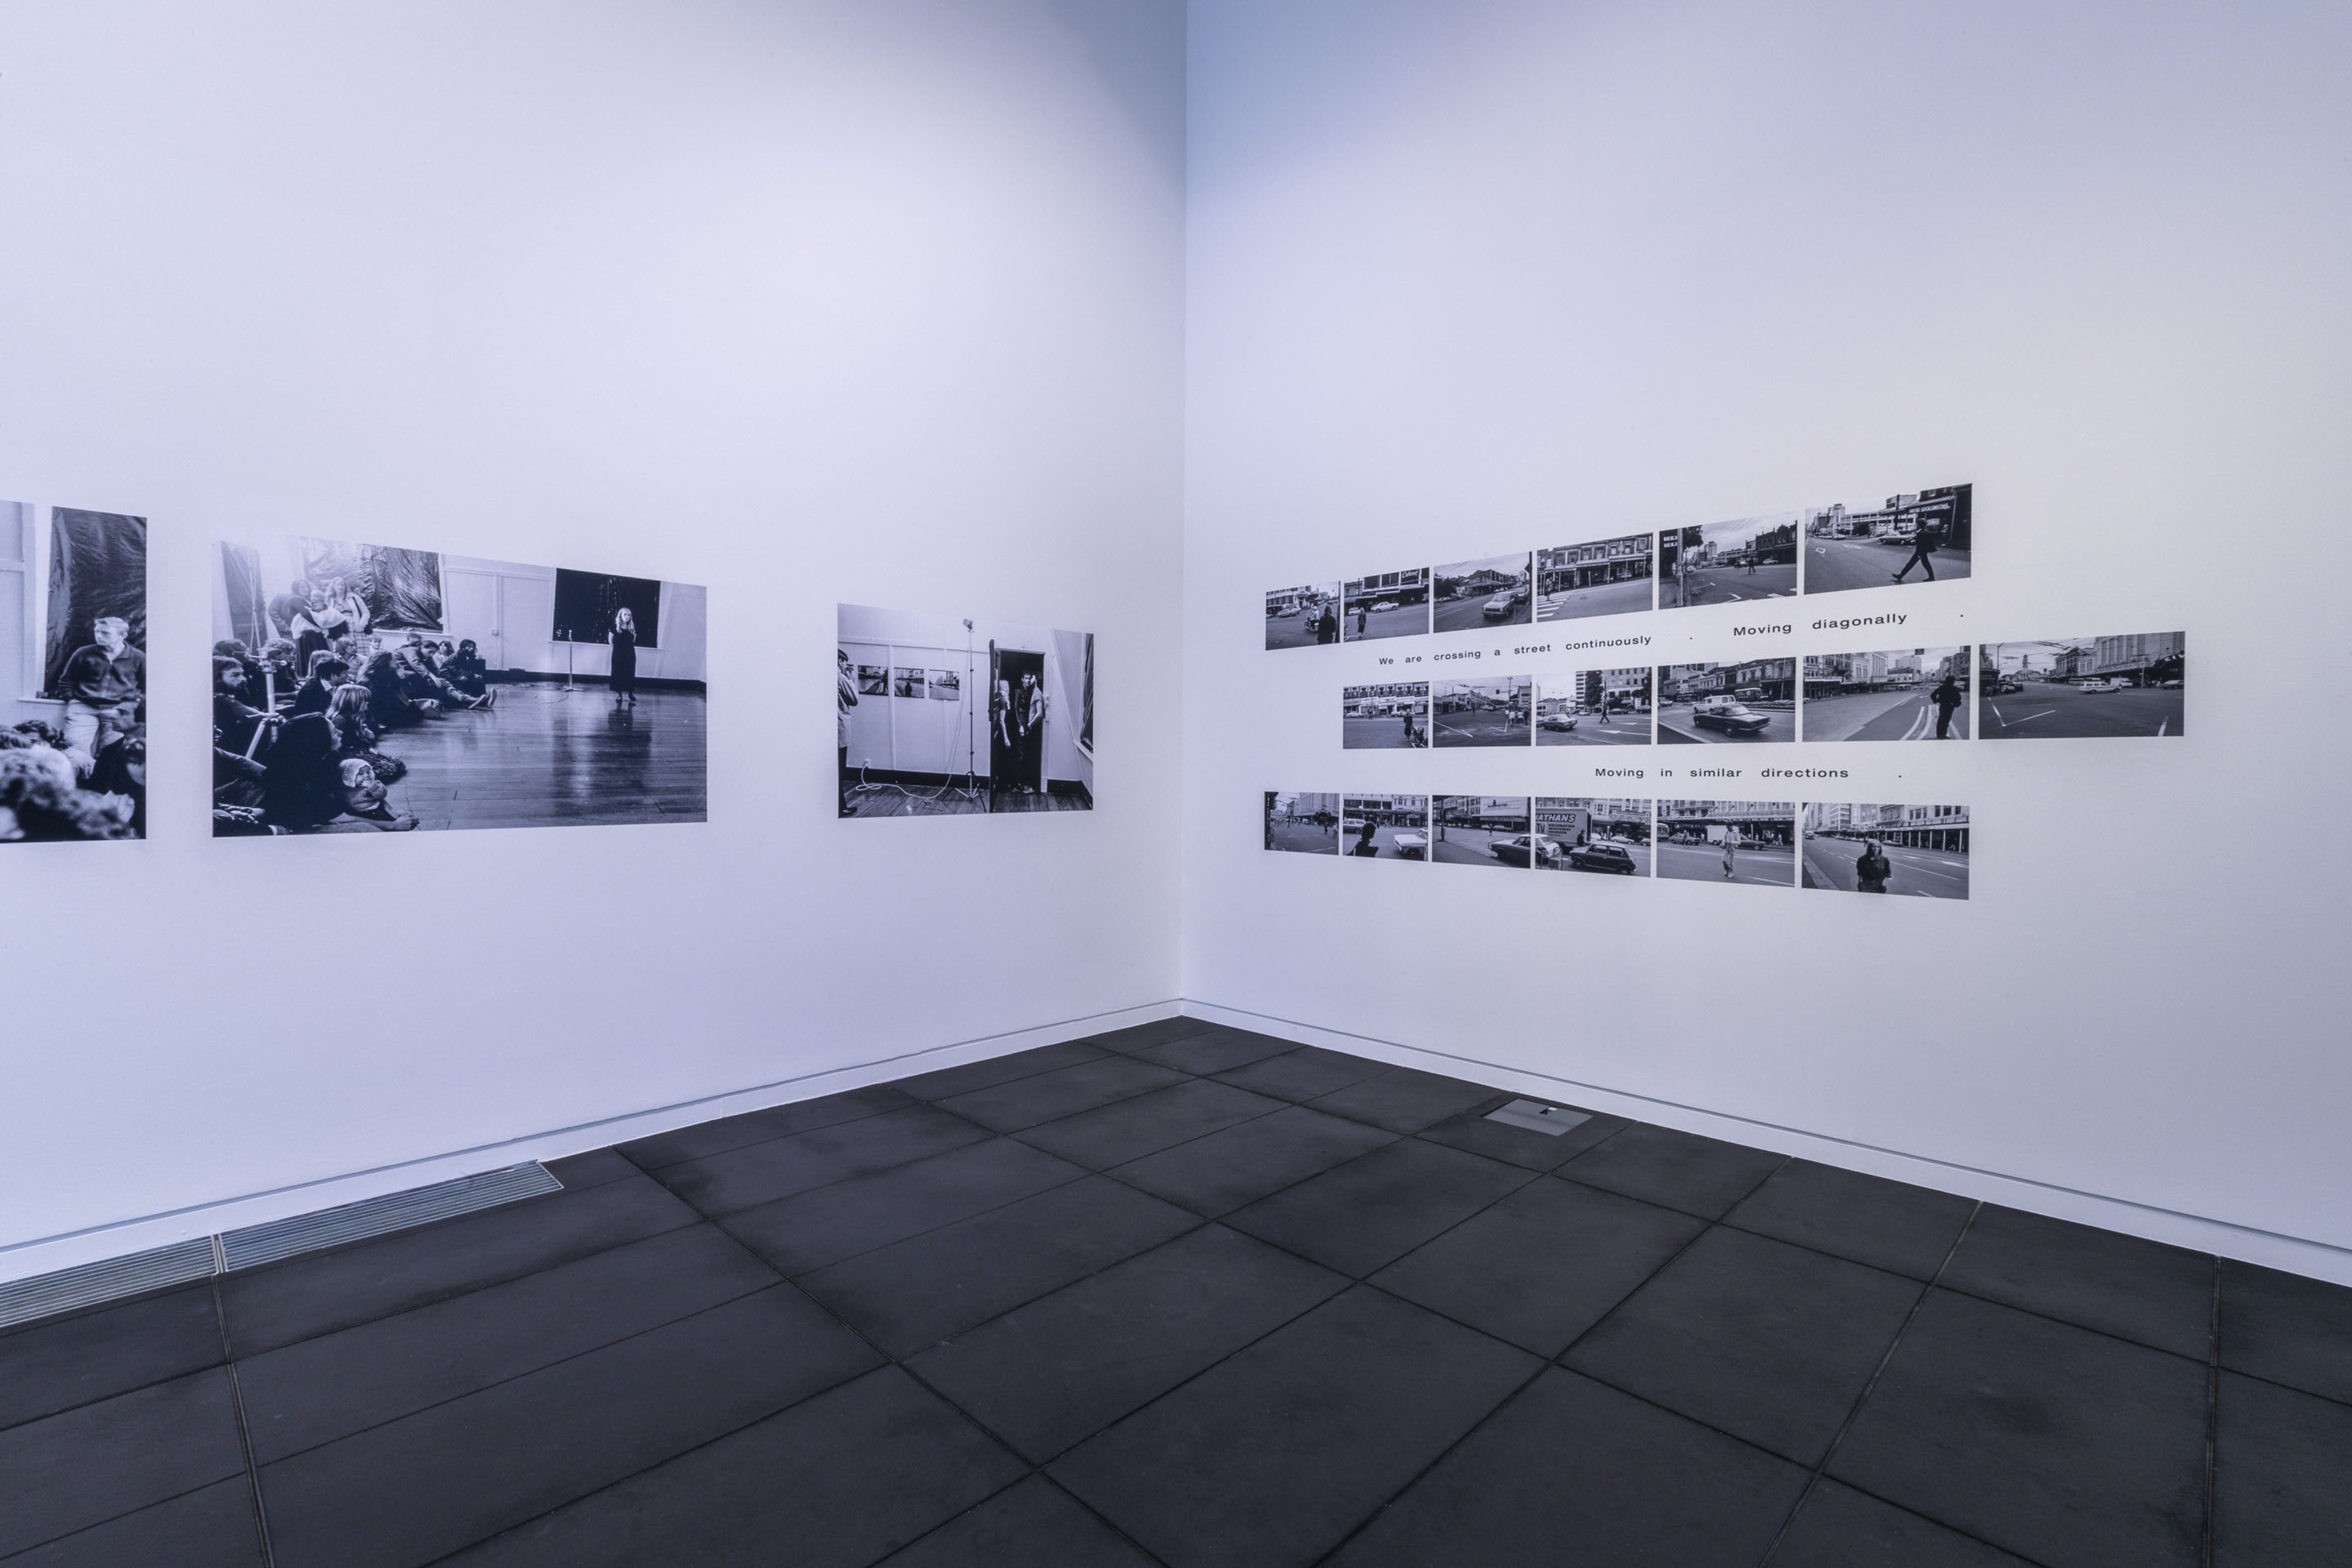
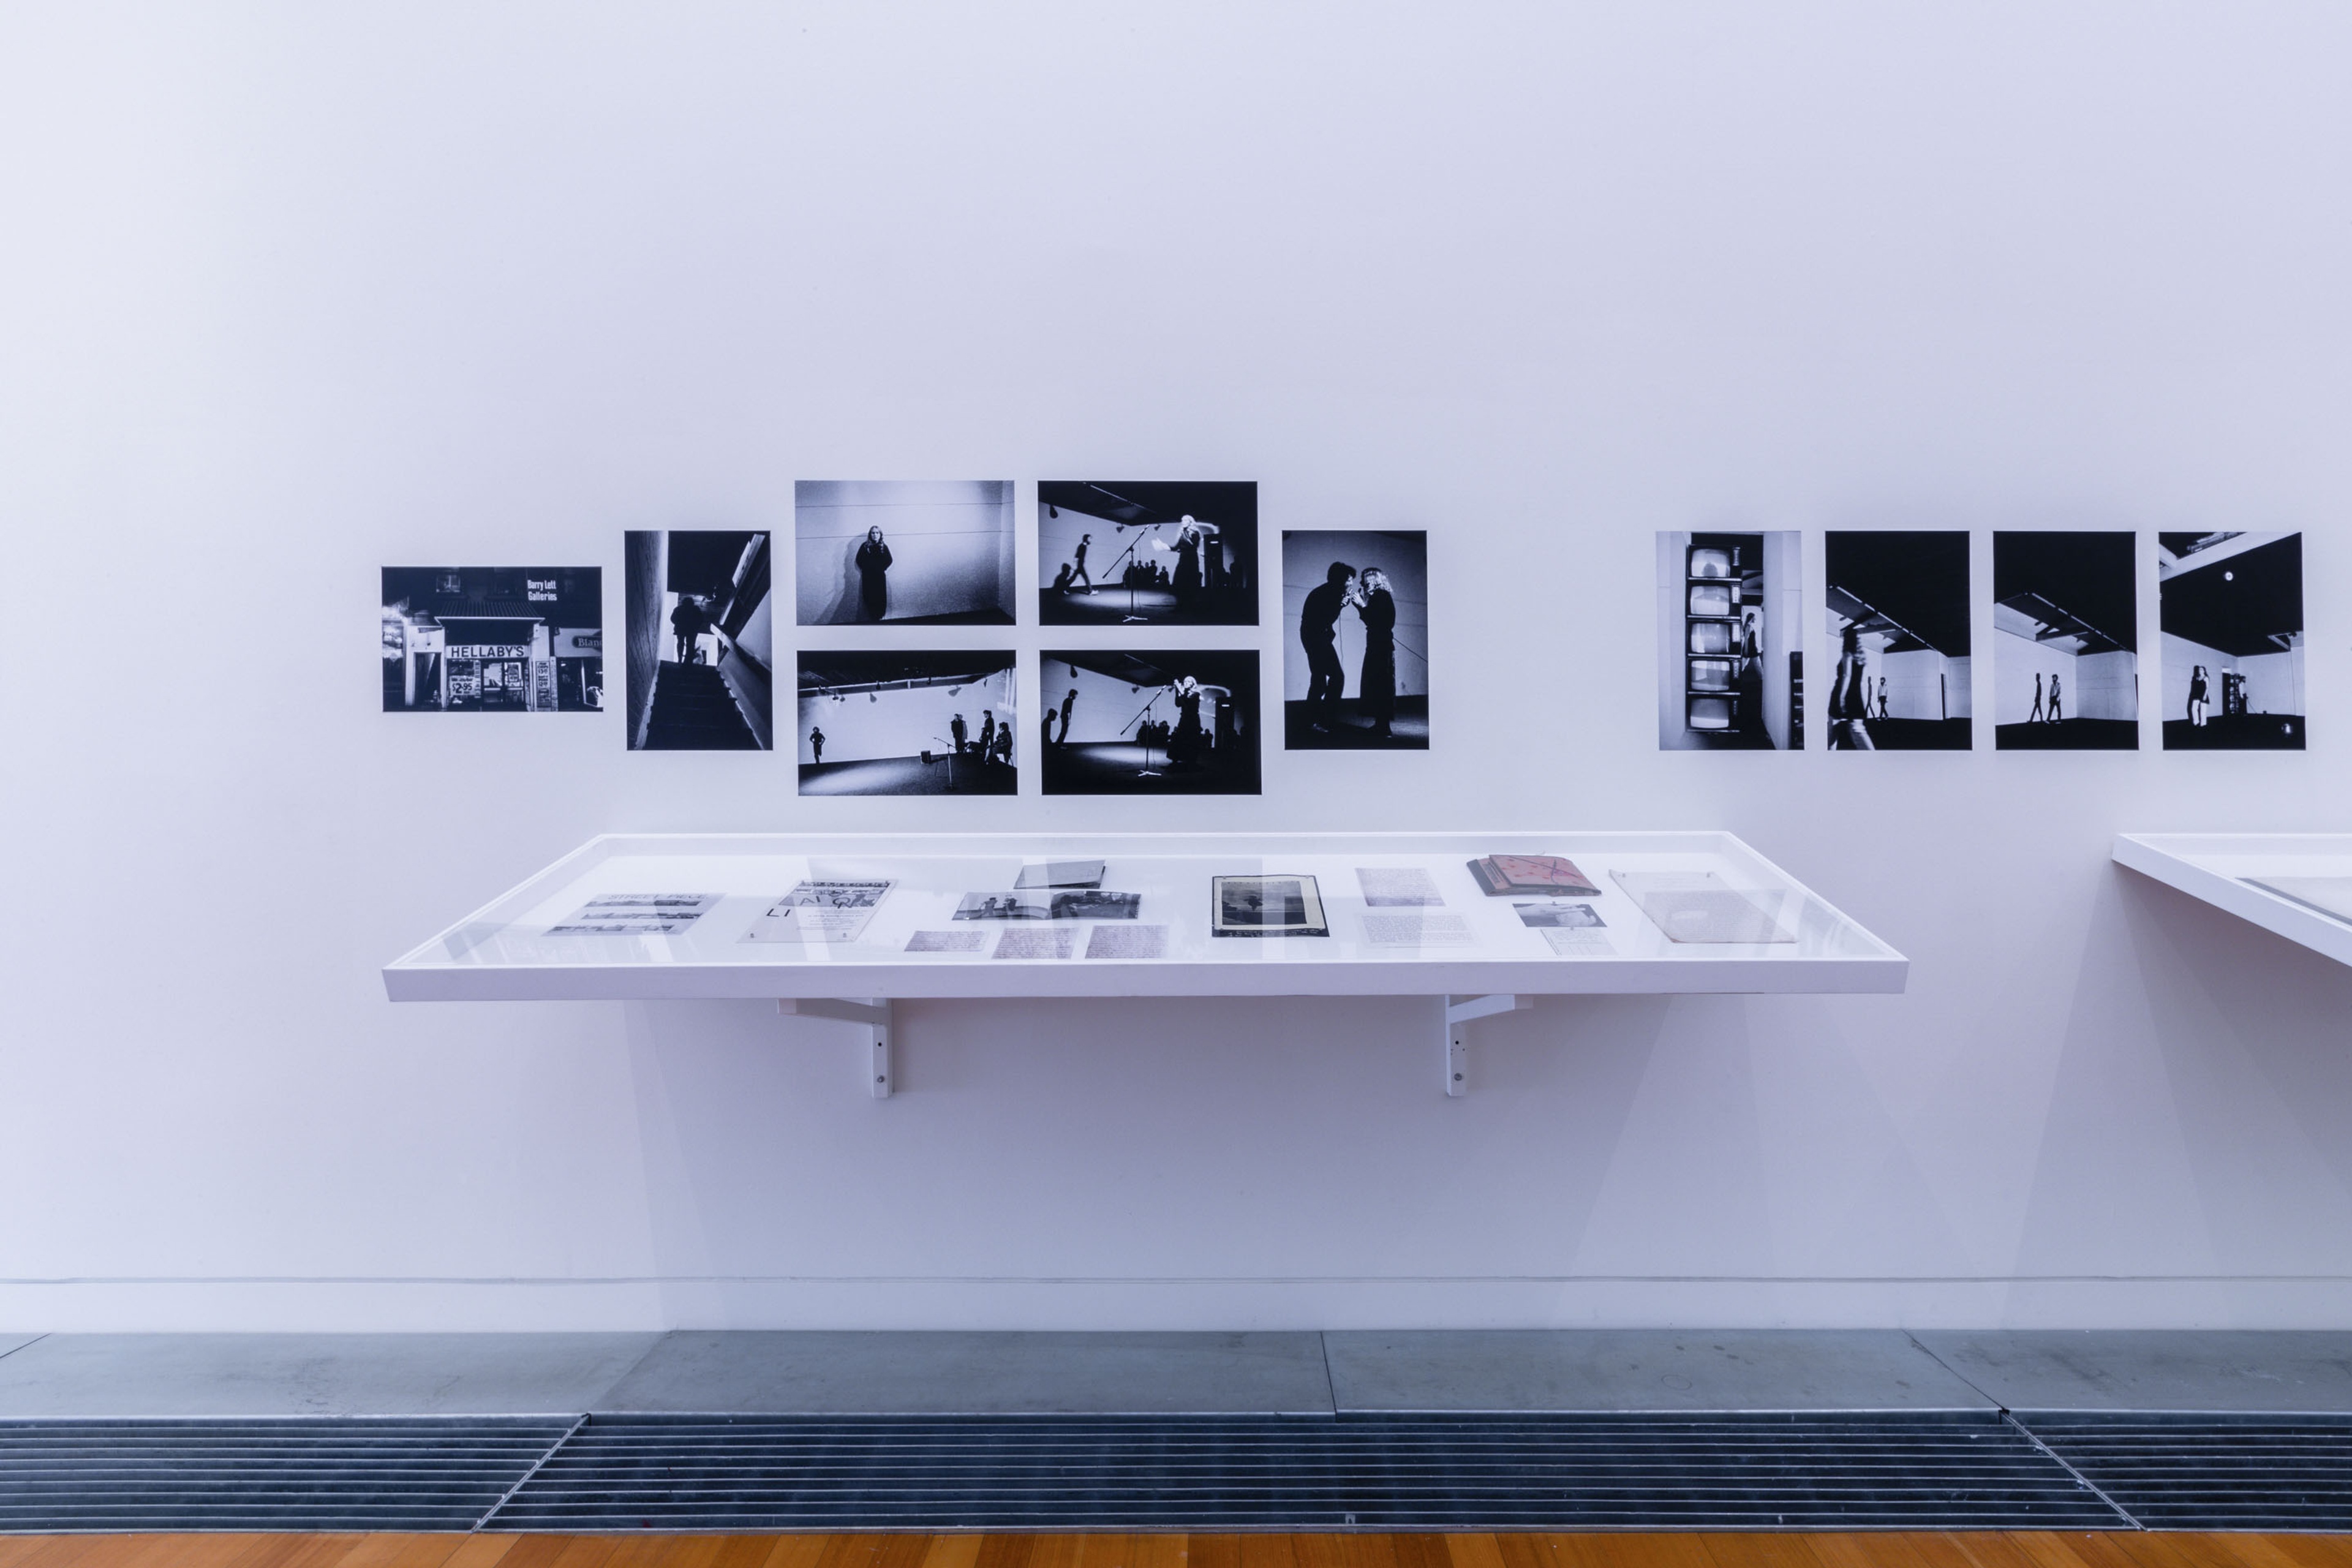
Peter Roche & Linda Buis, Street Piece, performance, Queen Street, Auckland, February 1980, 18 black and white photographs transferred to digital, vinyl text, photographs by Gregory Burke. In Relation: Performance Works by Peter Roche and Linda Buis 1979-1985, Te Pātaka Toi Adam Art Gallery, Te Herenga Waka—Victoria University of Wellington. Photo: Ted Whitaker
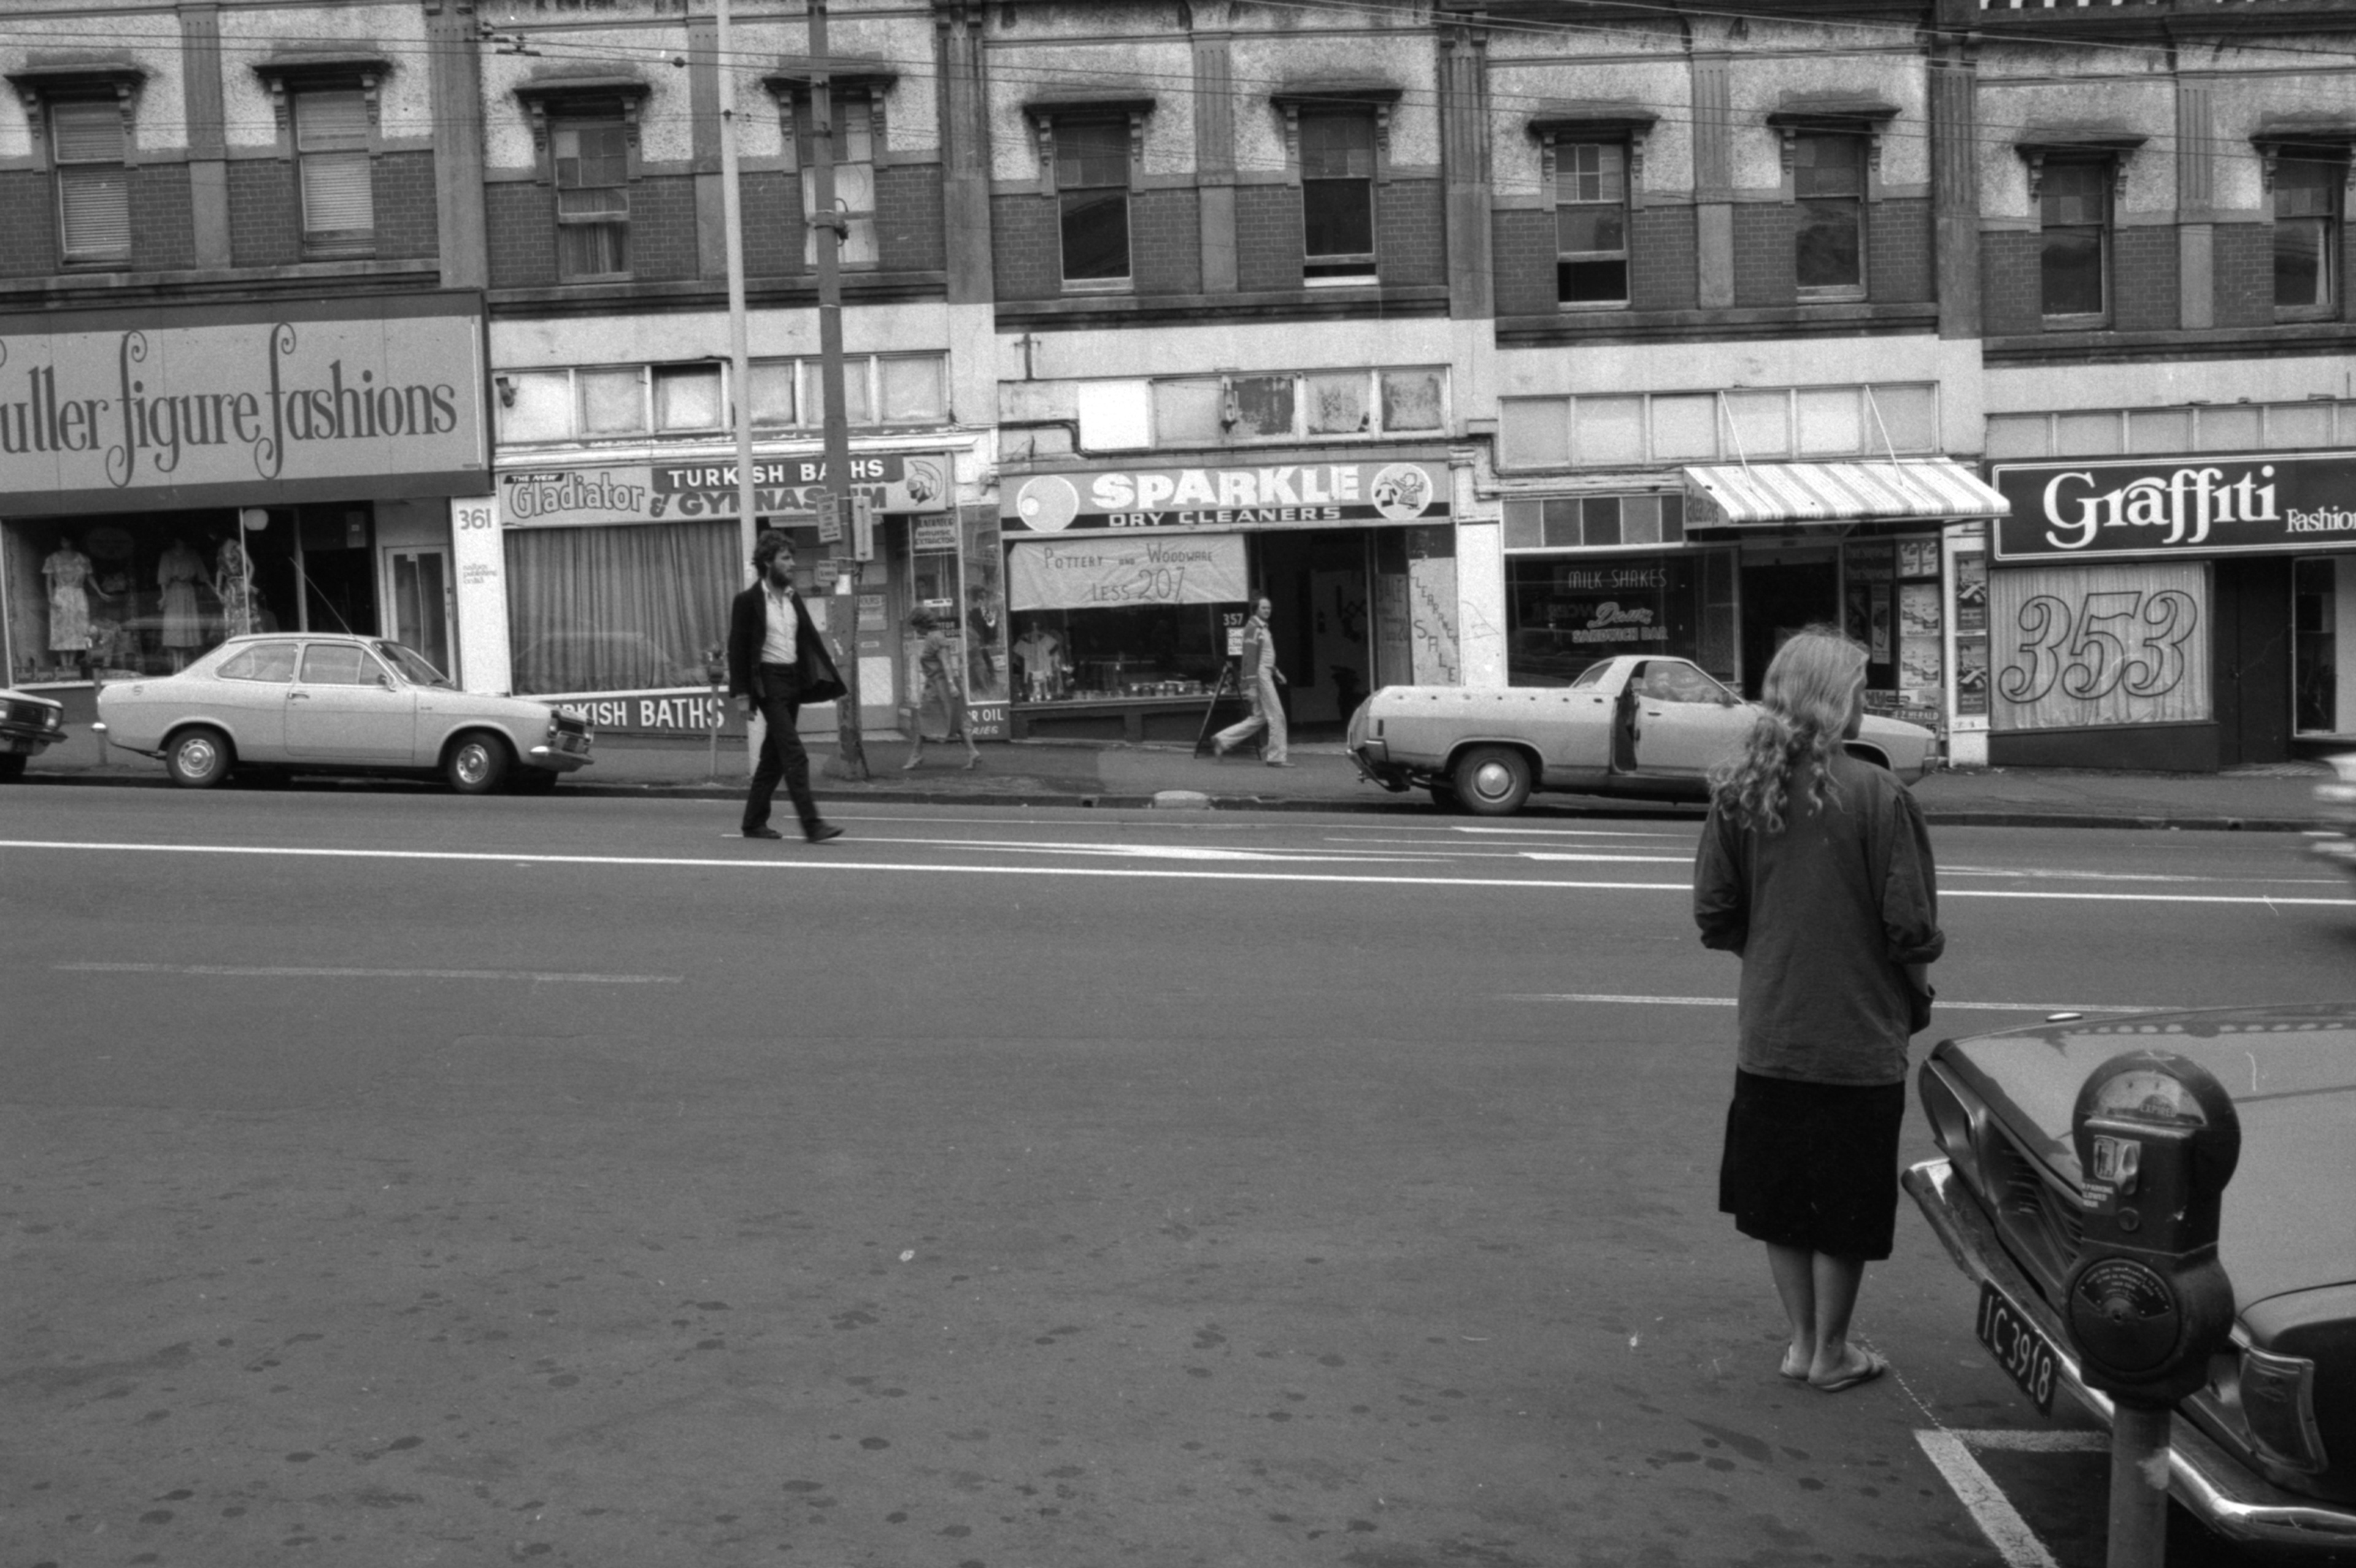
Peter Roche & Linda Buis, Street Piece, performance, Queen St, Auckland, February 1980, photograph: Gregory Burke, courtesy of Peter Roche Estate

Peter Roche & Linda Buis, Artist statement, 1982, In Relation: Performance Worksby Peter Roche and Linda Buis 1979-1985, Te Pātaka Toi Adam Art Gallery, Te Herenga Waka—Victoria University of Wellington. Photo: Ted Whitaker
Peter Roche & Linda Buis, Liasion Assertive Cooperative, performance, 1980, Super-8 film transferred to digital video. In Relation: Performance Works by Peter Roche & Linda Buis 1979–1985, Te Pātaka Toi Adam Art Gallery, Te Herenga Waka—Victoria University of Wellington. Photo: Ted Whitaker
Peter Roche & Linda Buis, Liasion Assertive Cooperative, performance, 1980, Super-8 film transferred to digital video. In Relation: Performance Works by Peter Roche & Linda Buis 1979–1985, Te Pātaka Toi Adam Art Gallery, Te Herenga Waka—Victoria University of Wellington. Photo: Ted Whitaker
Installation view, In Relation: Performance Works by Peter Roche & Linda Buis 1979–1985, Te Pātaka Toi Adam Art Gallery, Te Herenga Waka—Victoria University of Wellington. Photo: Ted Whitaker
Installation view, In Relation: Performance Works by Peter Roche & Linda Buis 1979–1985, Te Pātaka Toi Adam Art Gallery, Te Herenga Waka—Victoria University of Wellington. Photo: Ted Whitaker
Peter Roche & Linda Buis, Continuance in Action: Interferences, performance, date, seven black and white photographs transferred to digital, photographs by Ed Kulka. In Relation: Performance Works by Peter Roche & Linda Buis 1979–1985, Te Pātaka Toi Adam Art Gallery, Te Herenga Waka—Victoria University of Wellington. Photo: Ted Whitaker
Peter Roche & Linda Buis, Performance, RKS ART, Auckland, June 1982, photograph: Gregory Burke, courtesy of Peter Roche Estate
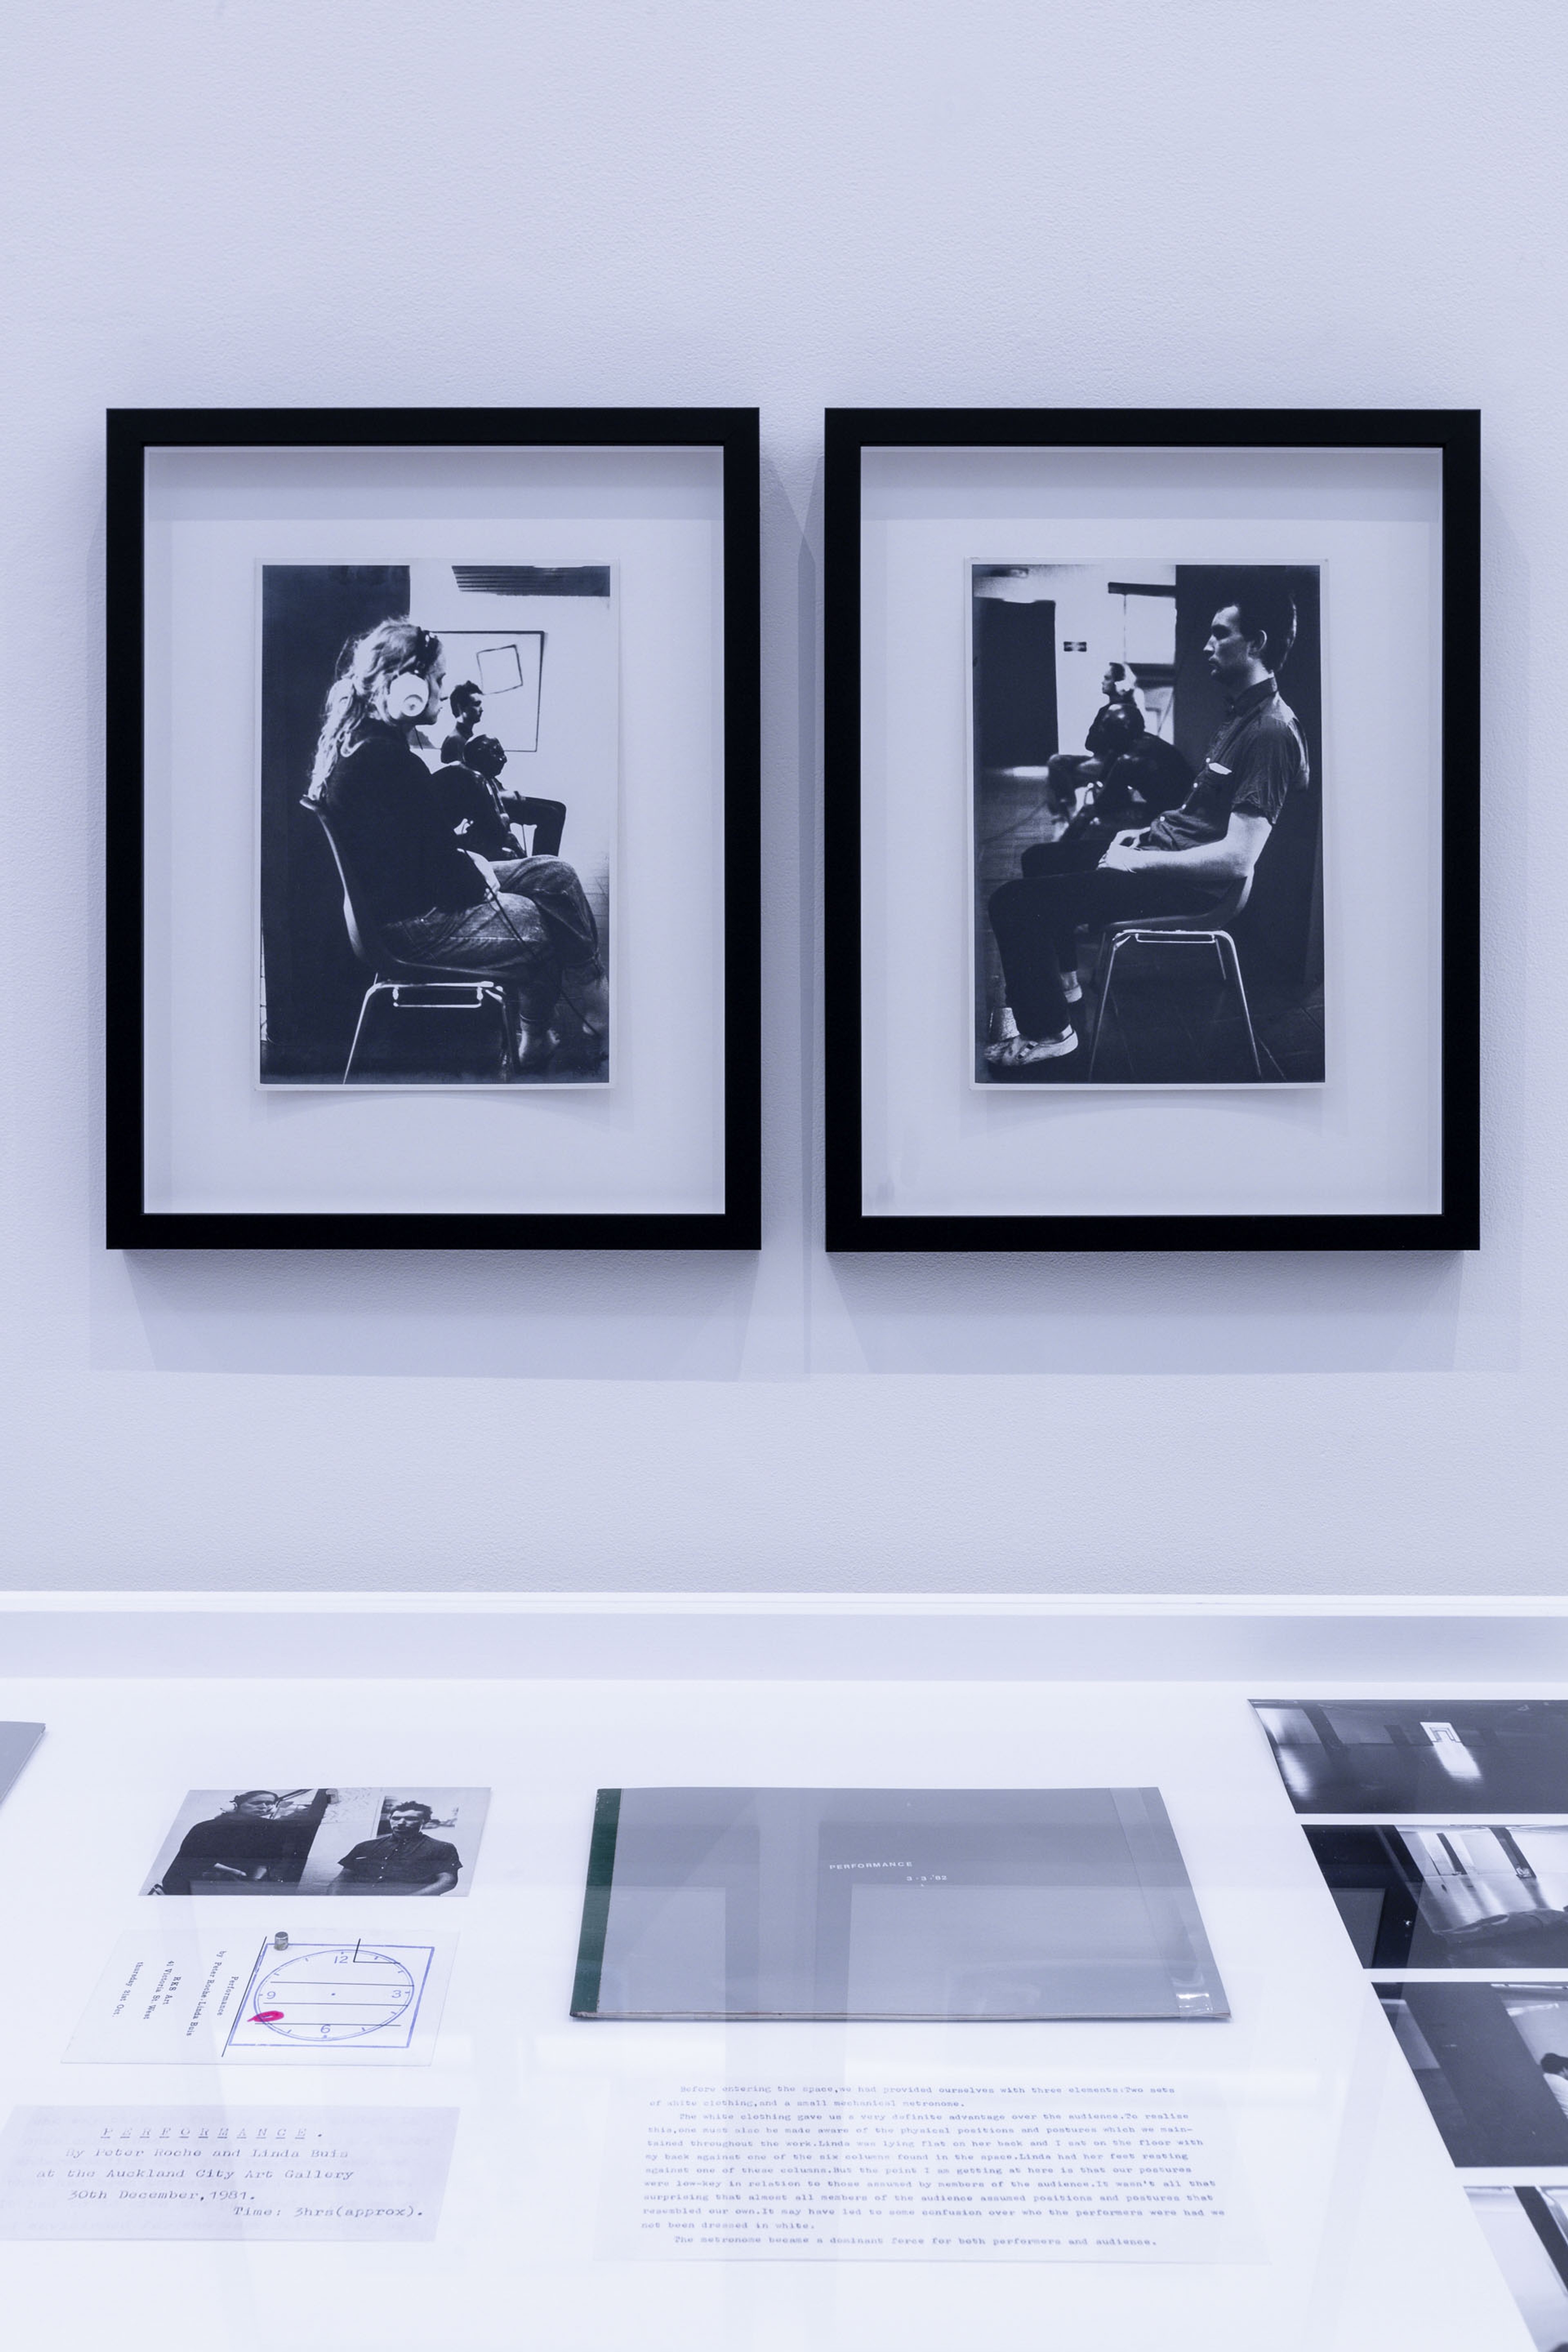
Peter Roche & Linda Buis, Performance, December 1981, two black and white photographs, photographs by Gregory Burke. In Relation: Performance Works by Peter Roche and Linda Buis 1979-1985, Te Pātaka Toi Adam Art Gallery, Te Herenga Waka—Victoria University of Wellington. Photo: Ted Whitaker
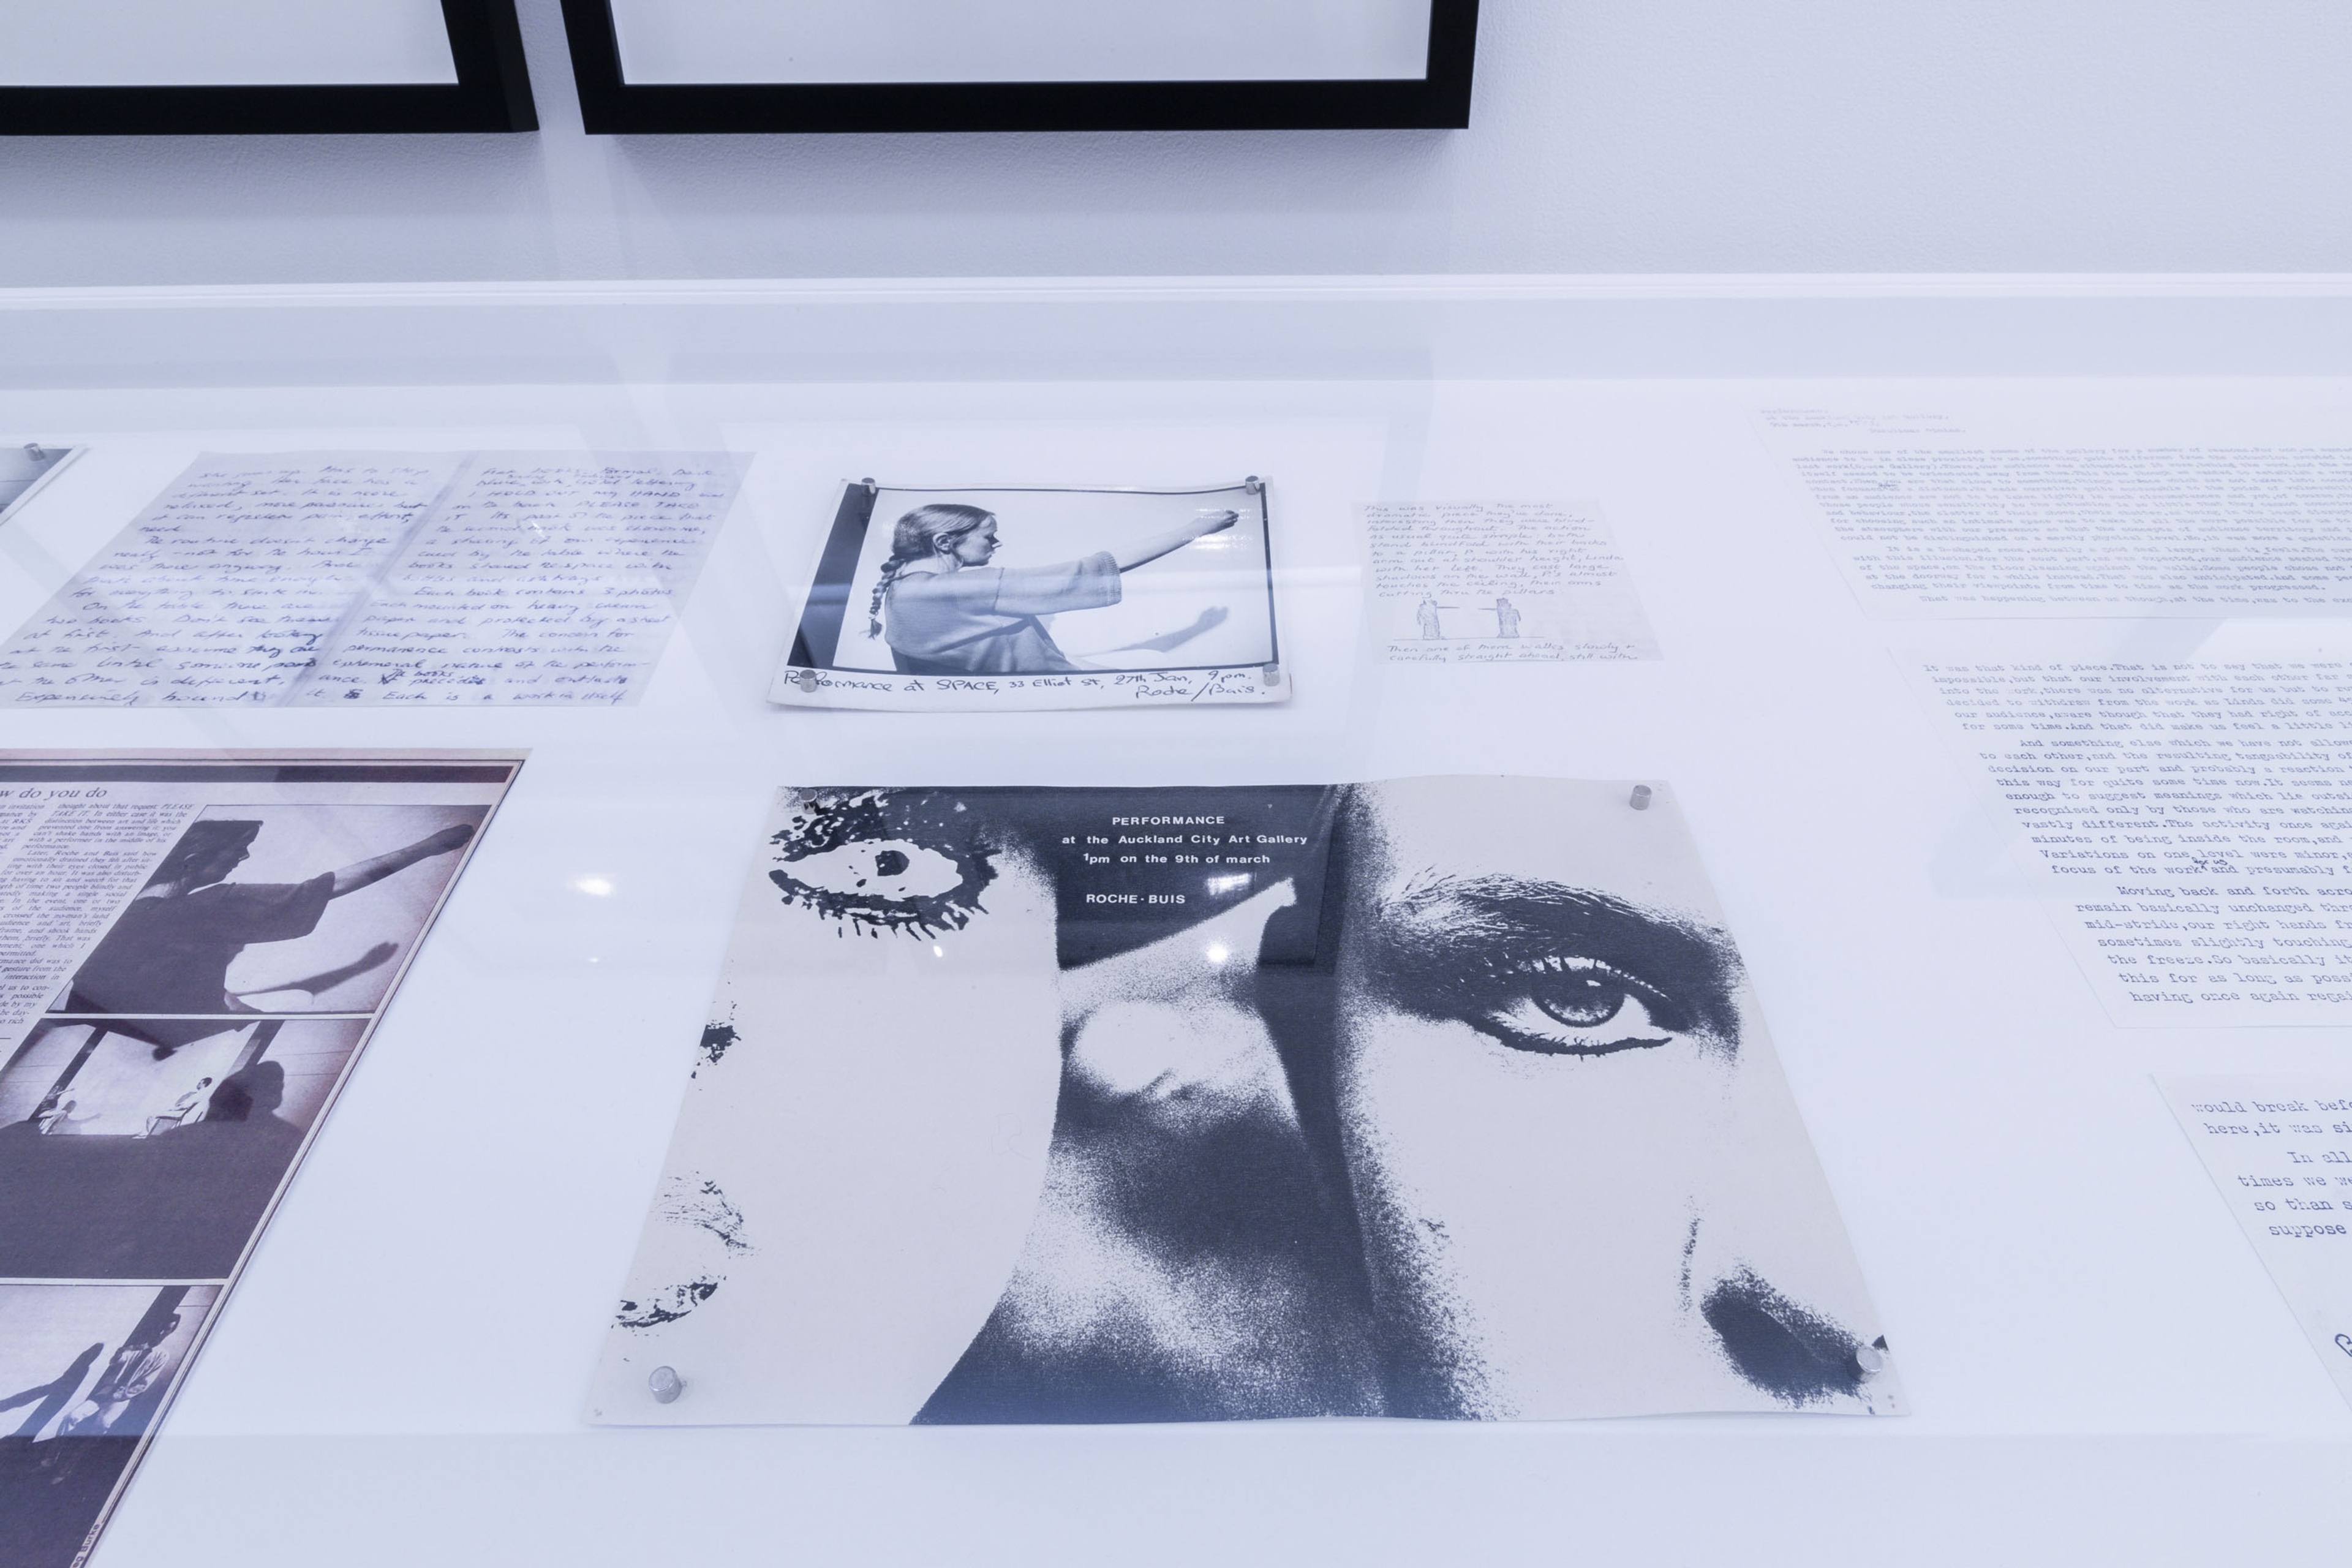
Vitrine detail, Installation view, In Relation: Performance Works by Peter Roche & Linda Buis 1979–1985, Te Pātaka Toi Adam Art Gallery, Te Herenga Waka—Victoria University of Wellington. Photo: Ted Whitaker
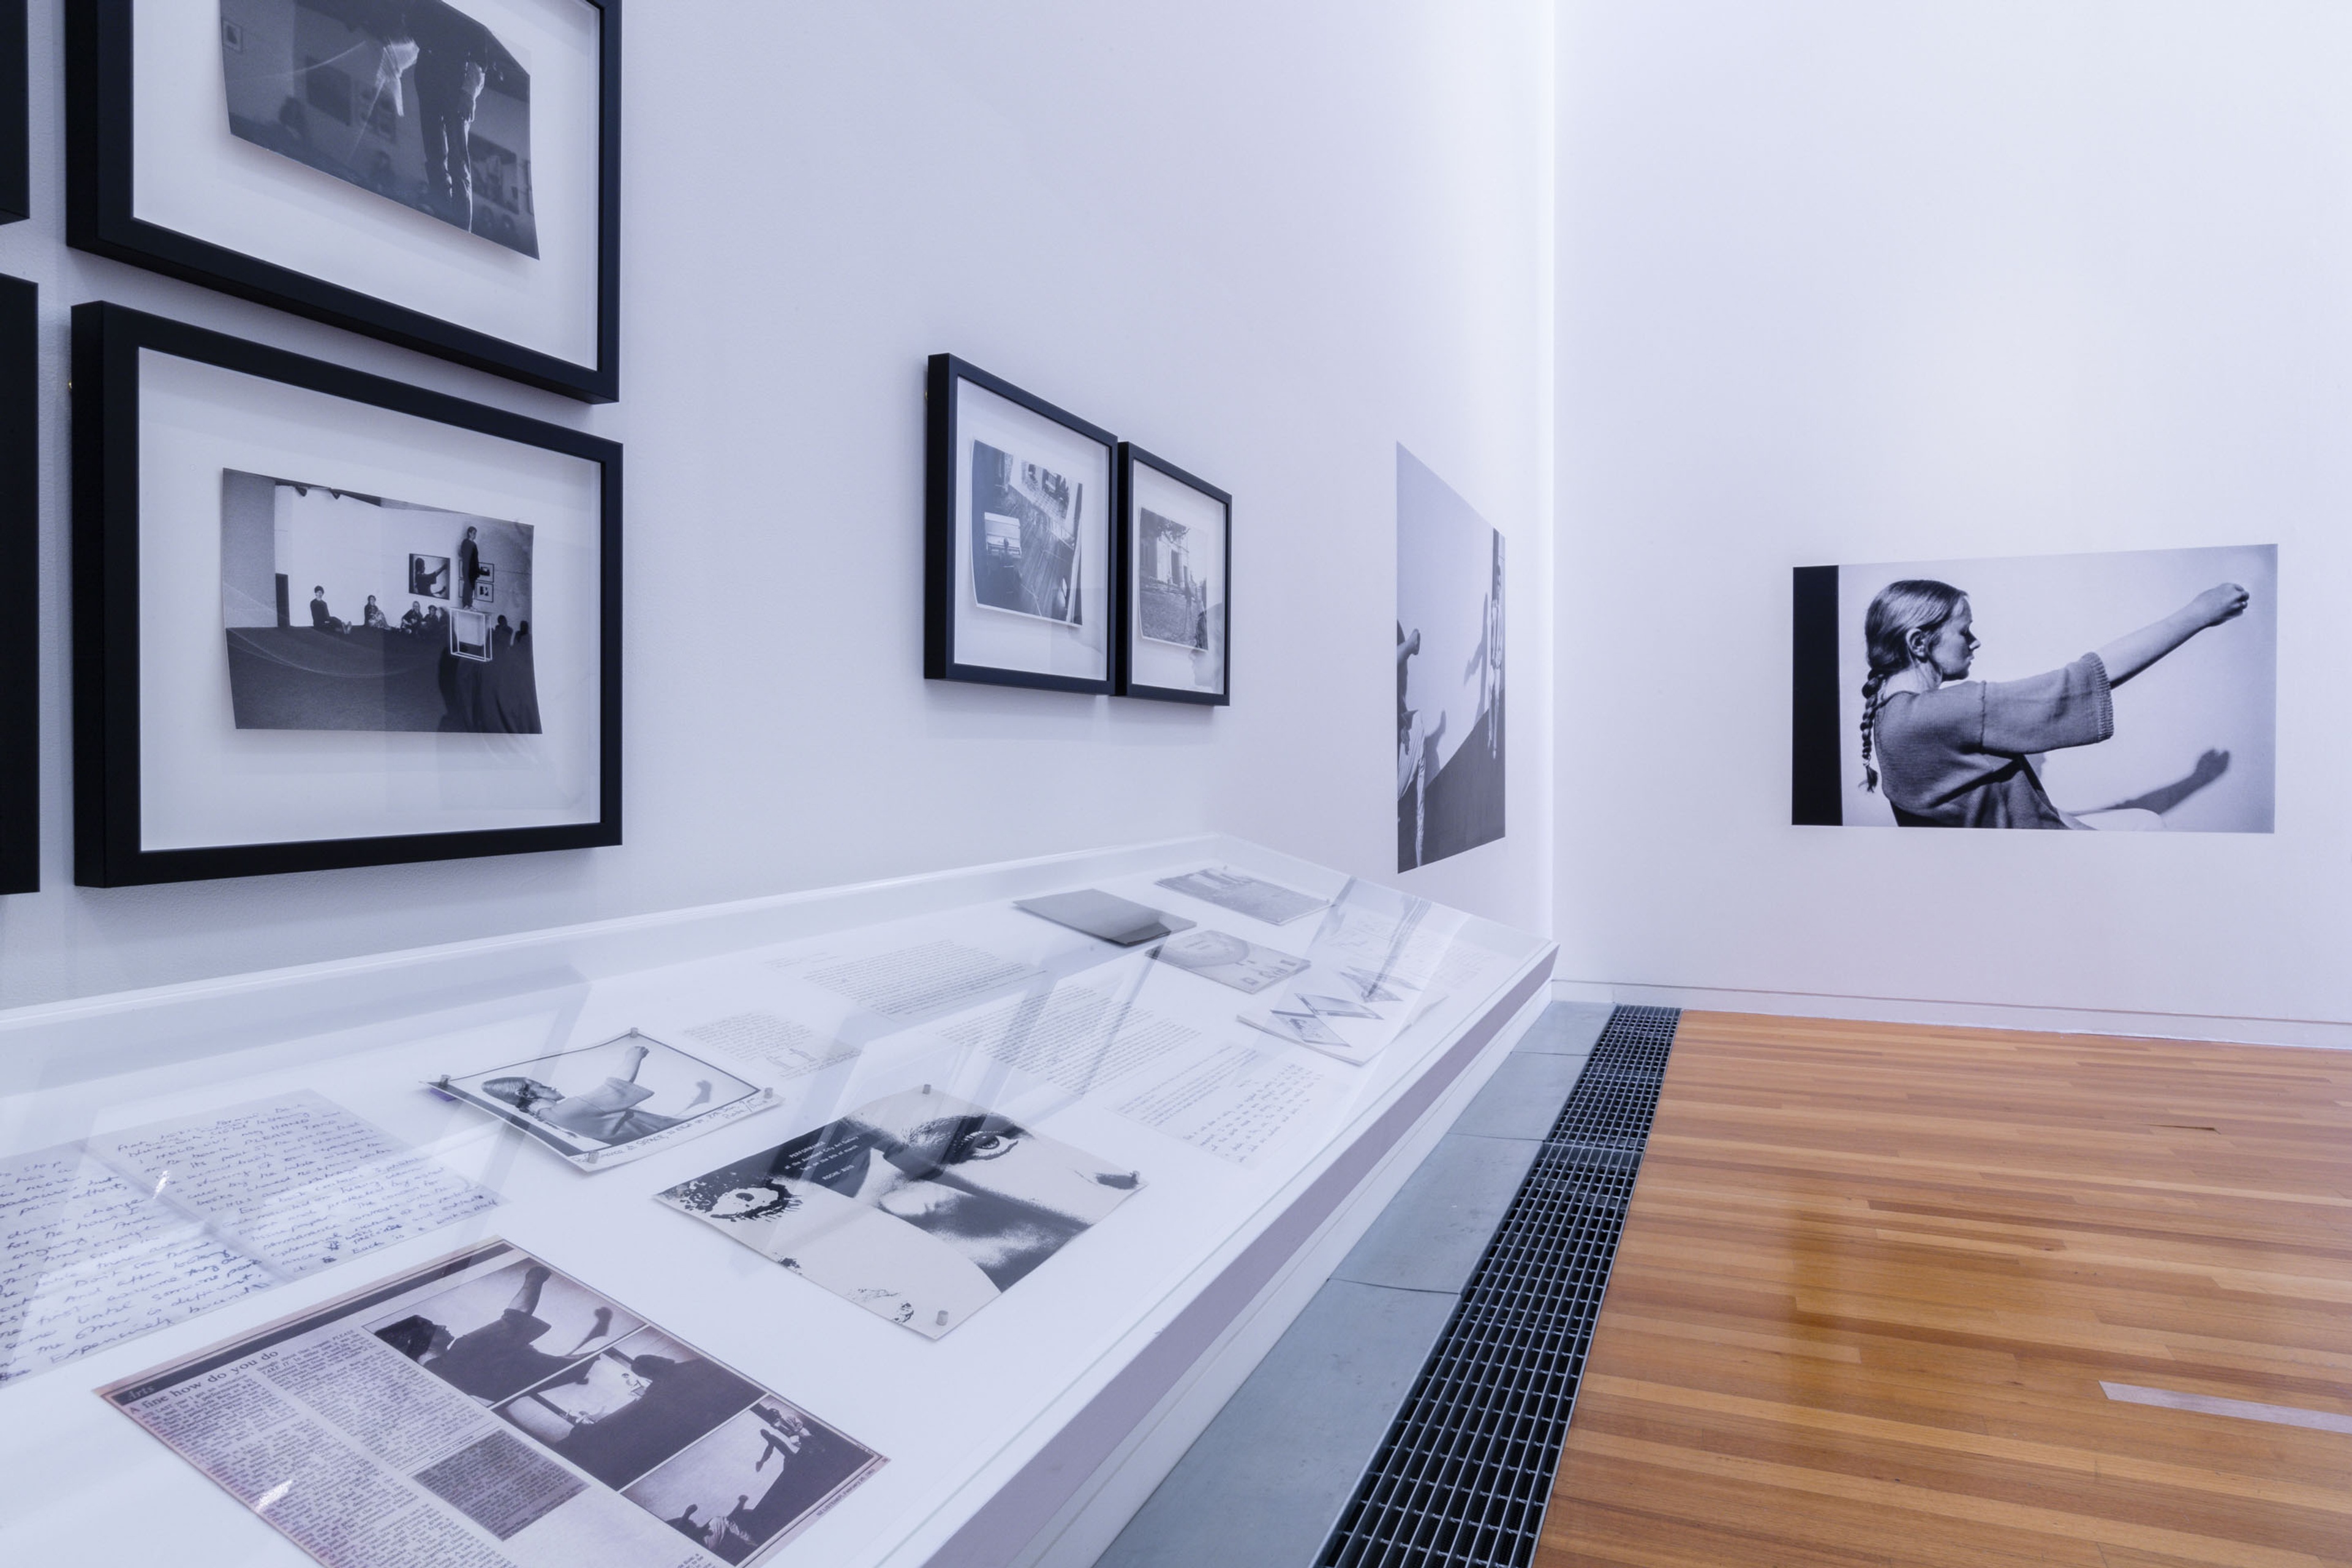
Installation view, In Relation: Performance Works by Peter Roche & Linda Buis 1979–1985, Te Pātaka Toi Adam Art Gallery, Te Herenga Waka—Victoria University of Wellington. Photo: Ted Whitaker
Peter Roche & Linda Buis, Performance, October 1982, three black and white photographs, photographs by Gregory Burke. In Relation: Performance Works by Peter Roche & Linda Buis 1979–1985, Te Pātaka Toi Adam Art Gallery, Te Herenga Waka—Victoria University of Wellington. Photo: Ted Whitaker
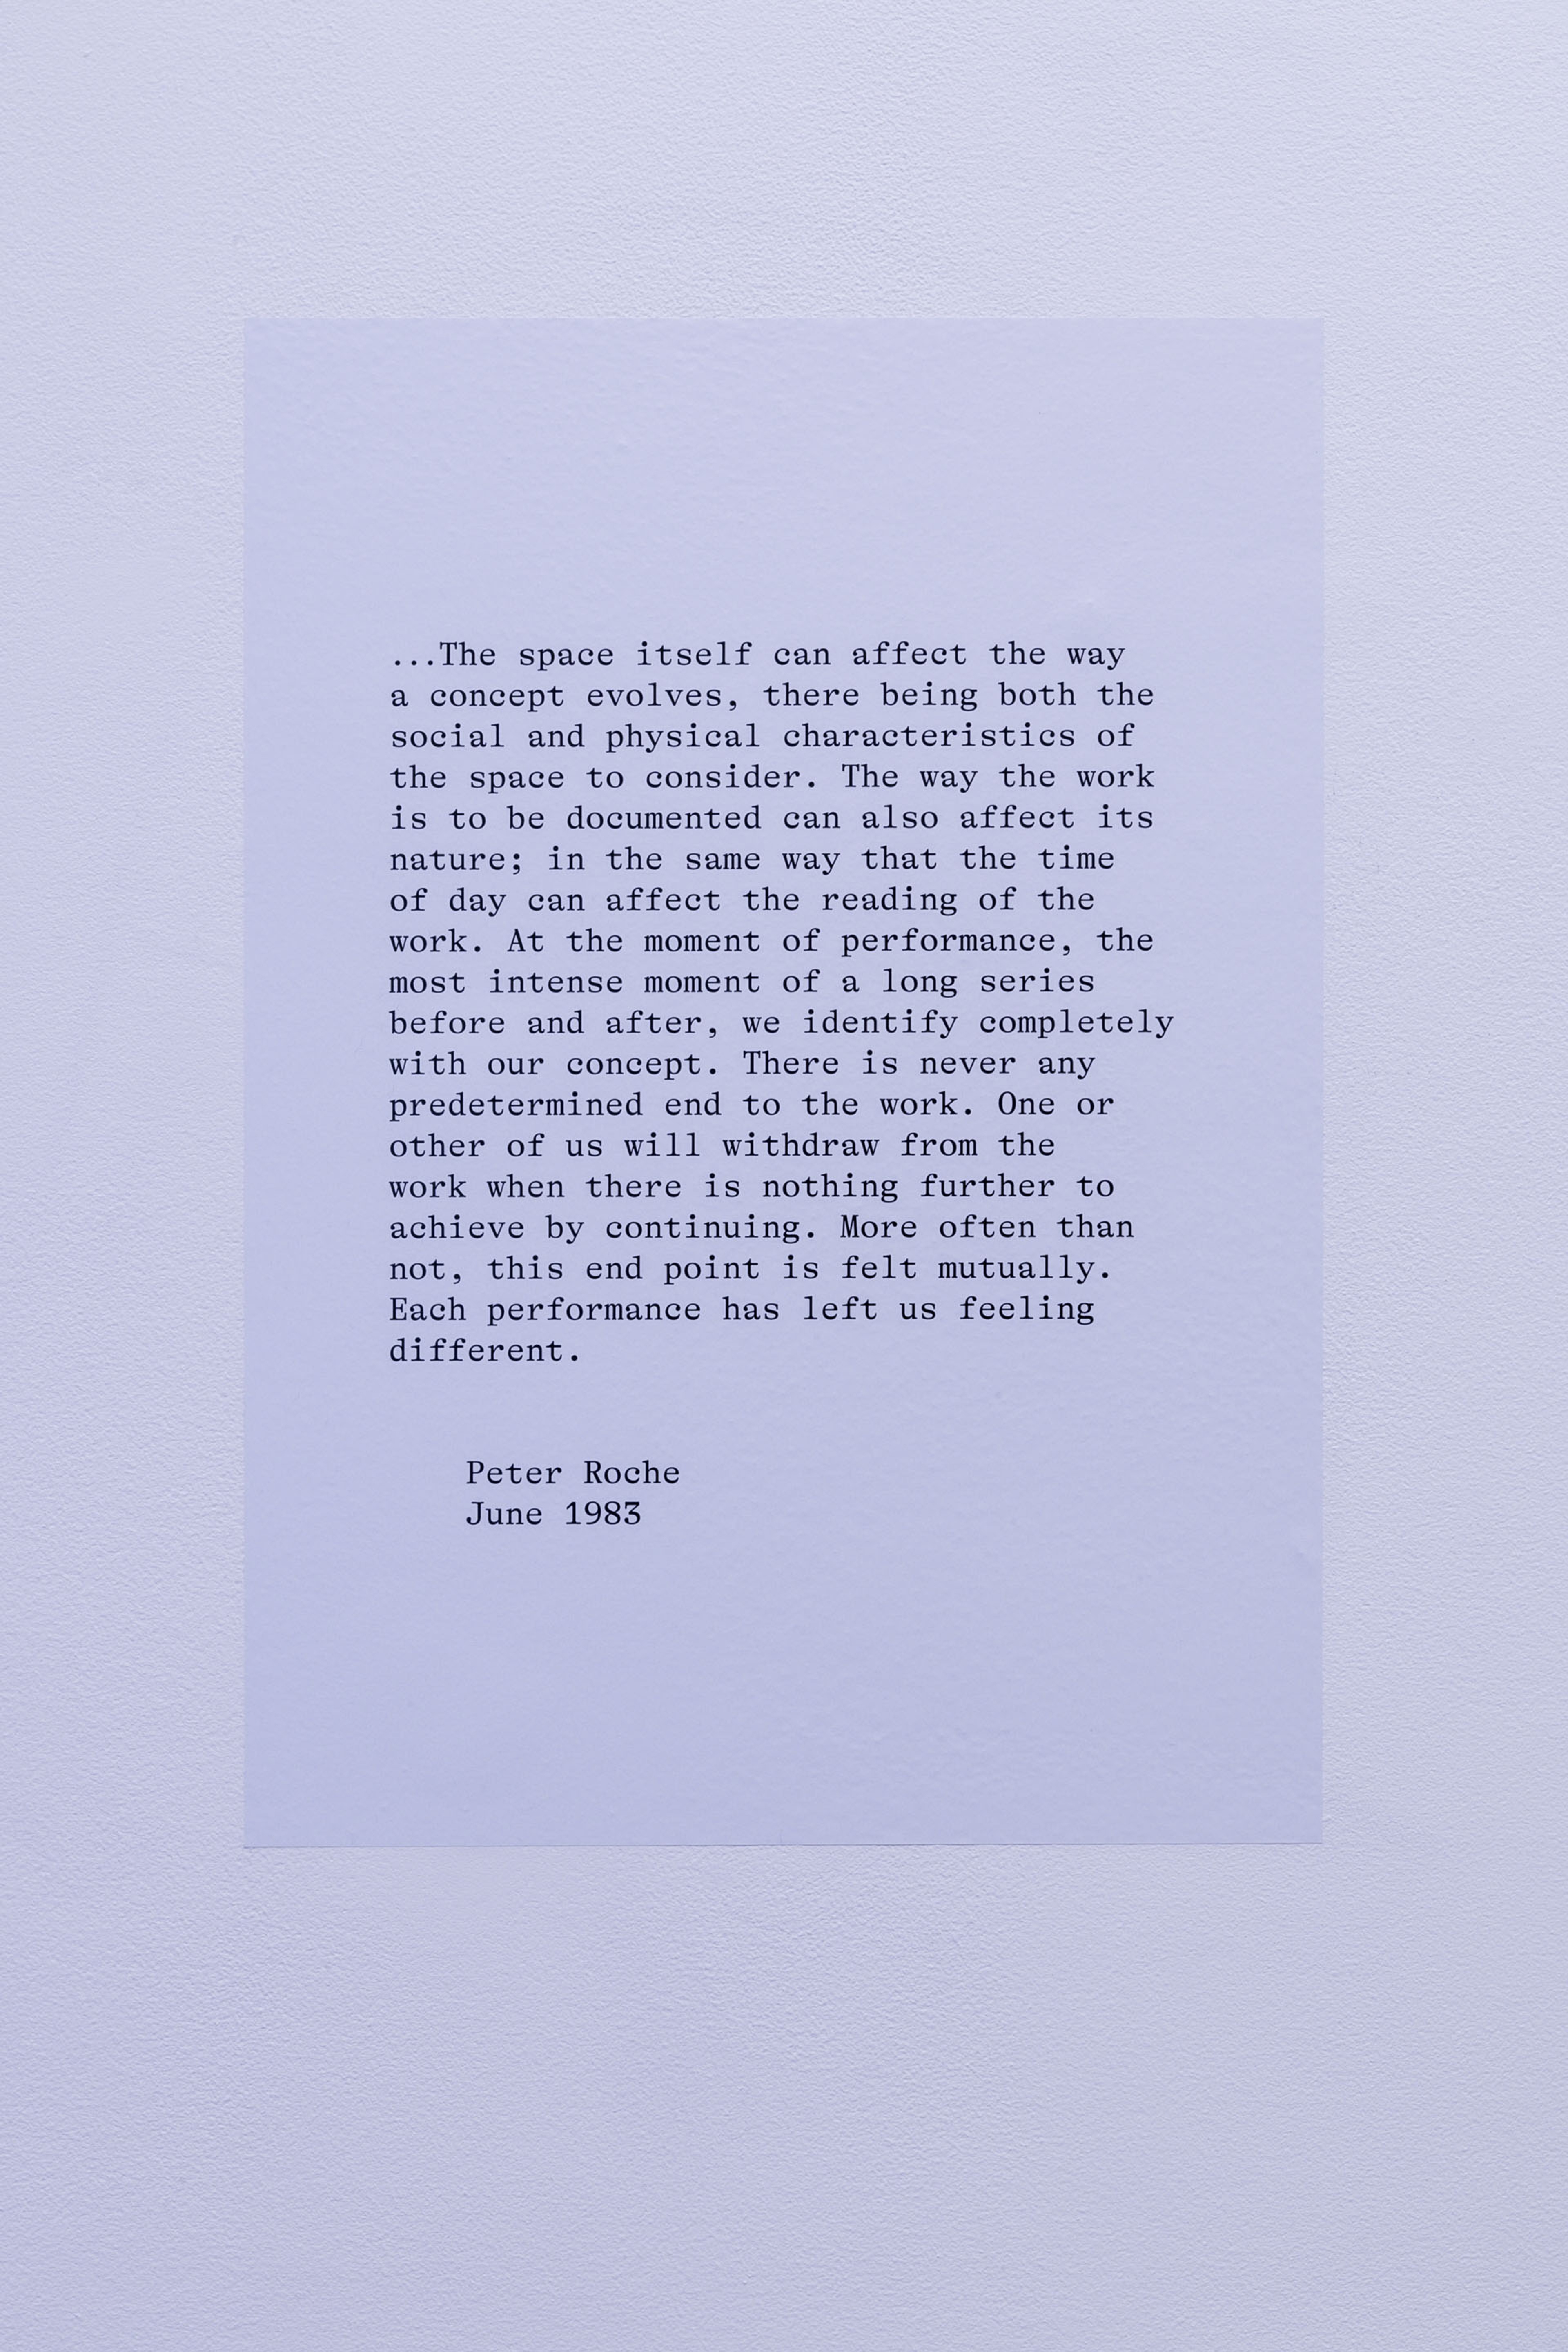
Peter Roche, Artist statement, 1983, In Relation: Performance Worksby Peter Roche and Linda Buis 1979-1985, Te Pātaka Toi Adam Art Gallery, Te Herenga Waka—Victoria University of Wellington. Photo: Ted Whitaker
Peter Roche & Linda Buis, Performance, May 1983, black and white photograph, photograph by Jurgen Weibel. In Relation: Performance Works by Peter Roche & Linda Buis 1979–1985, Te Pātaka Toi Adam Art Gallery, Te Herenga Waka—Victoria University of Wellington. Photo: Ted Whitaker
Peter Roche & Linda Buis, Performance, January 1983, 42 black and white photographs transferred to digital video, photographs by Ron Brownson (left) and Gregory Burke (right). In Relation: Performance Works by Peter Roche & Linda Buis 1979–1985, Te Pātaka Toi Adam Art Gallery, Te Herenga Waka—Victoria University of Wellington. Photo: Ted Whitaker
Peter Roche & Linda Buis, Performance, January 1983, 42 black and white photographs transferred to digital video, photographs by Ron Brownson (left) and Gregory Burke (right). In Relation: Performance Works by Peter Roche & Linda Buis 1979–1985, Te Pātaka Toi Adam Art Gallery, Te Herenga Waka—Victoria University of Wellington. Photo: Ted Whitaker
Peter Roche & Linda Buis, Performance, April 1981, five black and white photographs and four black and white photographs transferred to digital, photographs by Gregory Burke. In Relation: Performance Works by Peter Roche & Linda Buis 1979–1985, Te Pātaka Toi Adam Art Gallery, Te Herenga Waka—Victoria University of Wellington. Photo: Ted Whitaker
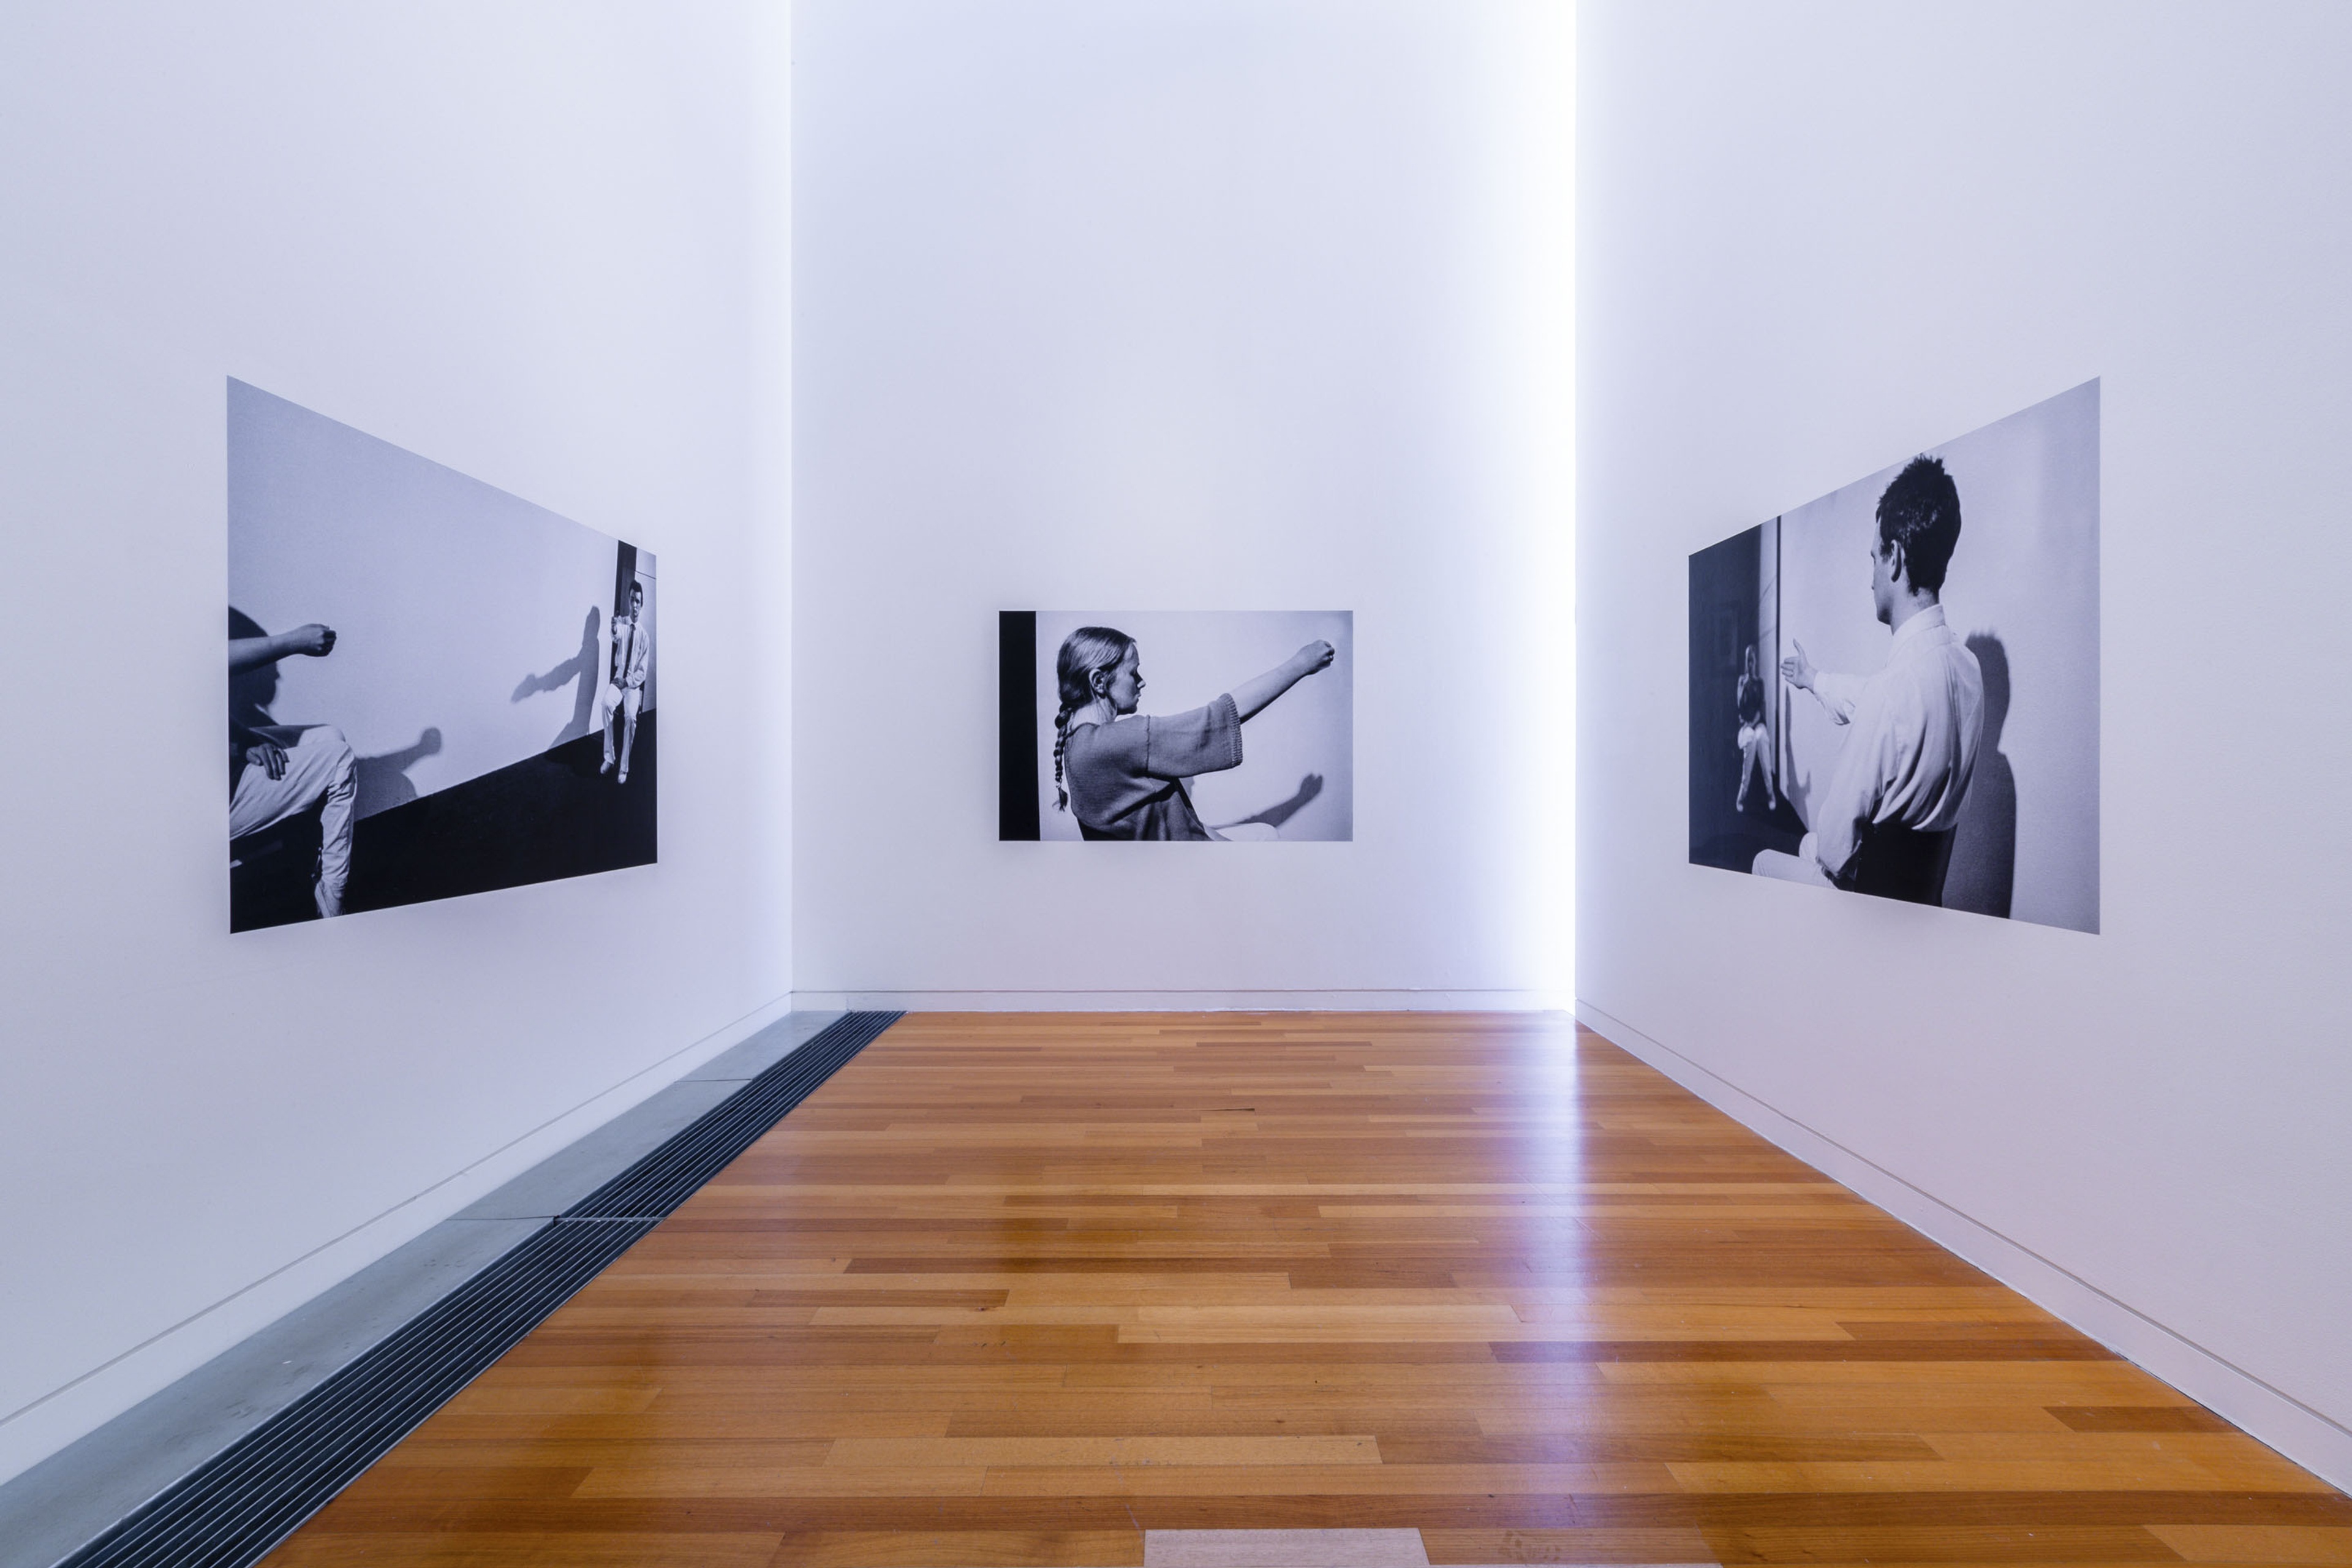
Installation view, In Relation: Performance Works by Peter Roche & Linda Buis 1979–1985, Te Pātaka Toi Adam Art Gallery, Te Herenga Waka—Victoria University of Wellington. Photo: Ted Whitaker
Installation view, In Relation: Performance Works by Peter Roche & Linda Buis 1979–1985, Te Pātaka Toi Adam Art Gallery, Te Herenga Waka—Victoria University of Wellington. Photo: Ted Whitaker
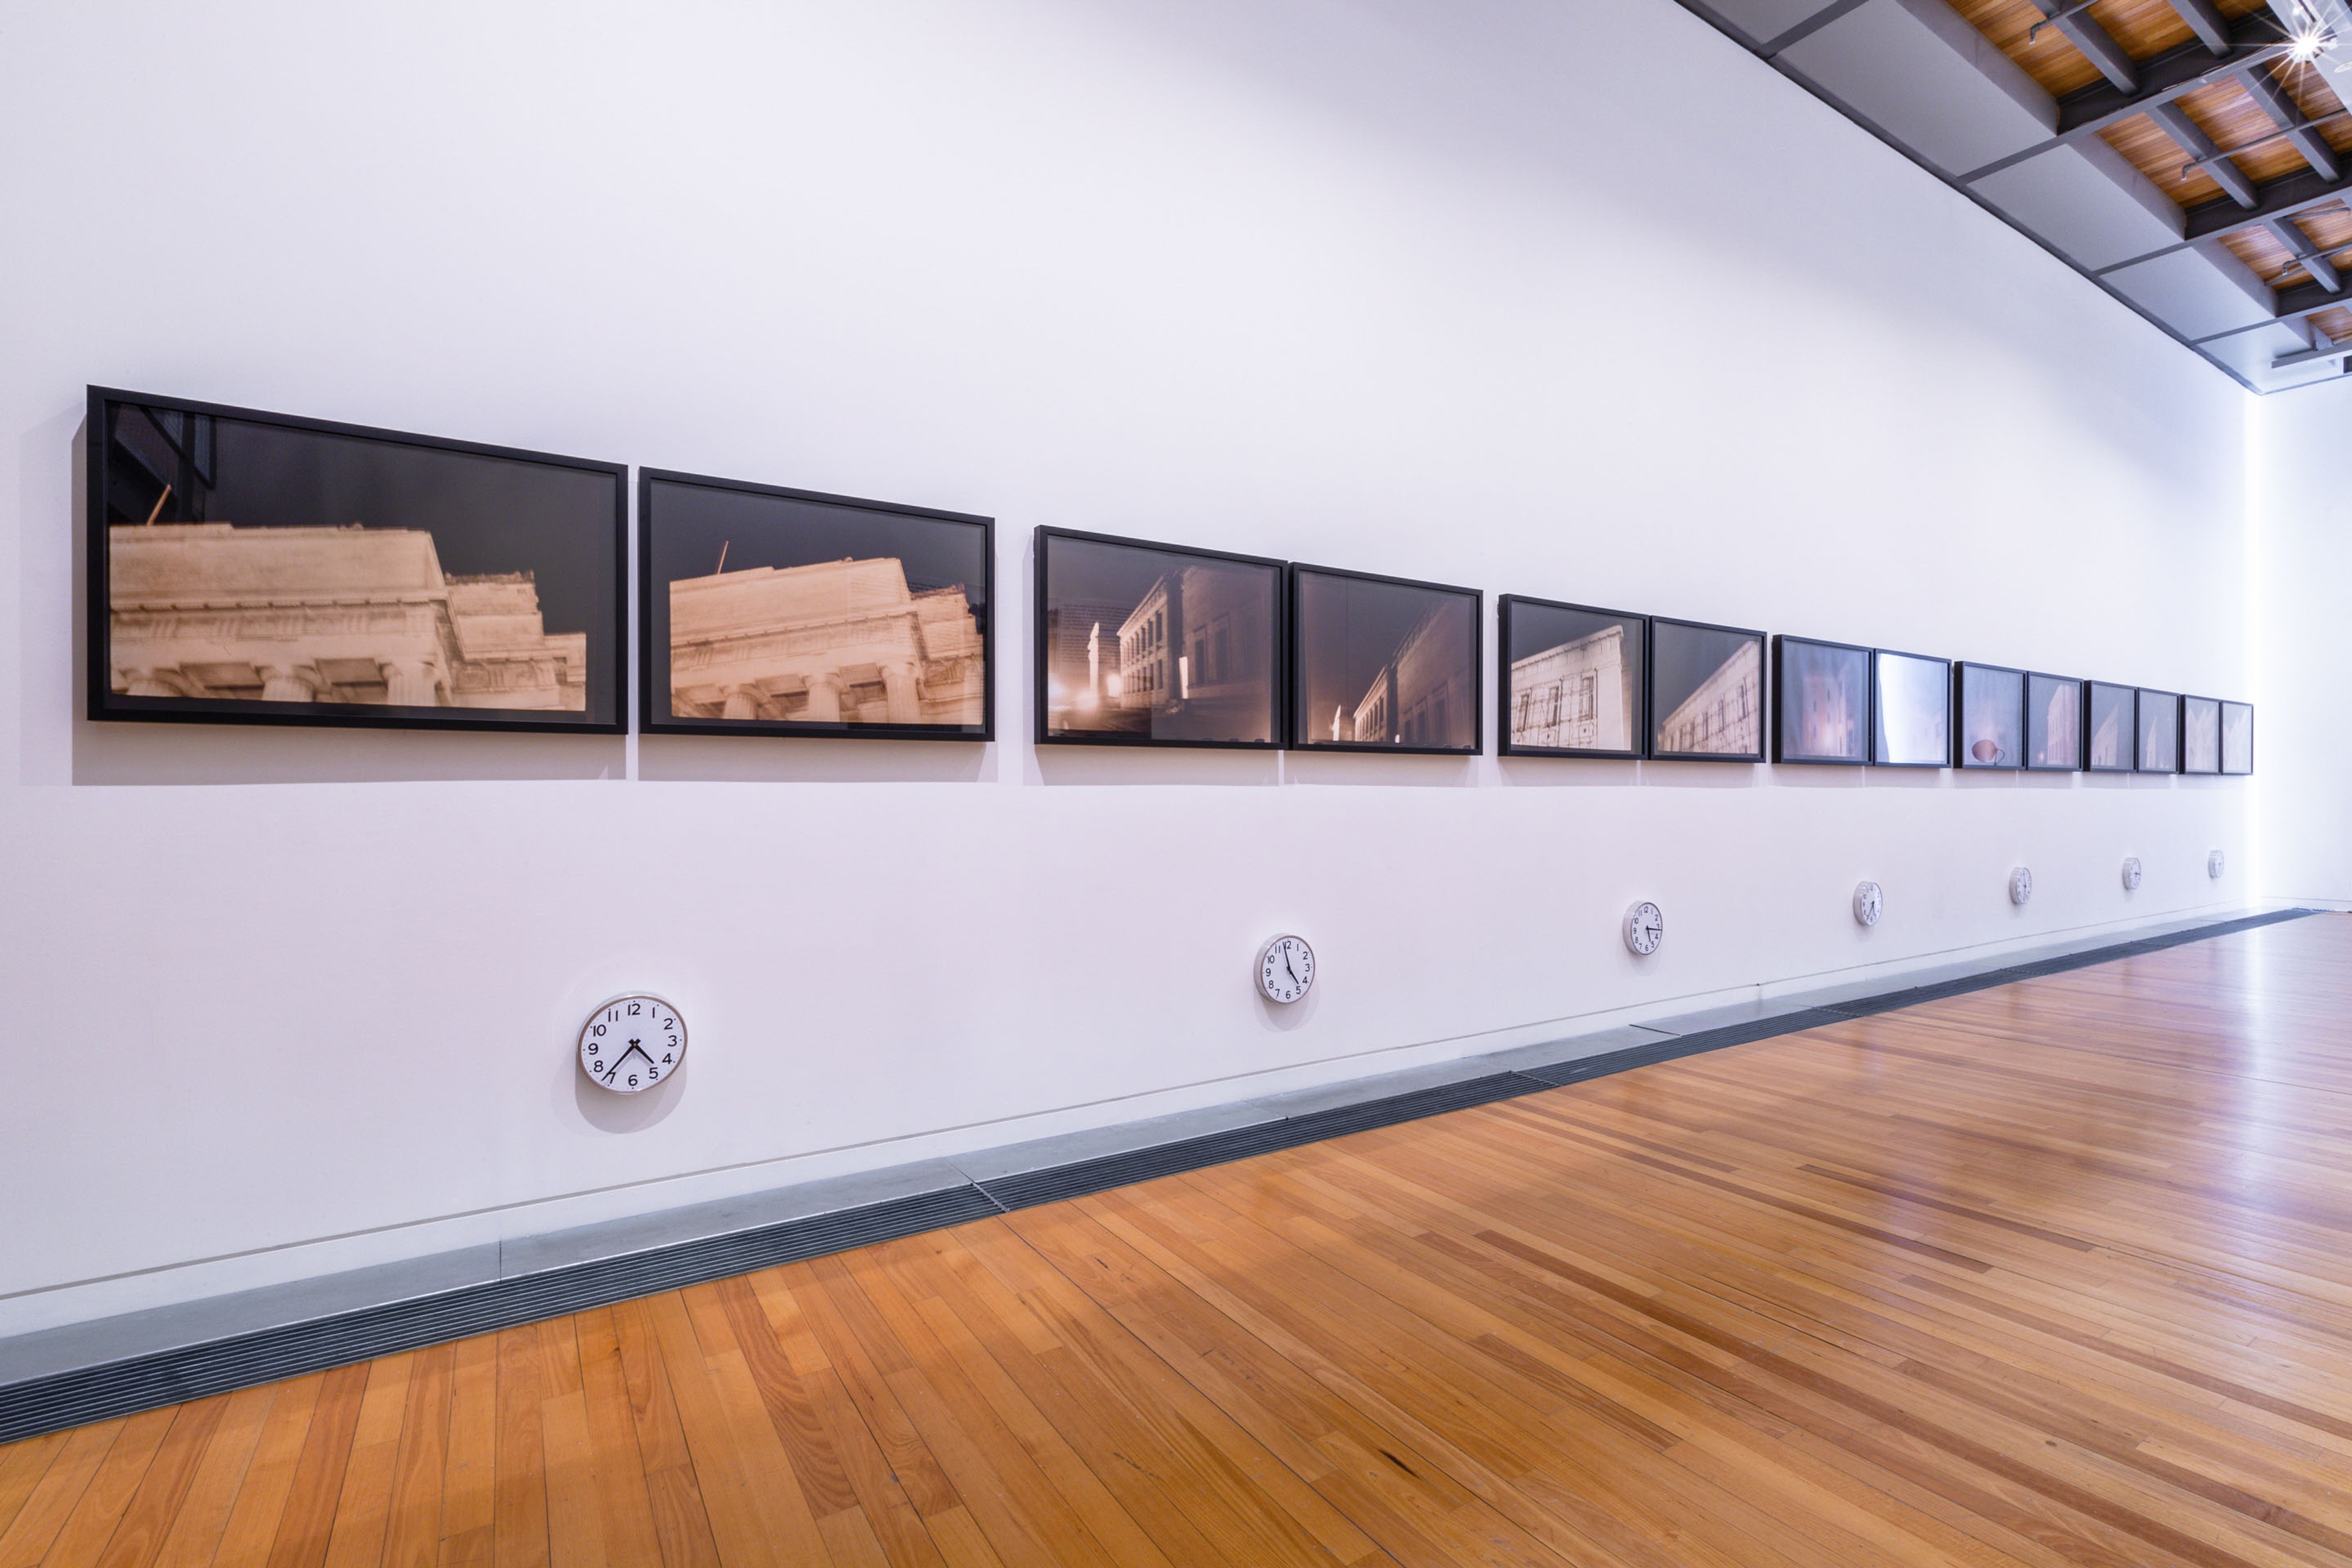
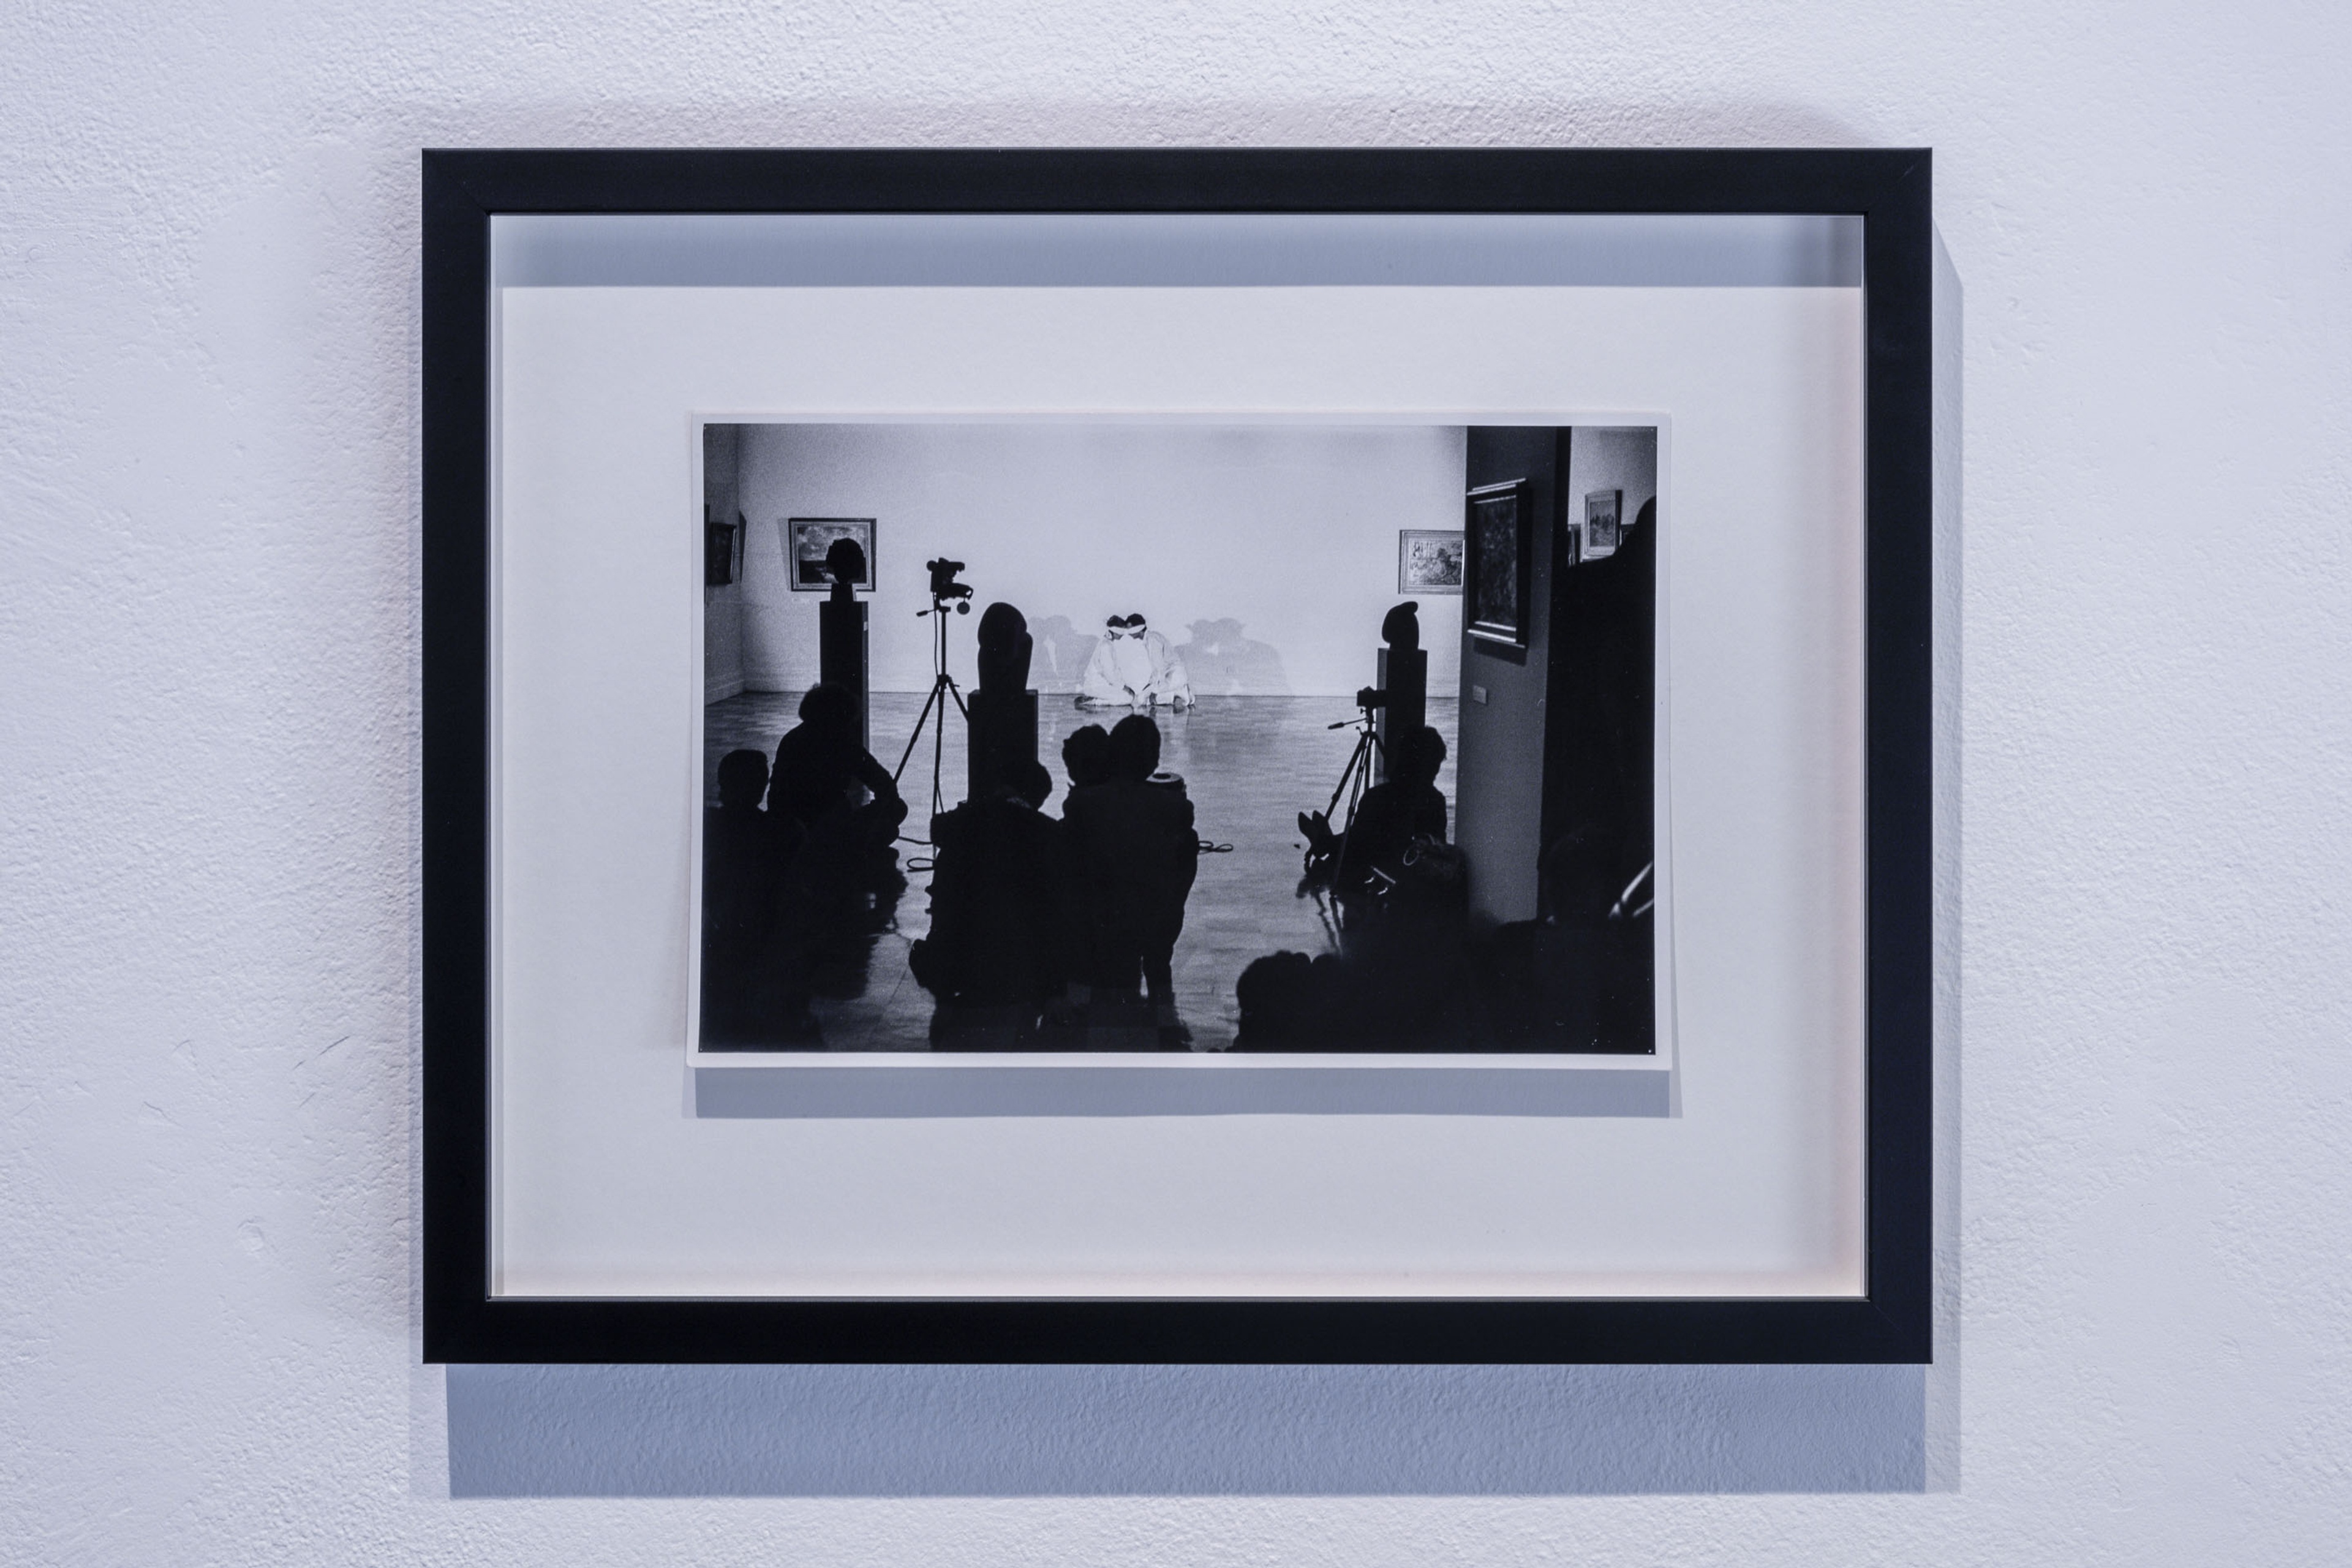
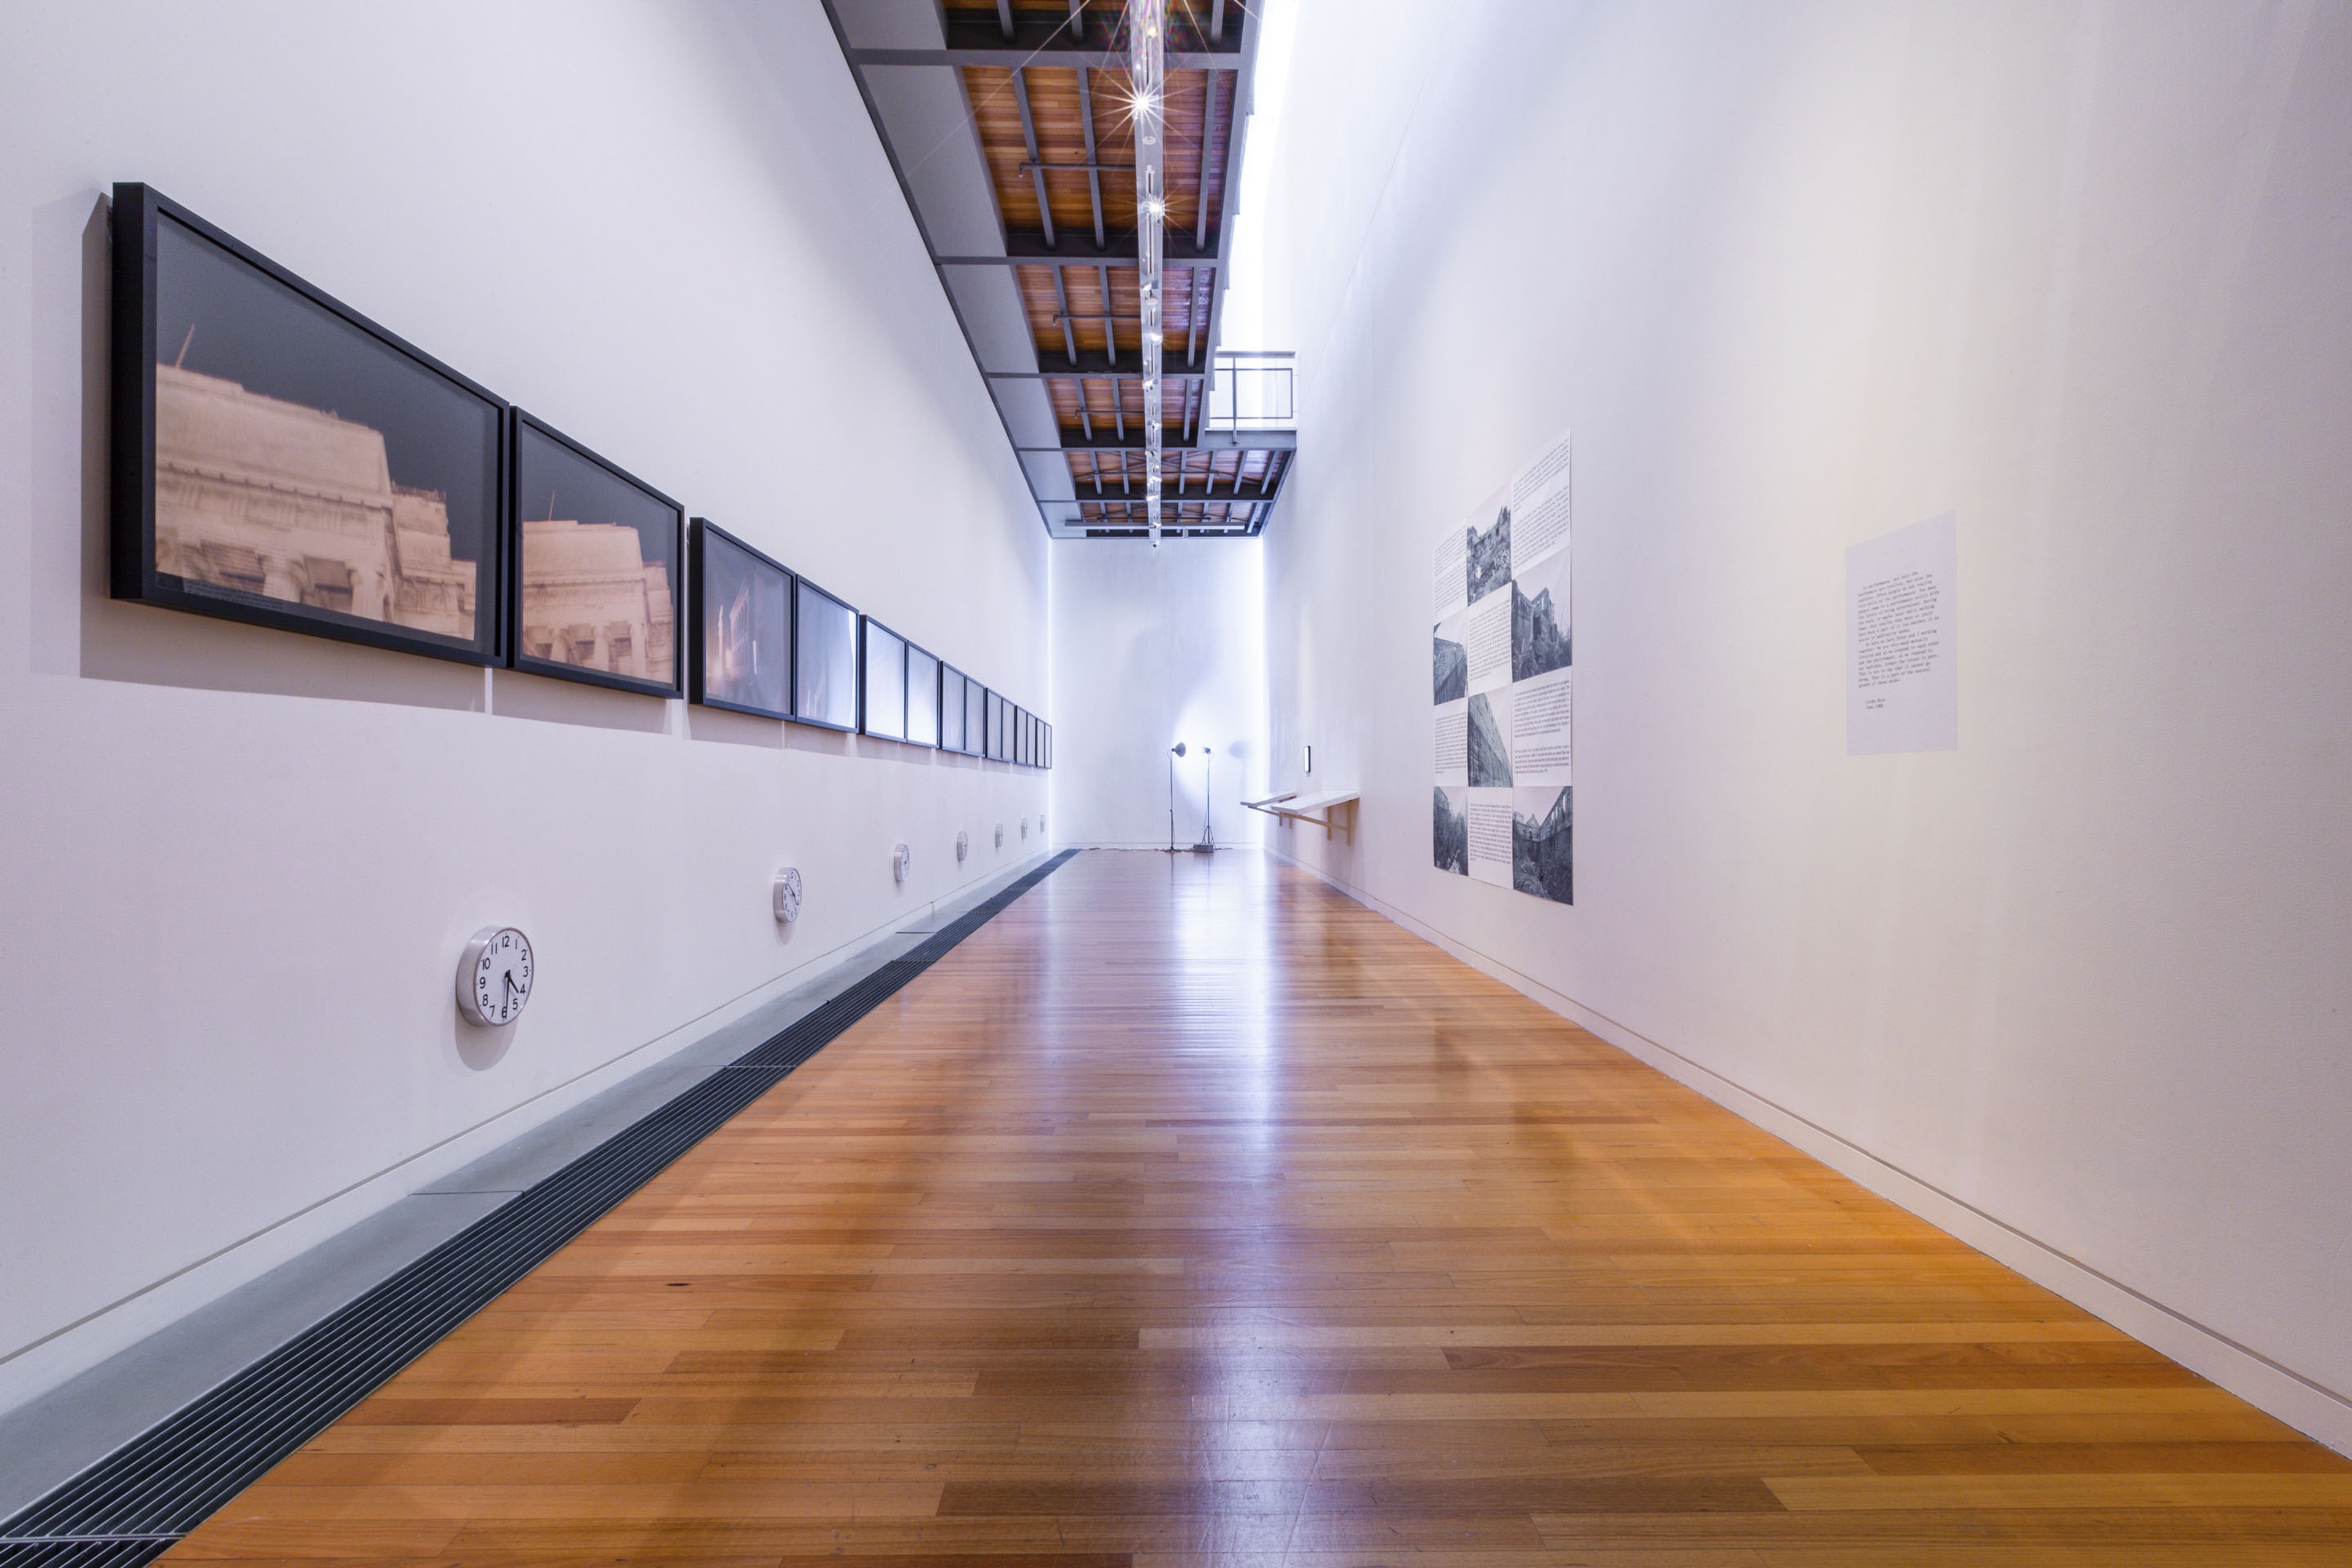
Peter Roche & Linda Buis, Museum Piece, performance, 1980/1993, fourteen colour photographs, framed, seven clocks, collection of Museum of New Zealand Te Papa Tongarewa. In Relation: Performance Works by Peter Roche & Linda Buis 1979–1985, Te Pātaka Toi Adam Art Gallery, Te Herenga Waka—Victoria University of Wellington. Photo: Ted Whitaker
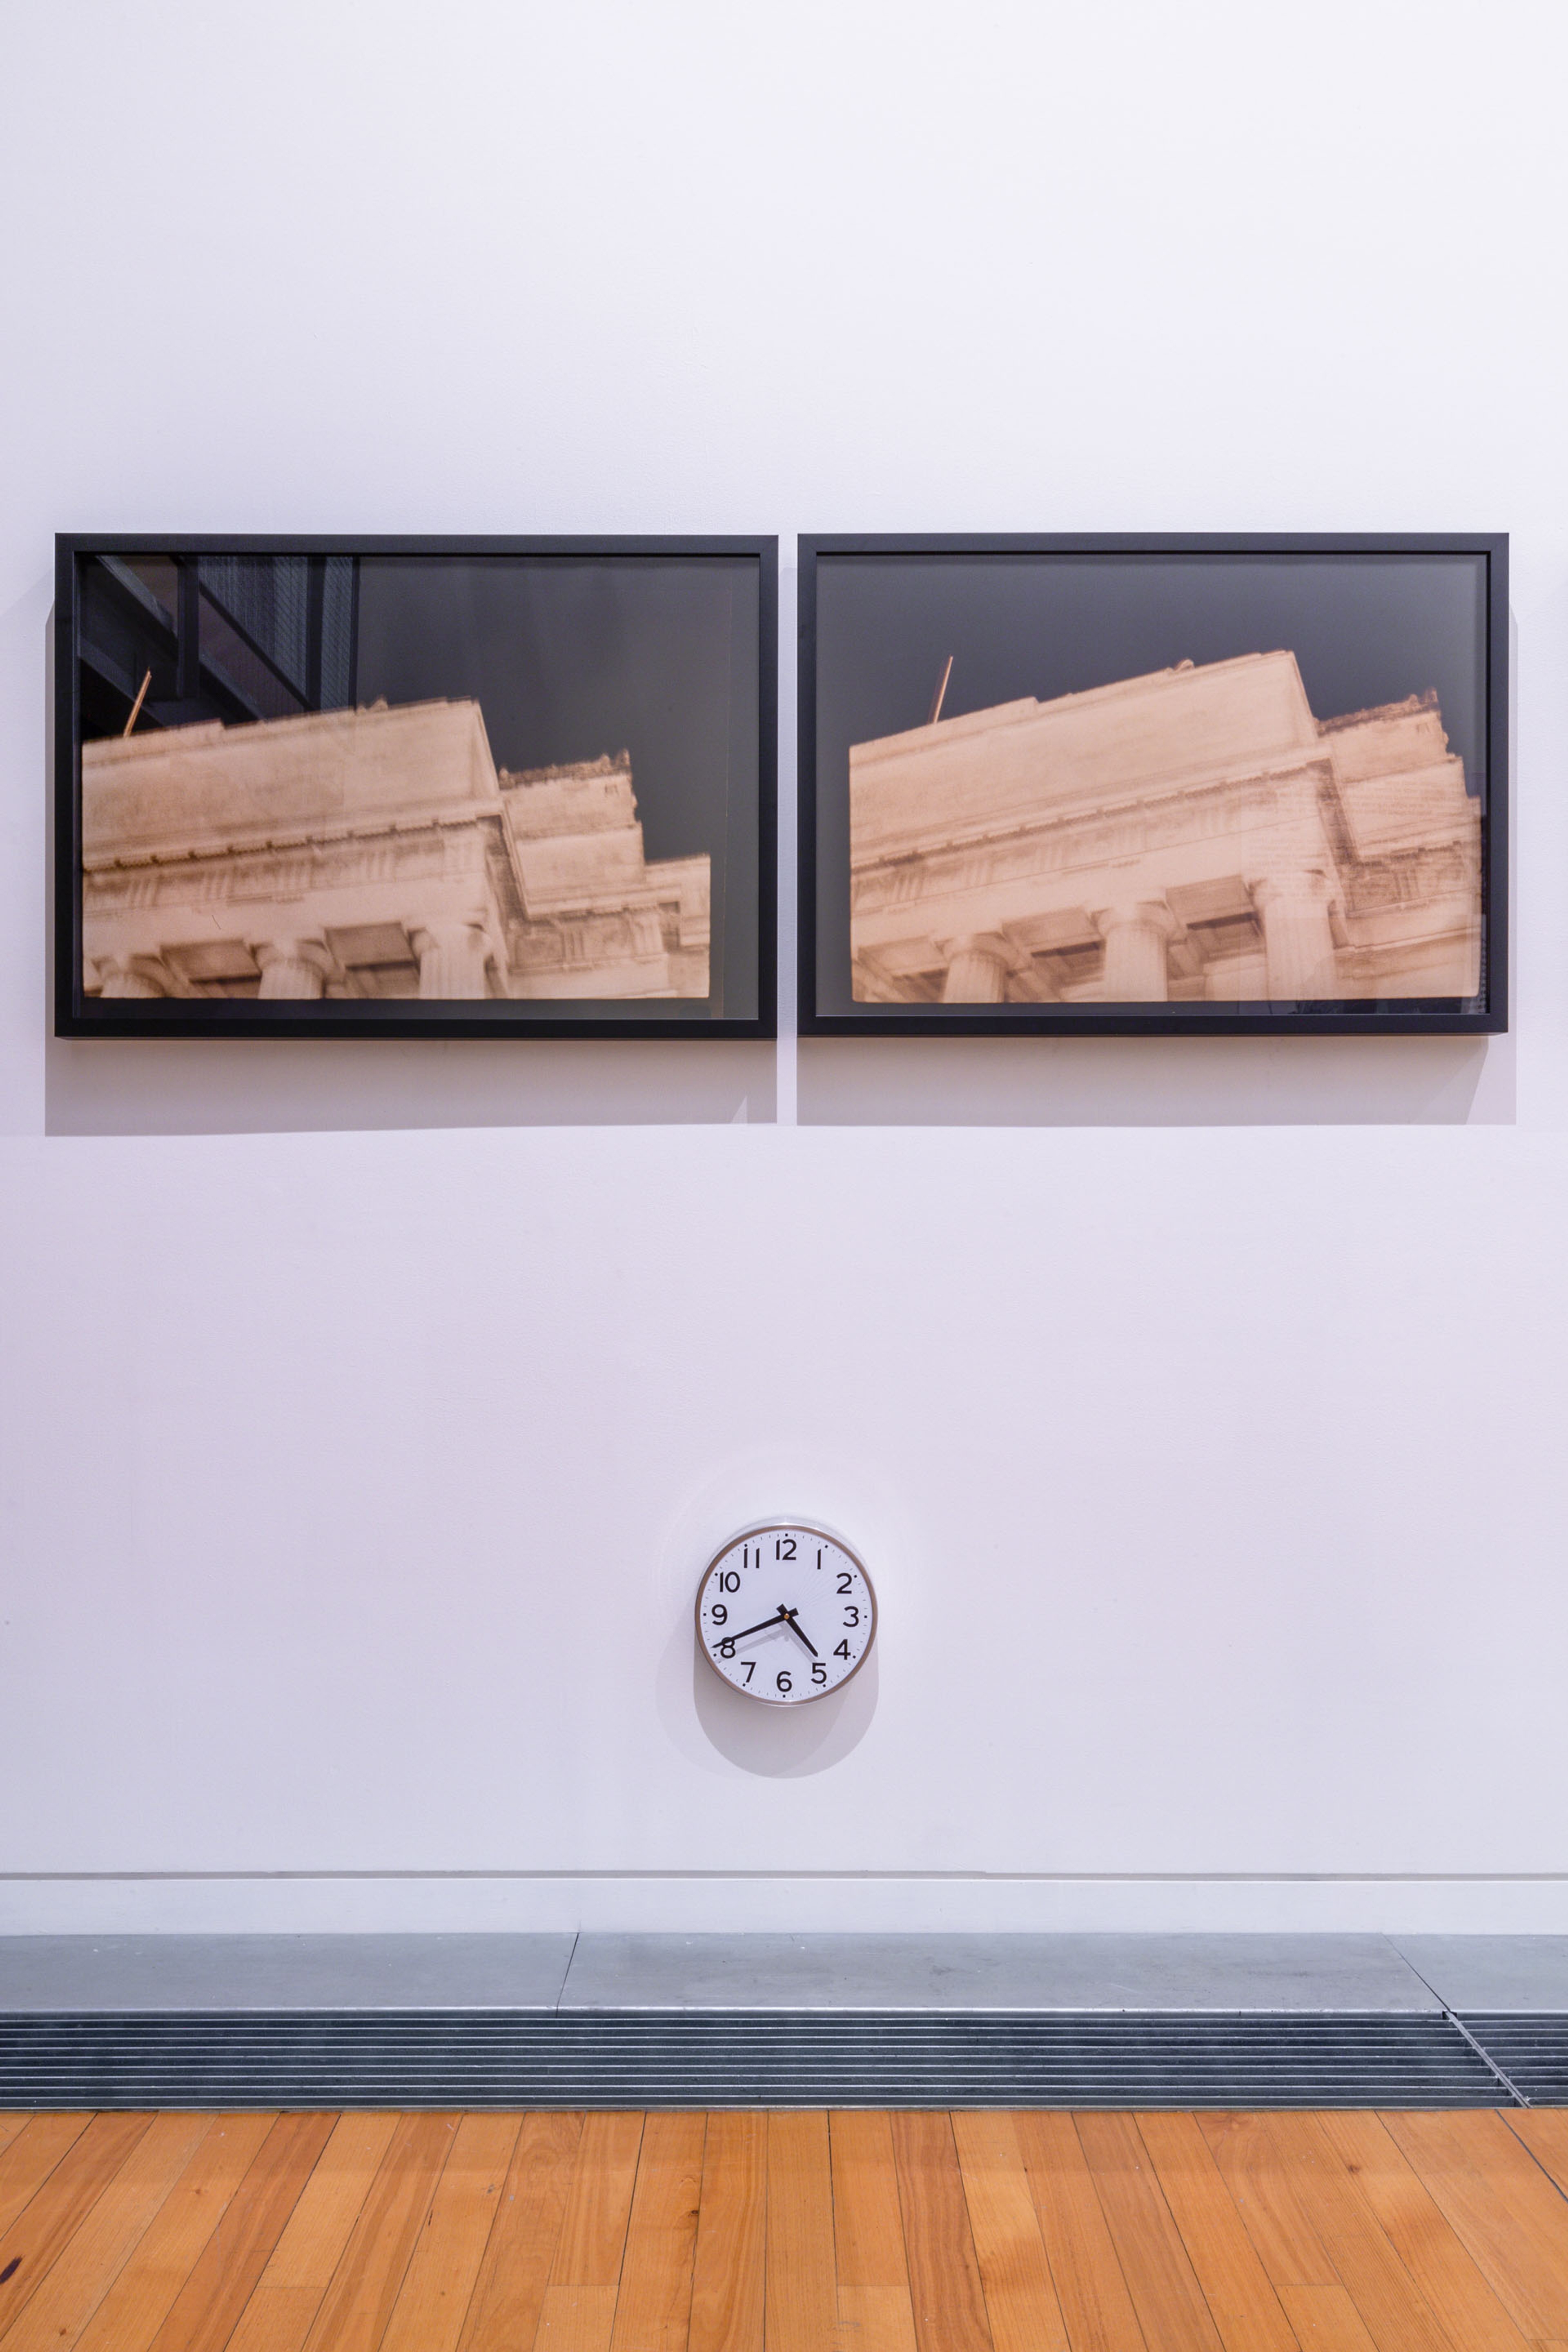
Peter Roche & Linda Buis, Museum Piece (detail), 1980/1993, fourteen colour photographs, framed, seven clocks, collection of Museum of New Zealand Te Papa Tongarewa. In Relation: Performance Works by Peter Roche & Linda Buis 1979–1985, Te Pātaka Toi Adam Art Gallery, Te Herenga Waka—Victoria University of Wellington. Photo: Ted Whitaker
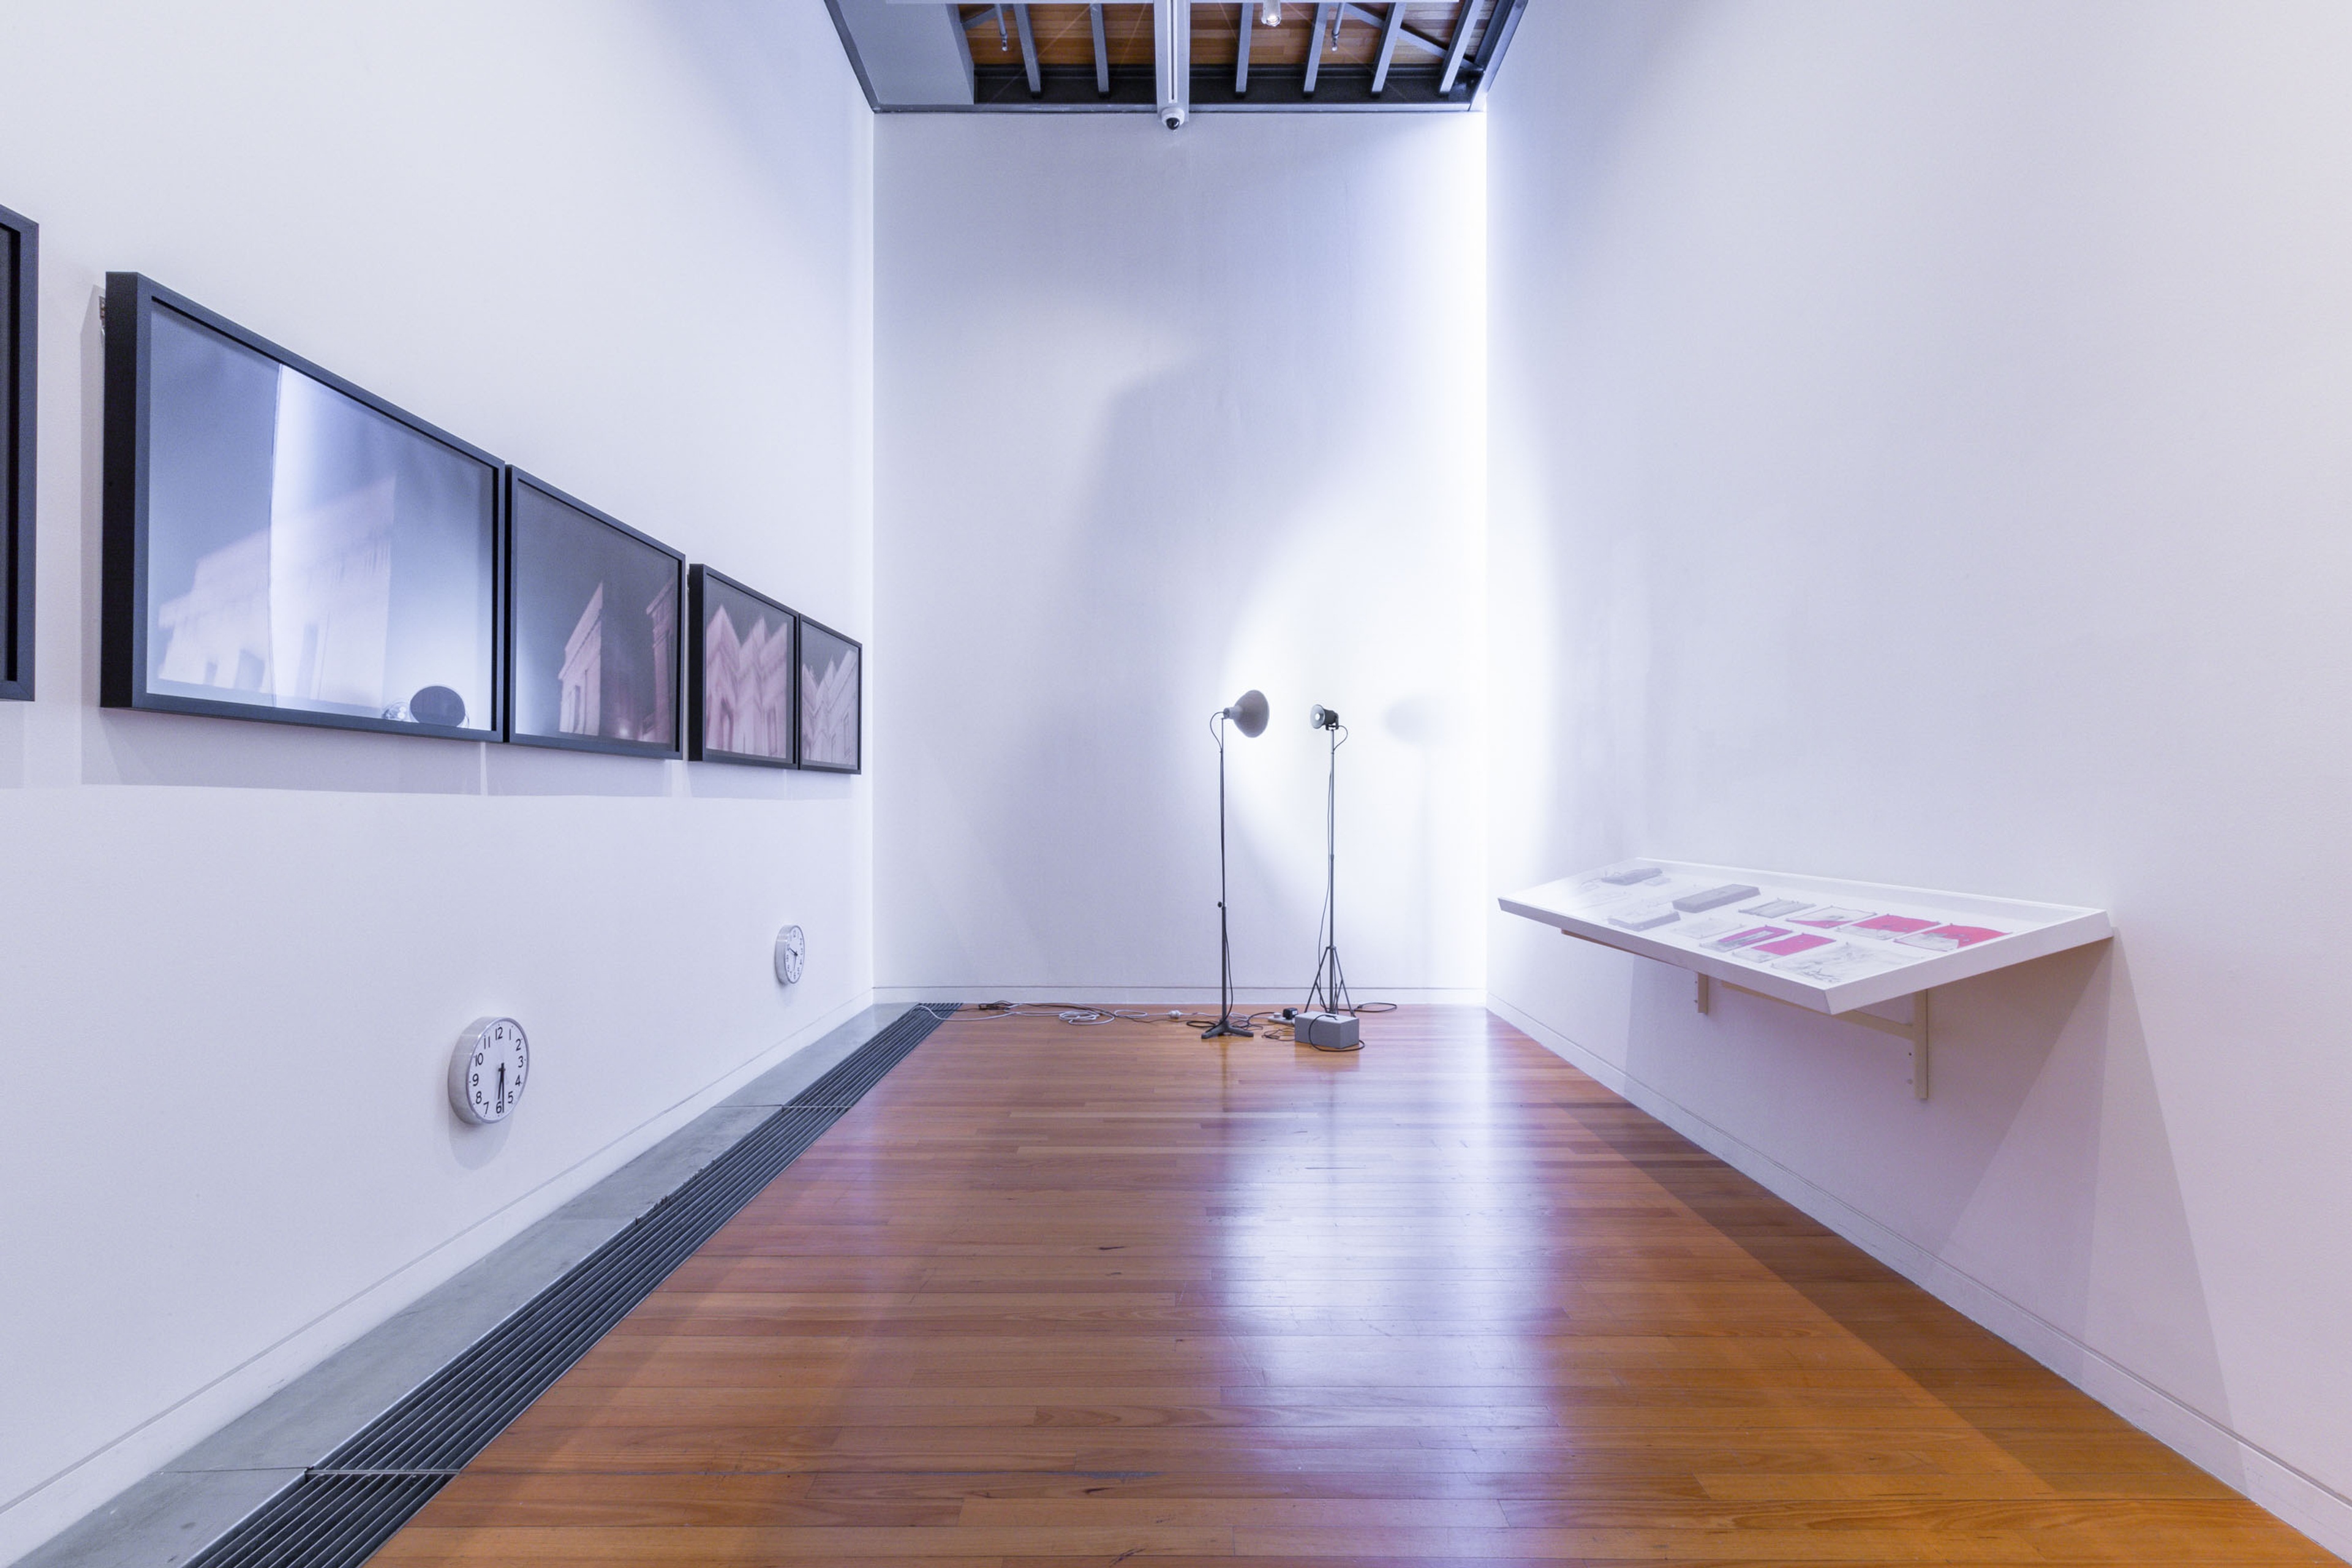
Installation view, In Relation: Performance Works by Peter Roche & Linda Buis 1979–1985, Te Pātaka Toi Adam Art Gallery, Te Herenga Waka—Victoria University of Wellington. Photo: Ted Whitaker
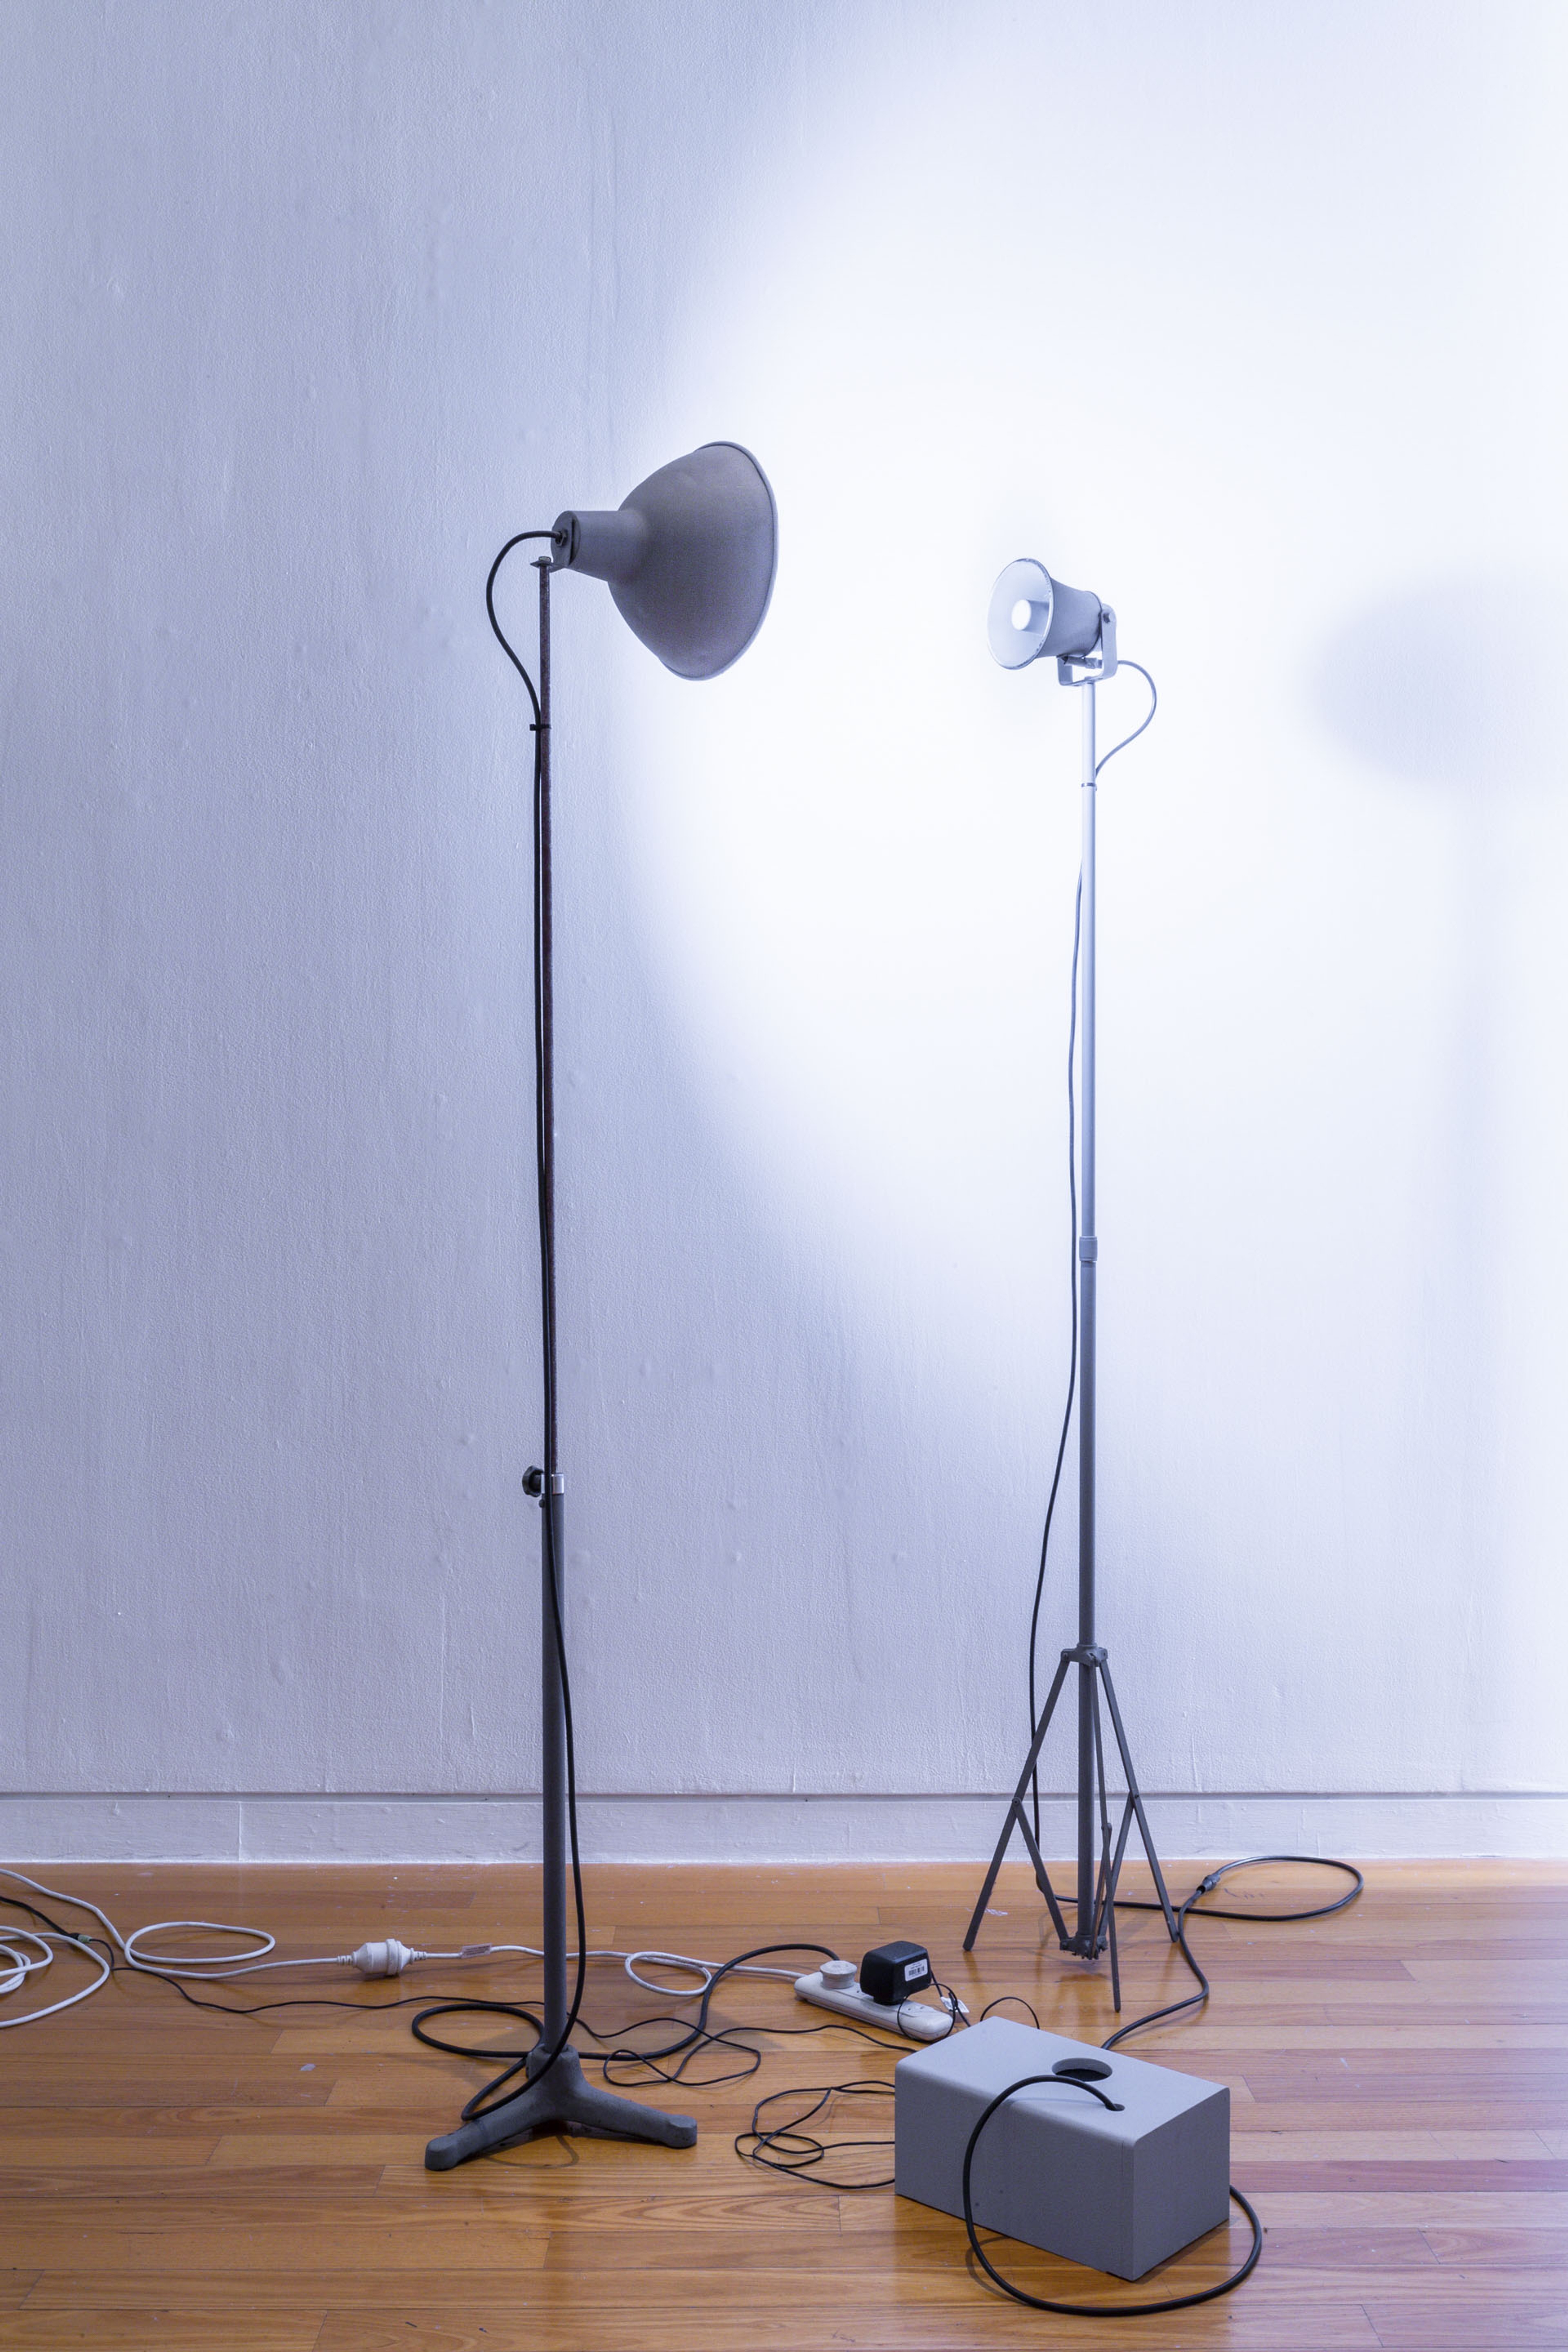
Peter Roche & Linda Buis, Interview, 1986/2014/2023, spotlight, speaker, stands, audio. In Relation: Performance Works by Peter Roche & Linda Buis 1979–1985, Te Pātaka Toi Adam Art Gallery, Te Herenga Waka—Victoria University of Wellington. Photo: Ted Whitaker
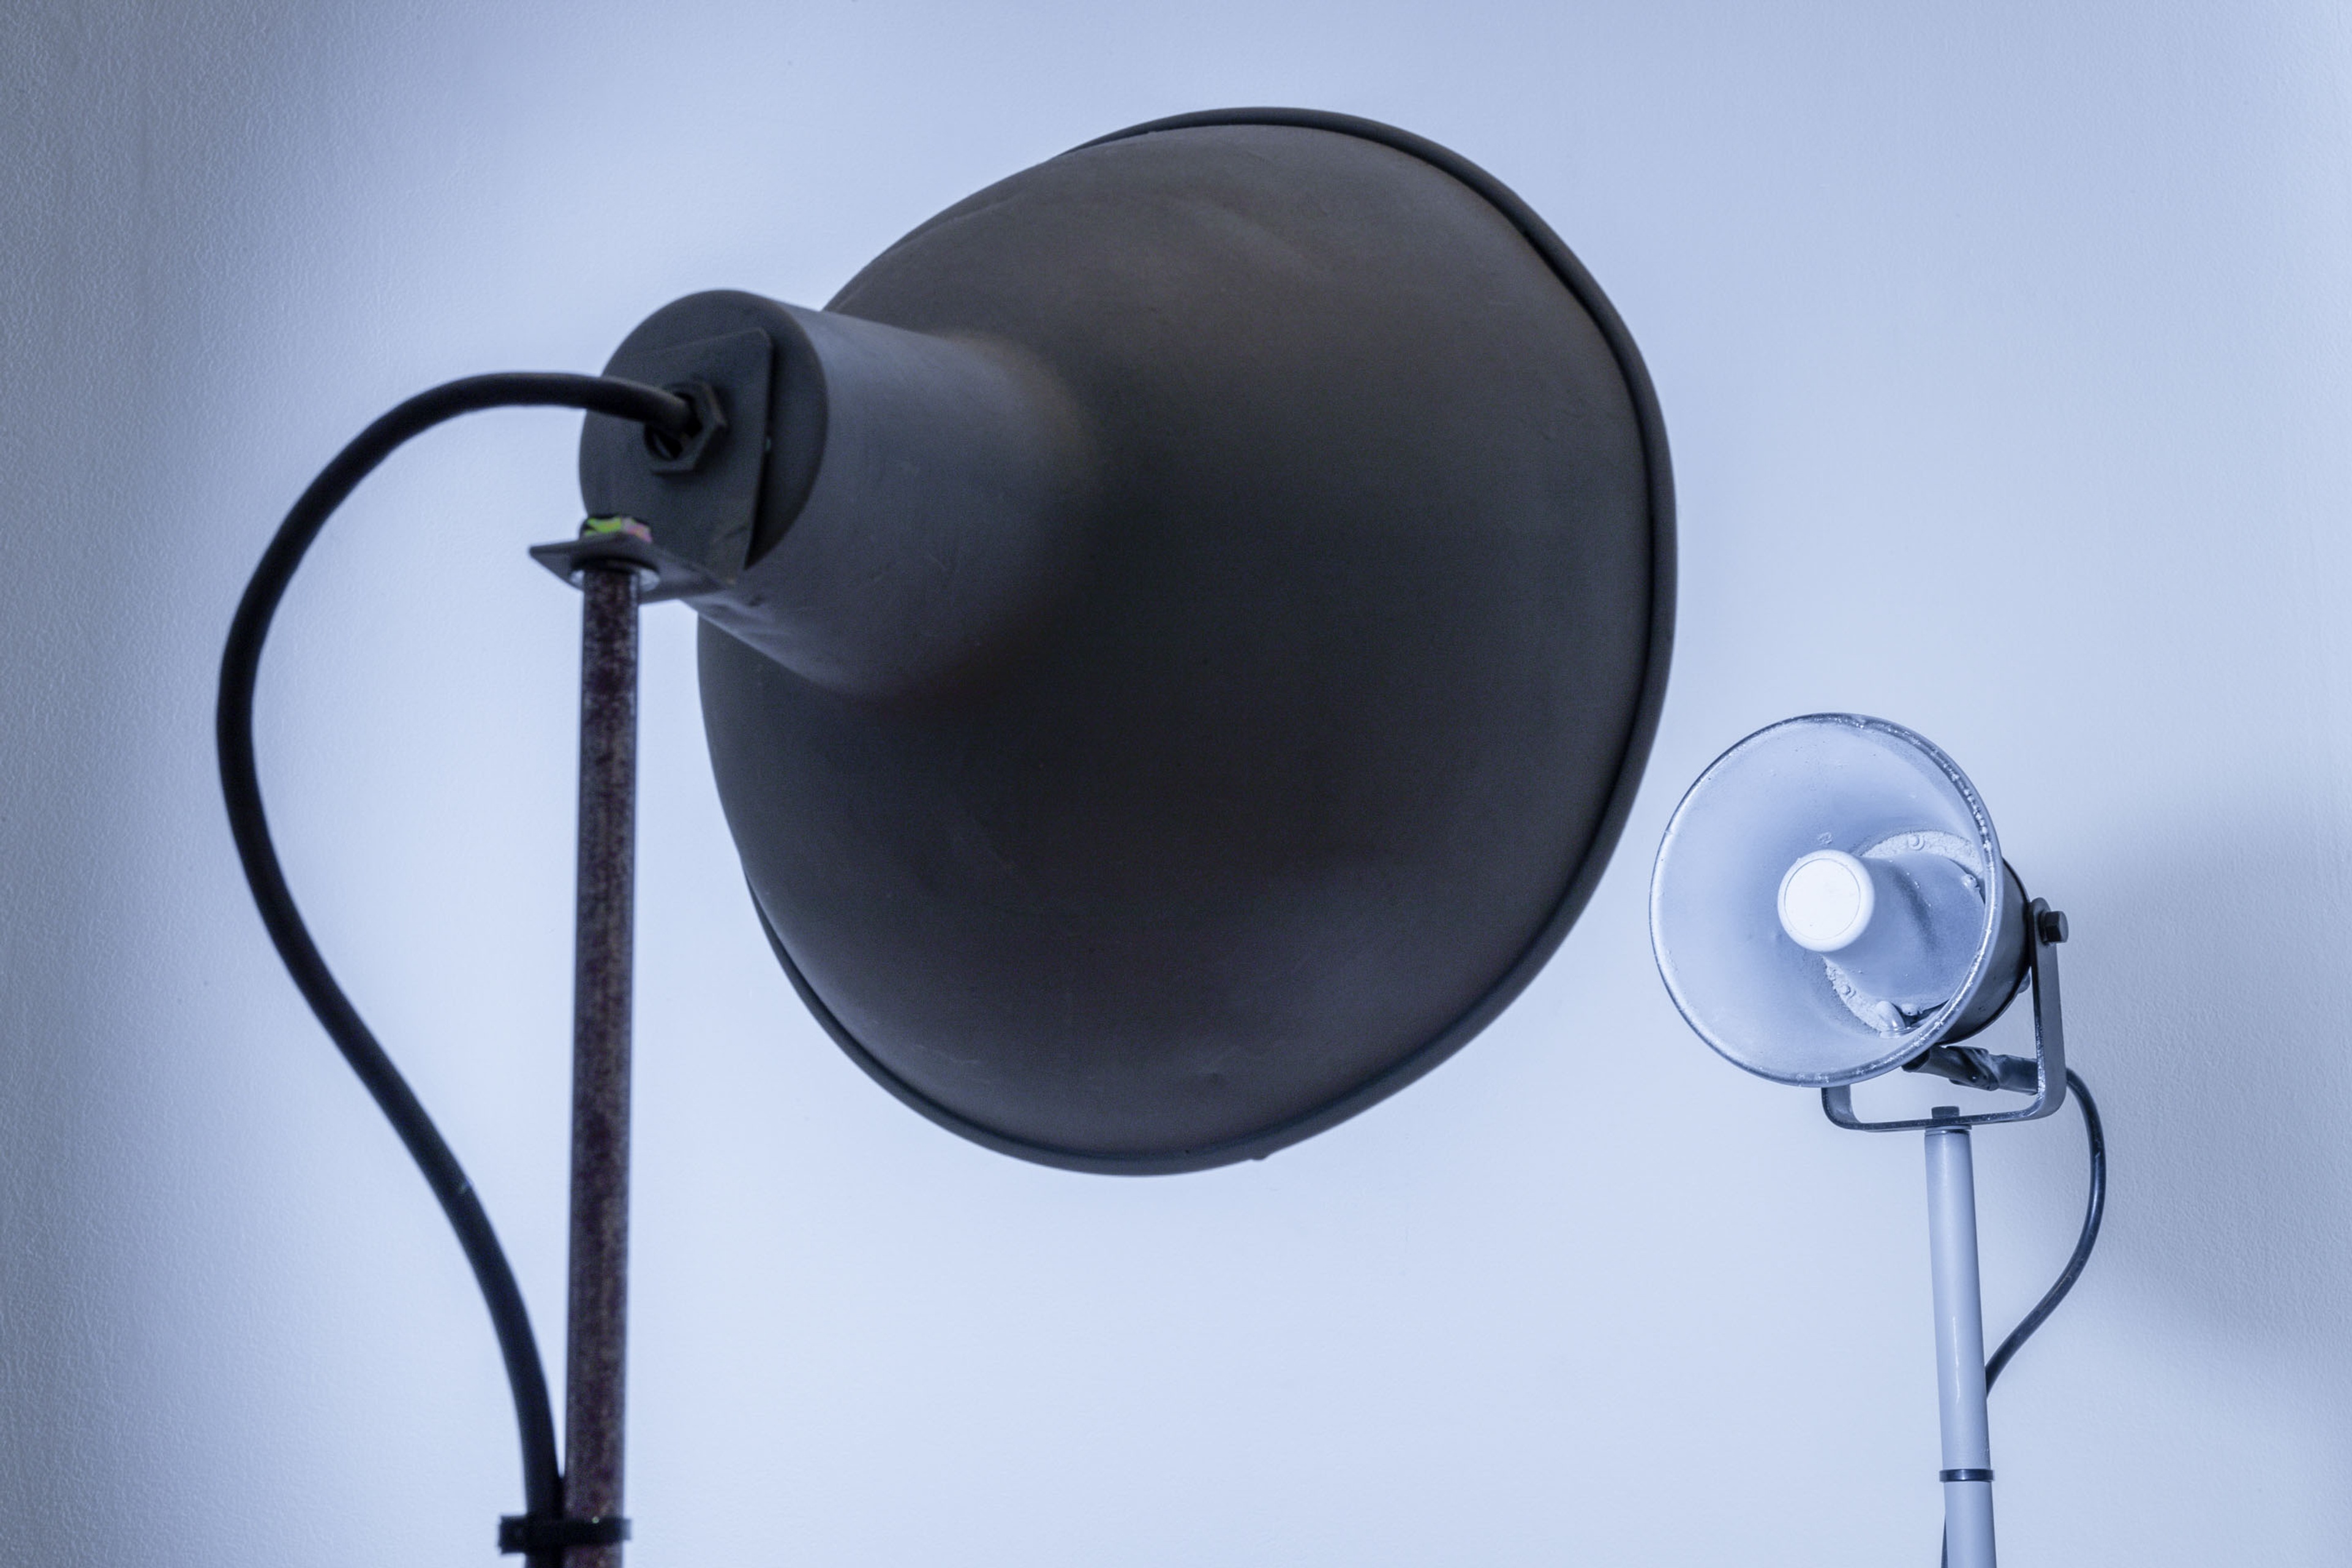
Peter Roche & Linda Buis, Interview (detail), 1986/2014/2023, spotlight, speaker, stands, audio. In Relation: Performance Works by Peter Roche & Linda Buis 1979–1985, Te Pātaka Toi Adam Art Gallery, Te Herenga Waka—Victoria University of Wellington. Photo: Ted Whitaker
Installation view, In Relation: Performance Works by Peter Roche & Linda Buis 1979–1985, Te Pātaka Toi Adam Art Gallery, Te Herenga Waka—Victoria University of Wellington. Photo: Ted Whitaker
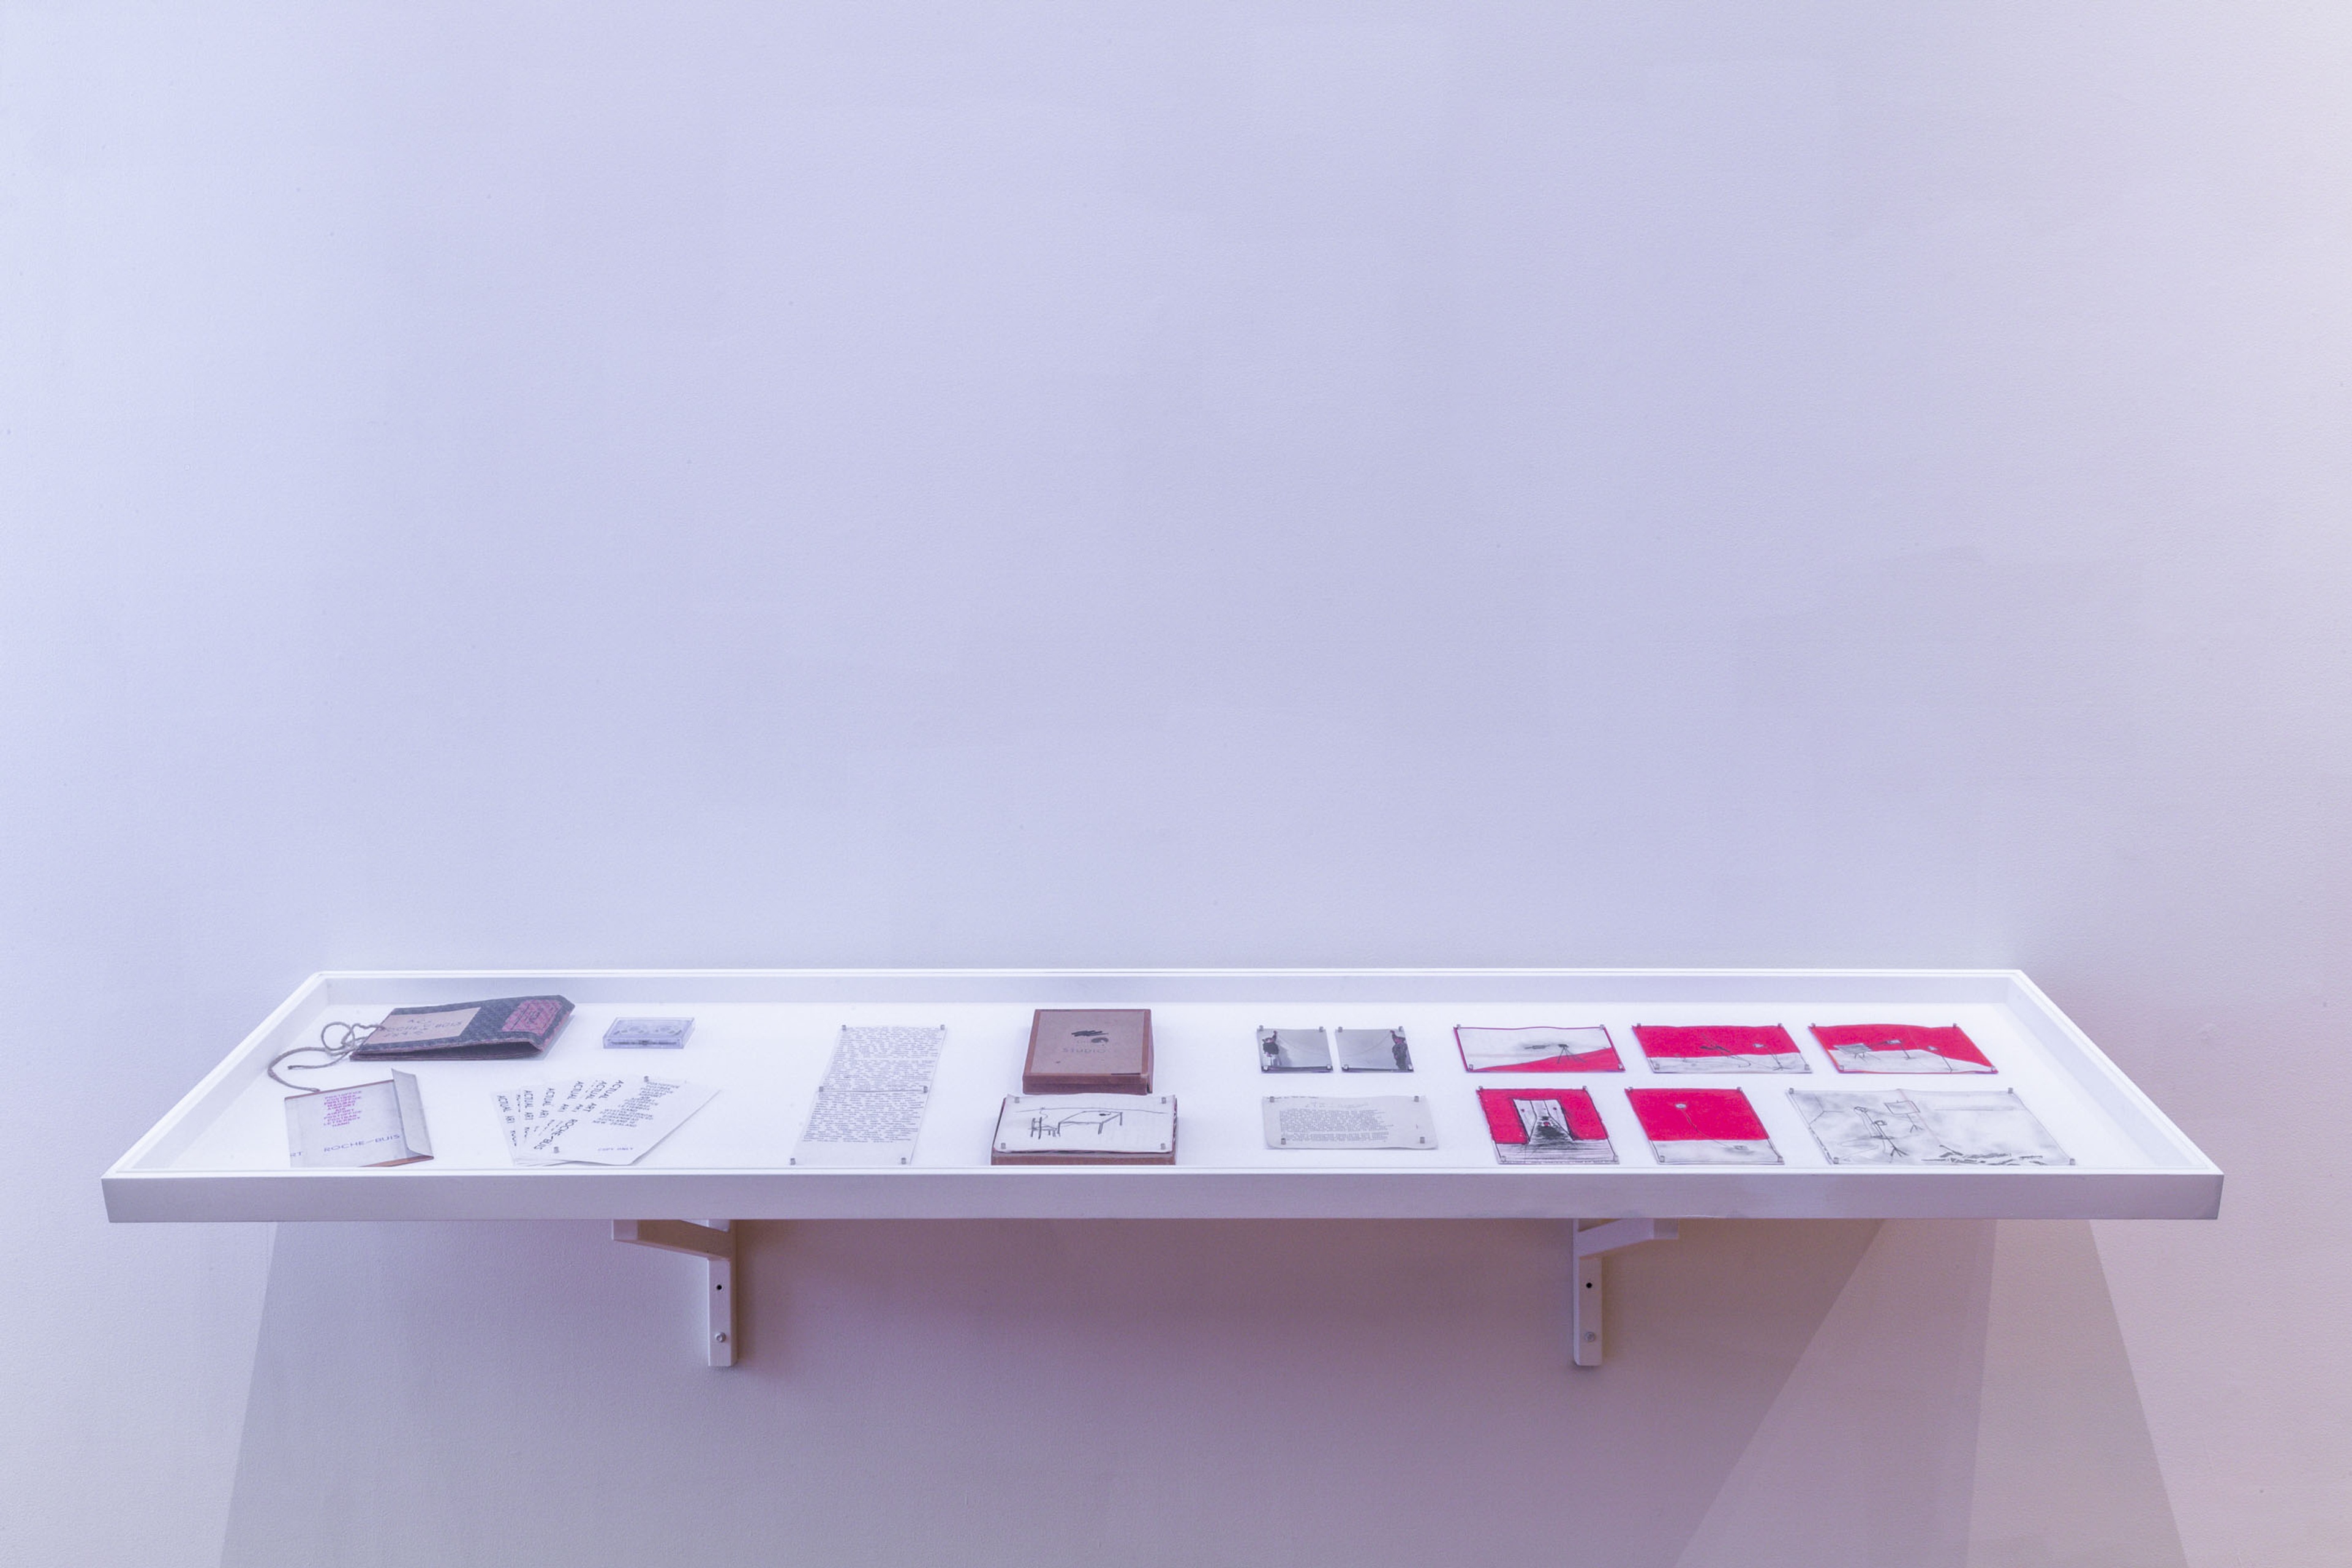
Vitrine detail, In Relation: Performance Works by Peter Roche & Linda Buis 1979–1985, Te Pātaka Toi Adam Art Gallery, Te Herenga Waka—Victoria University of Wellington. Photo: Ted Whitaker
Peter Roche & Linda Buis, Little Studio (detail), 1984, two photographs from a boxed set of drawings and photographs, courtesy of Peter Roche Estate
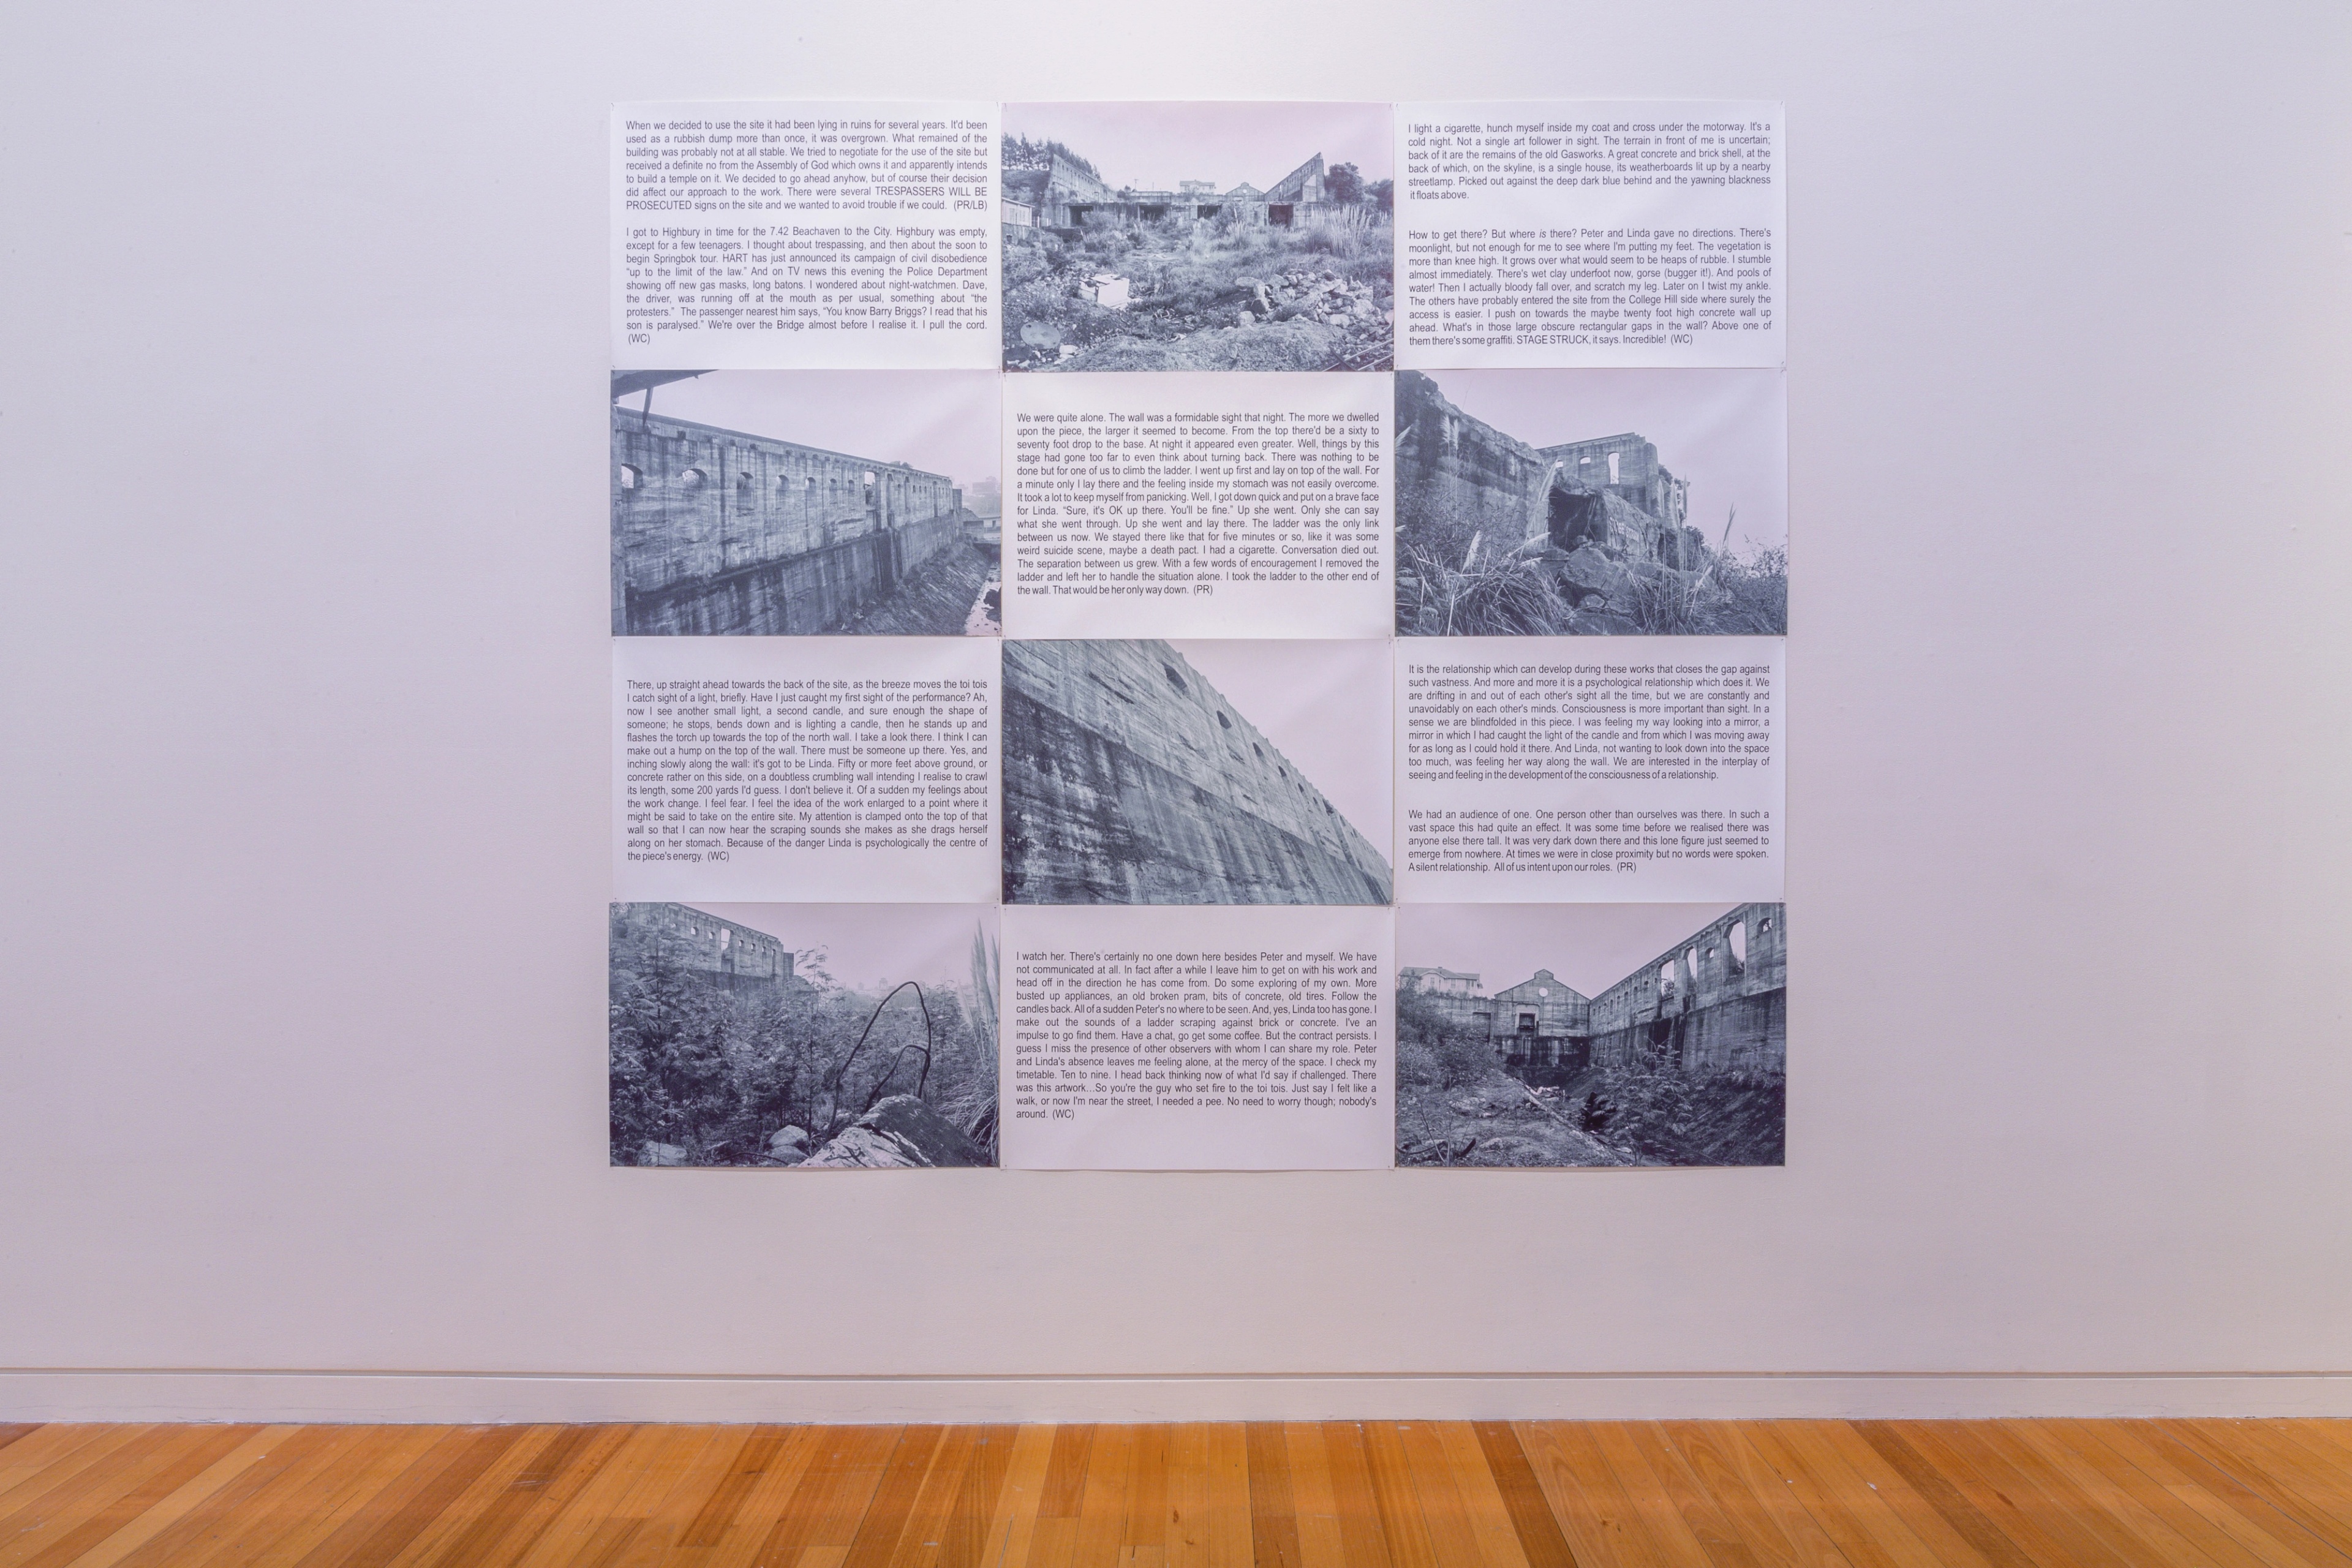
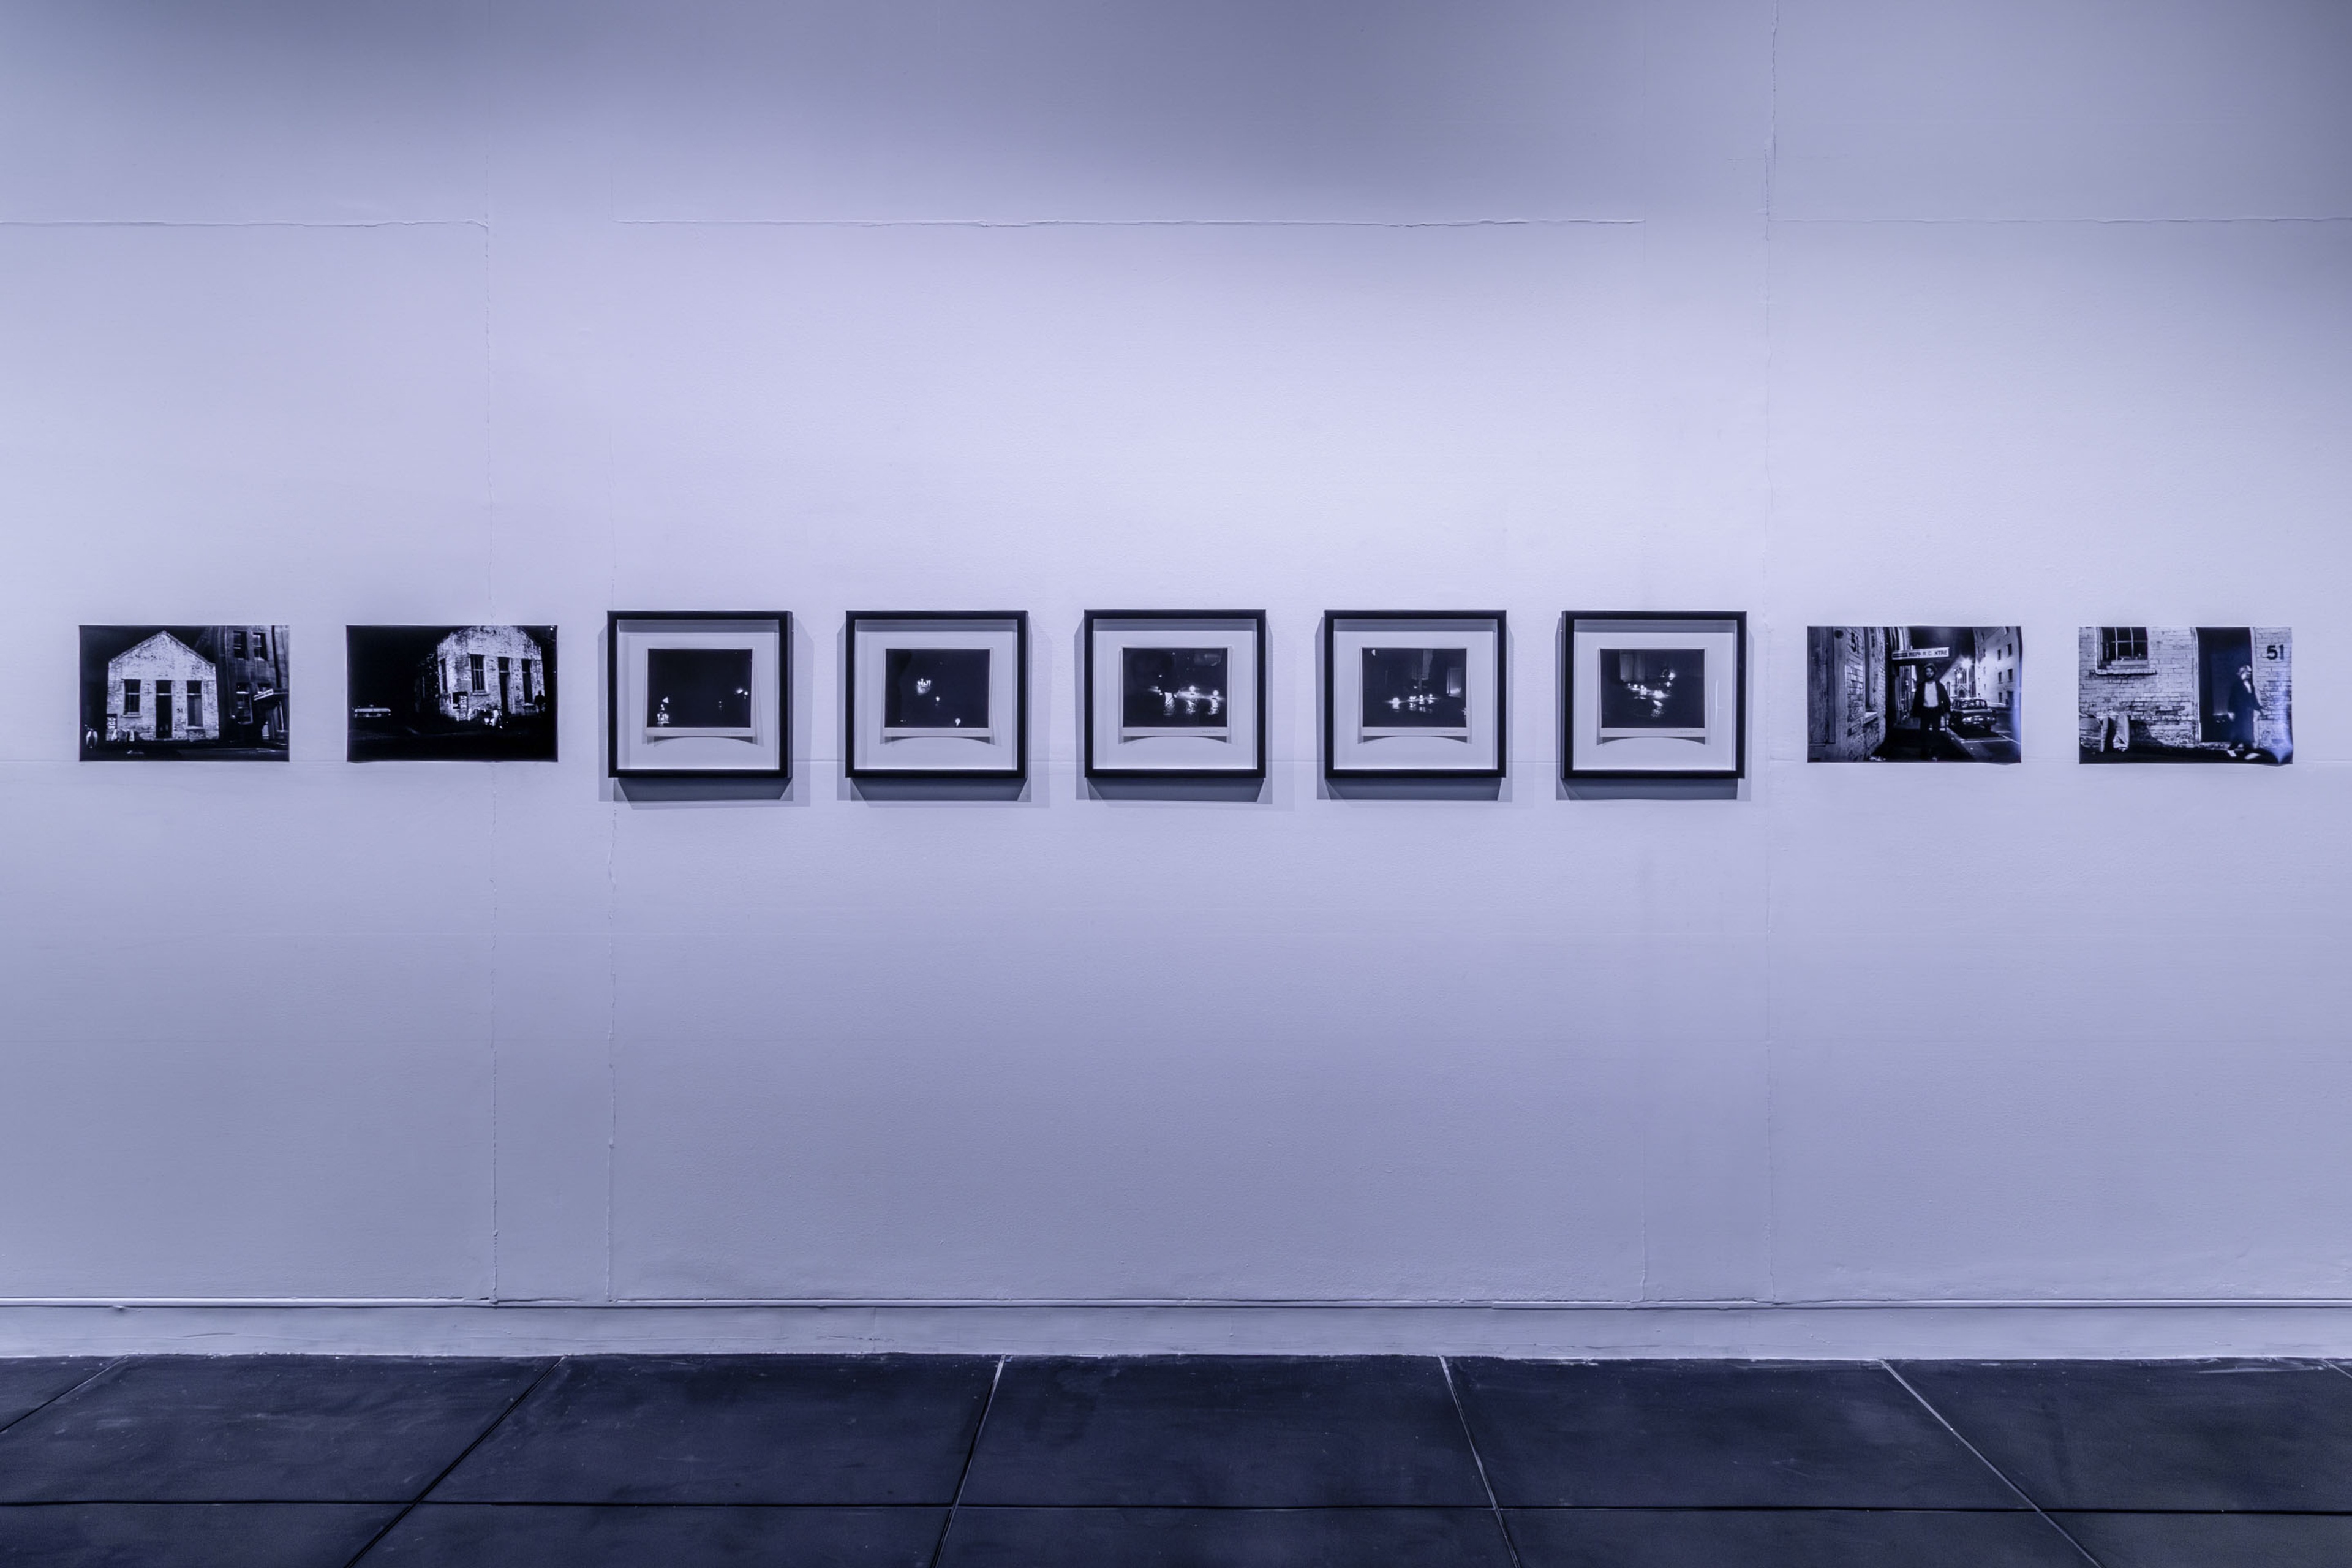
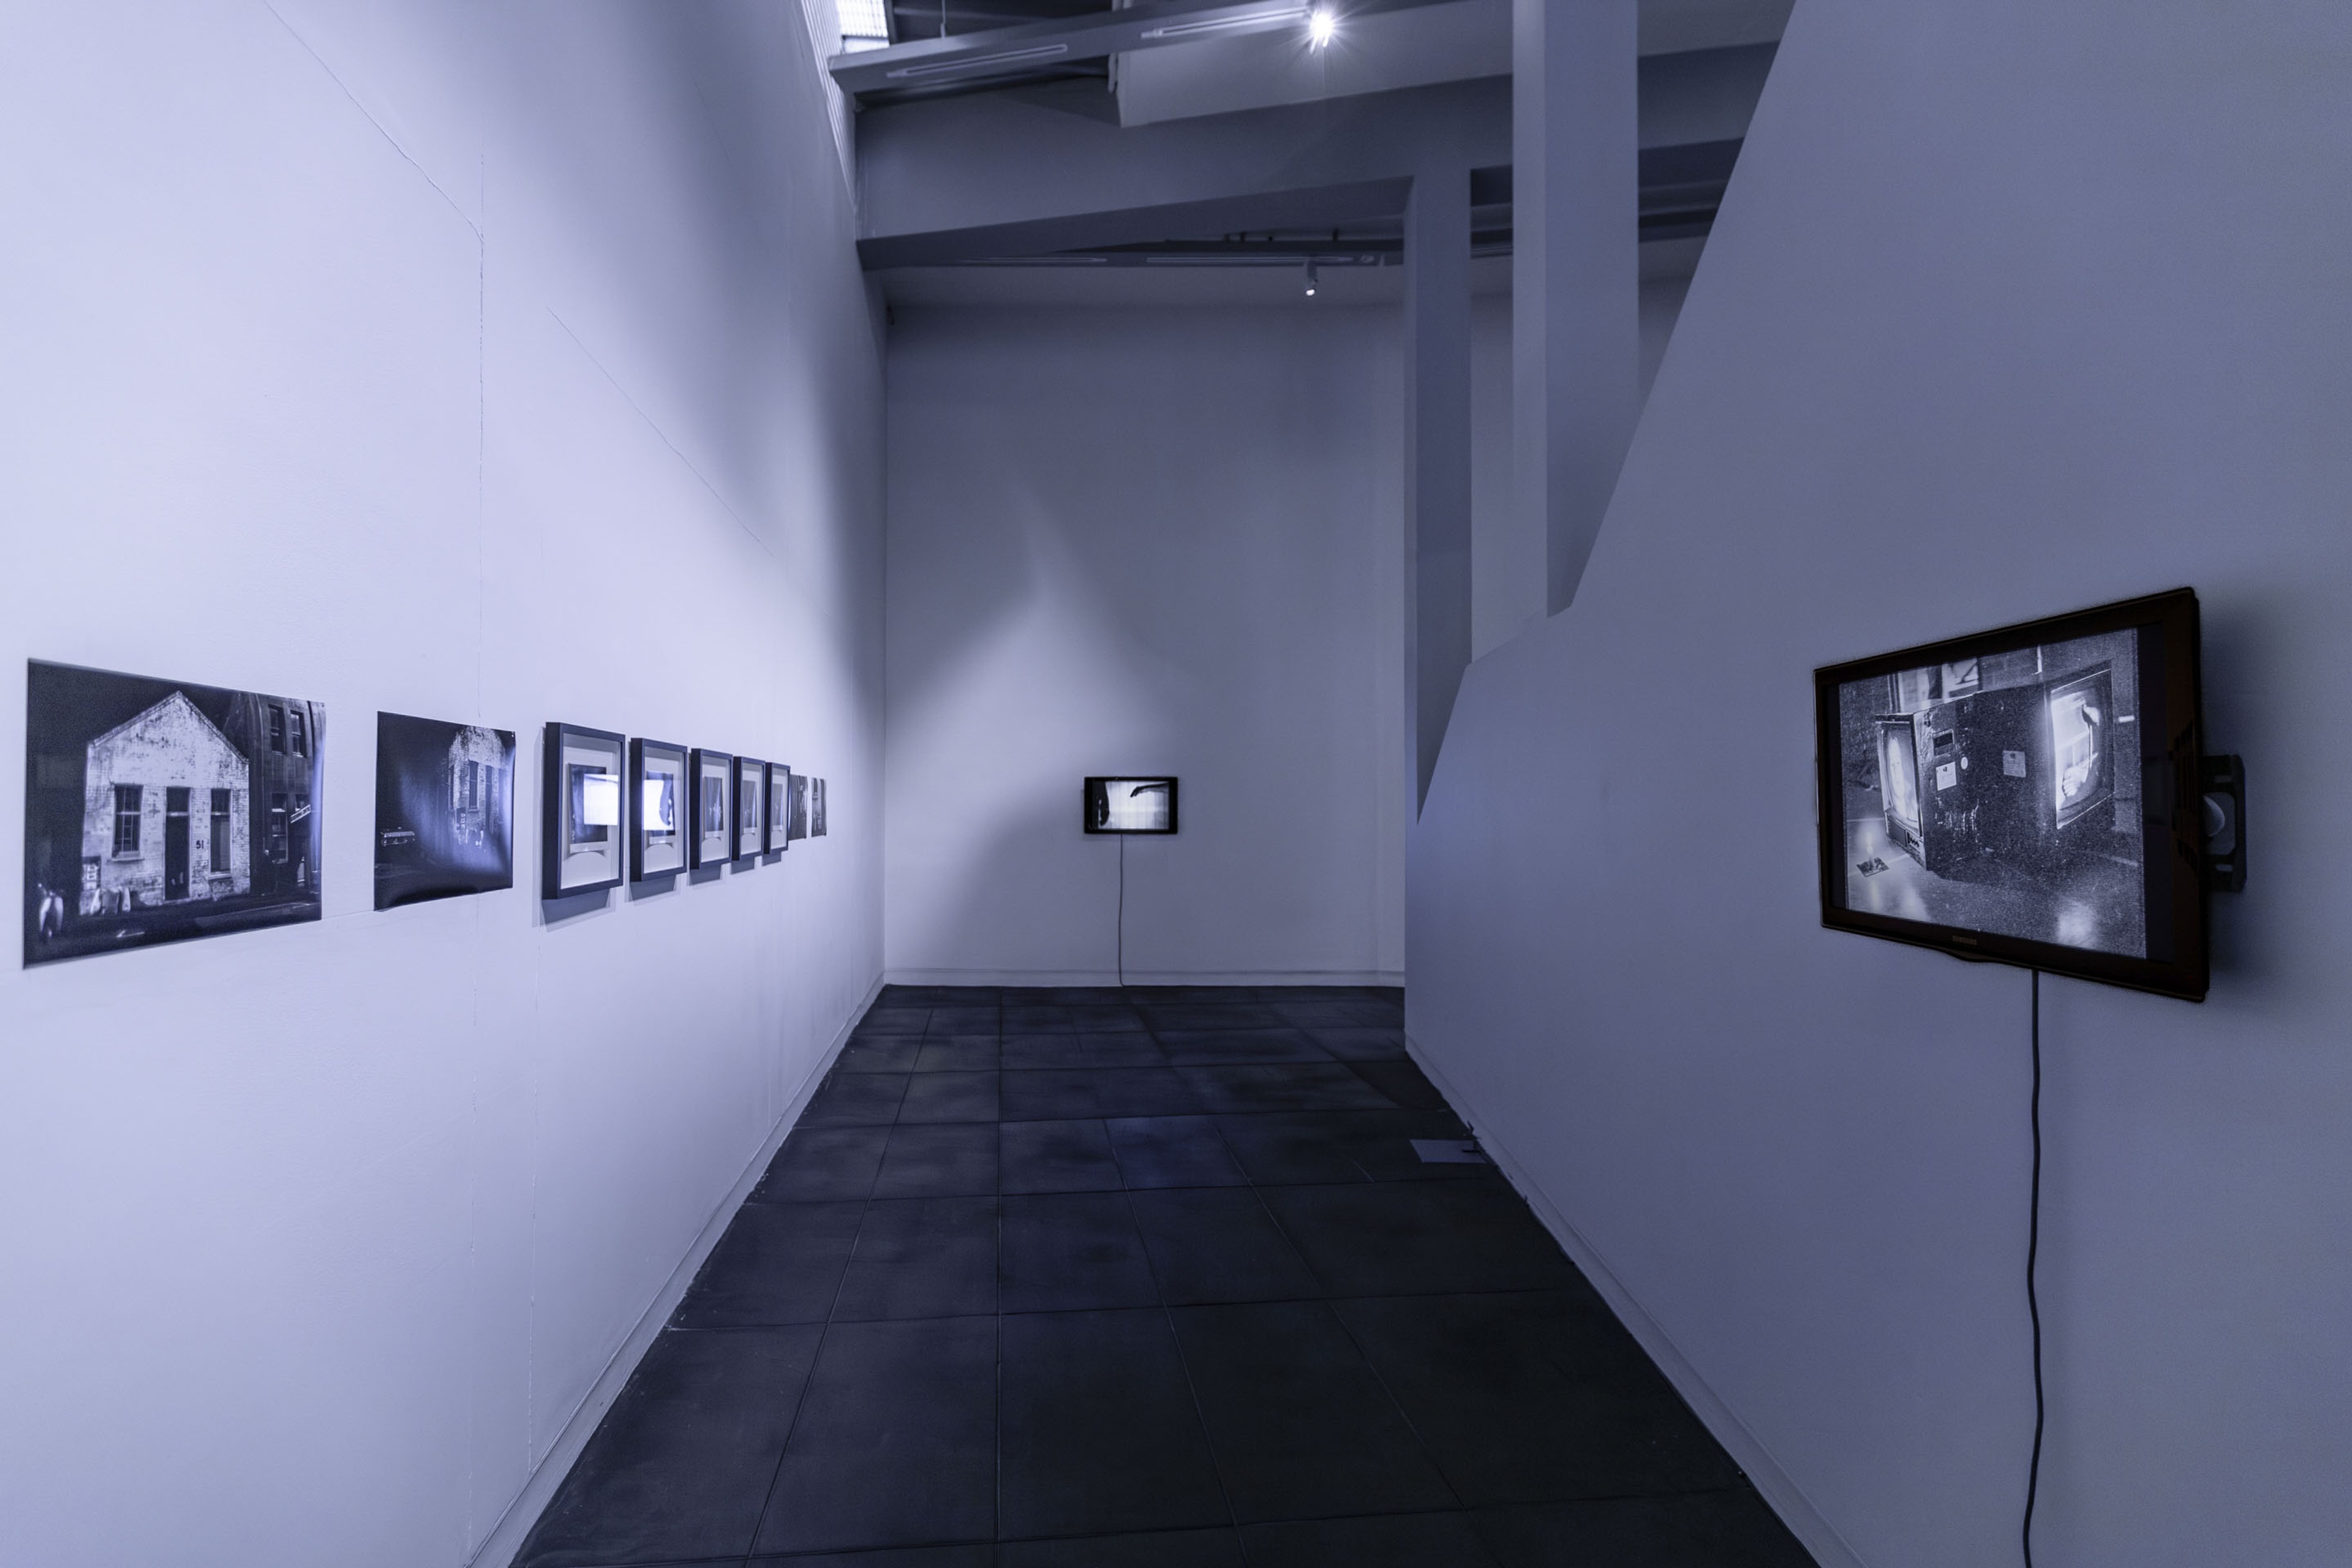
Peter Roche & Linda Buis, Night Piece, performance, 1980/2006, six black and white photographs by Peter Roche & Linda Buis transferred to digital, six text panels with writings by Wystan Curnow, Peter Roche & Linda Buis. In Relation: Performance Works by Peter Roche & Linda Buis 1979–1985, Te Pātaka Toi Adam Art Gallery, Te Herenga Waka—Victoria University of Wellington. Photo: Ted Whitaker
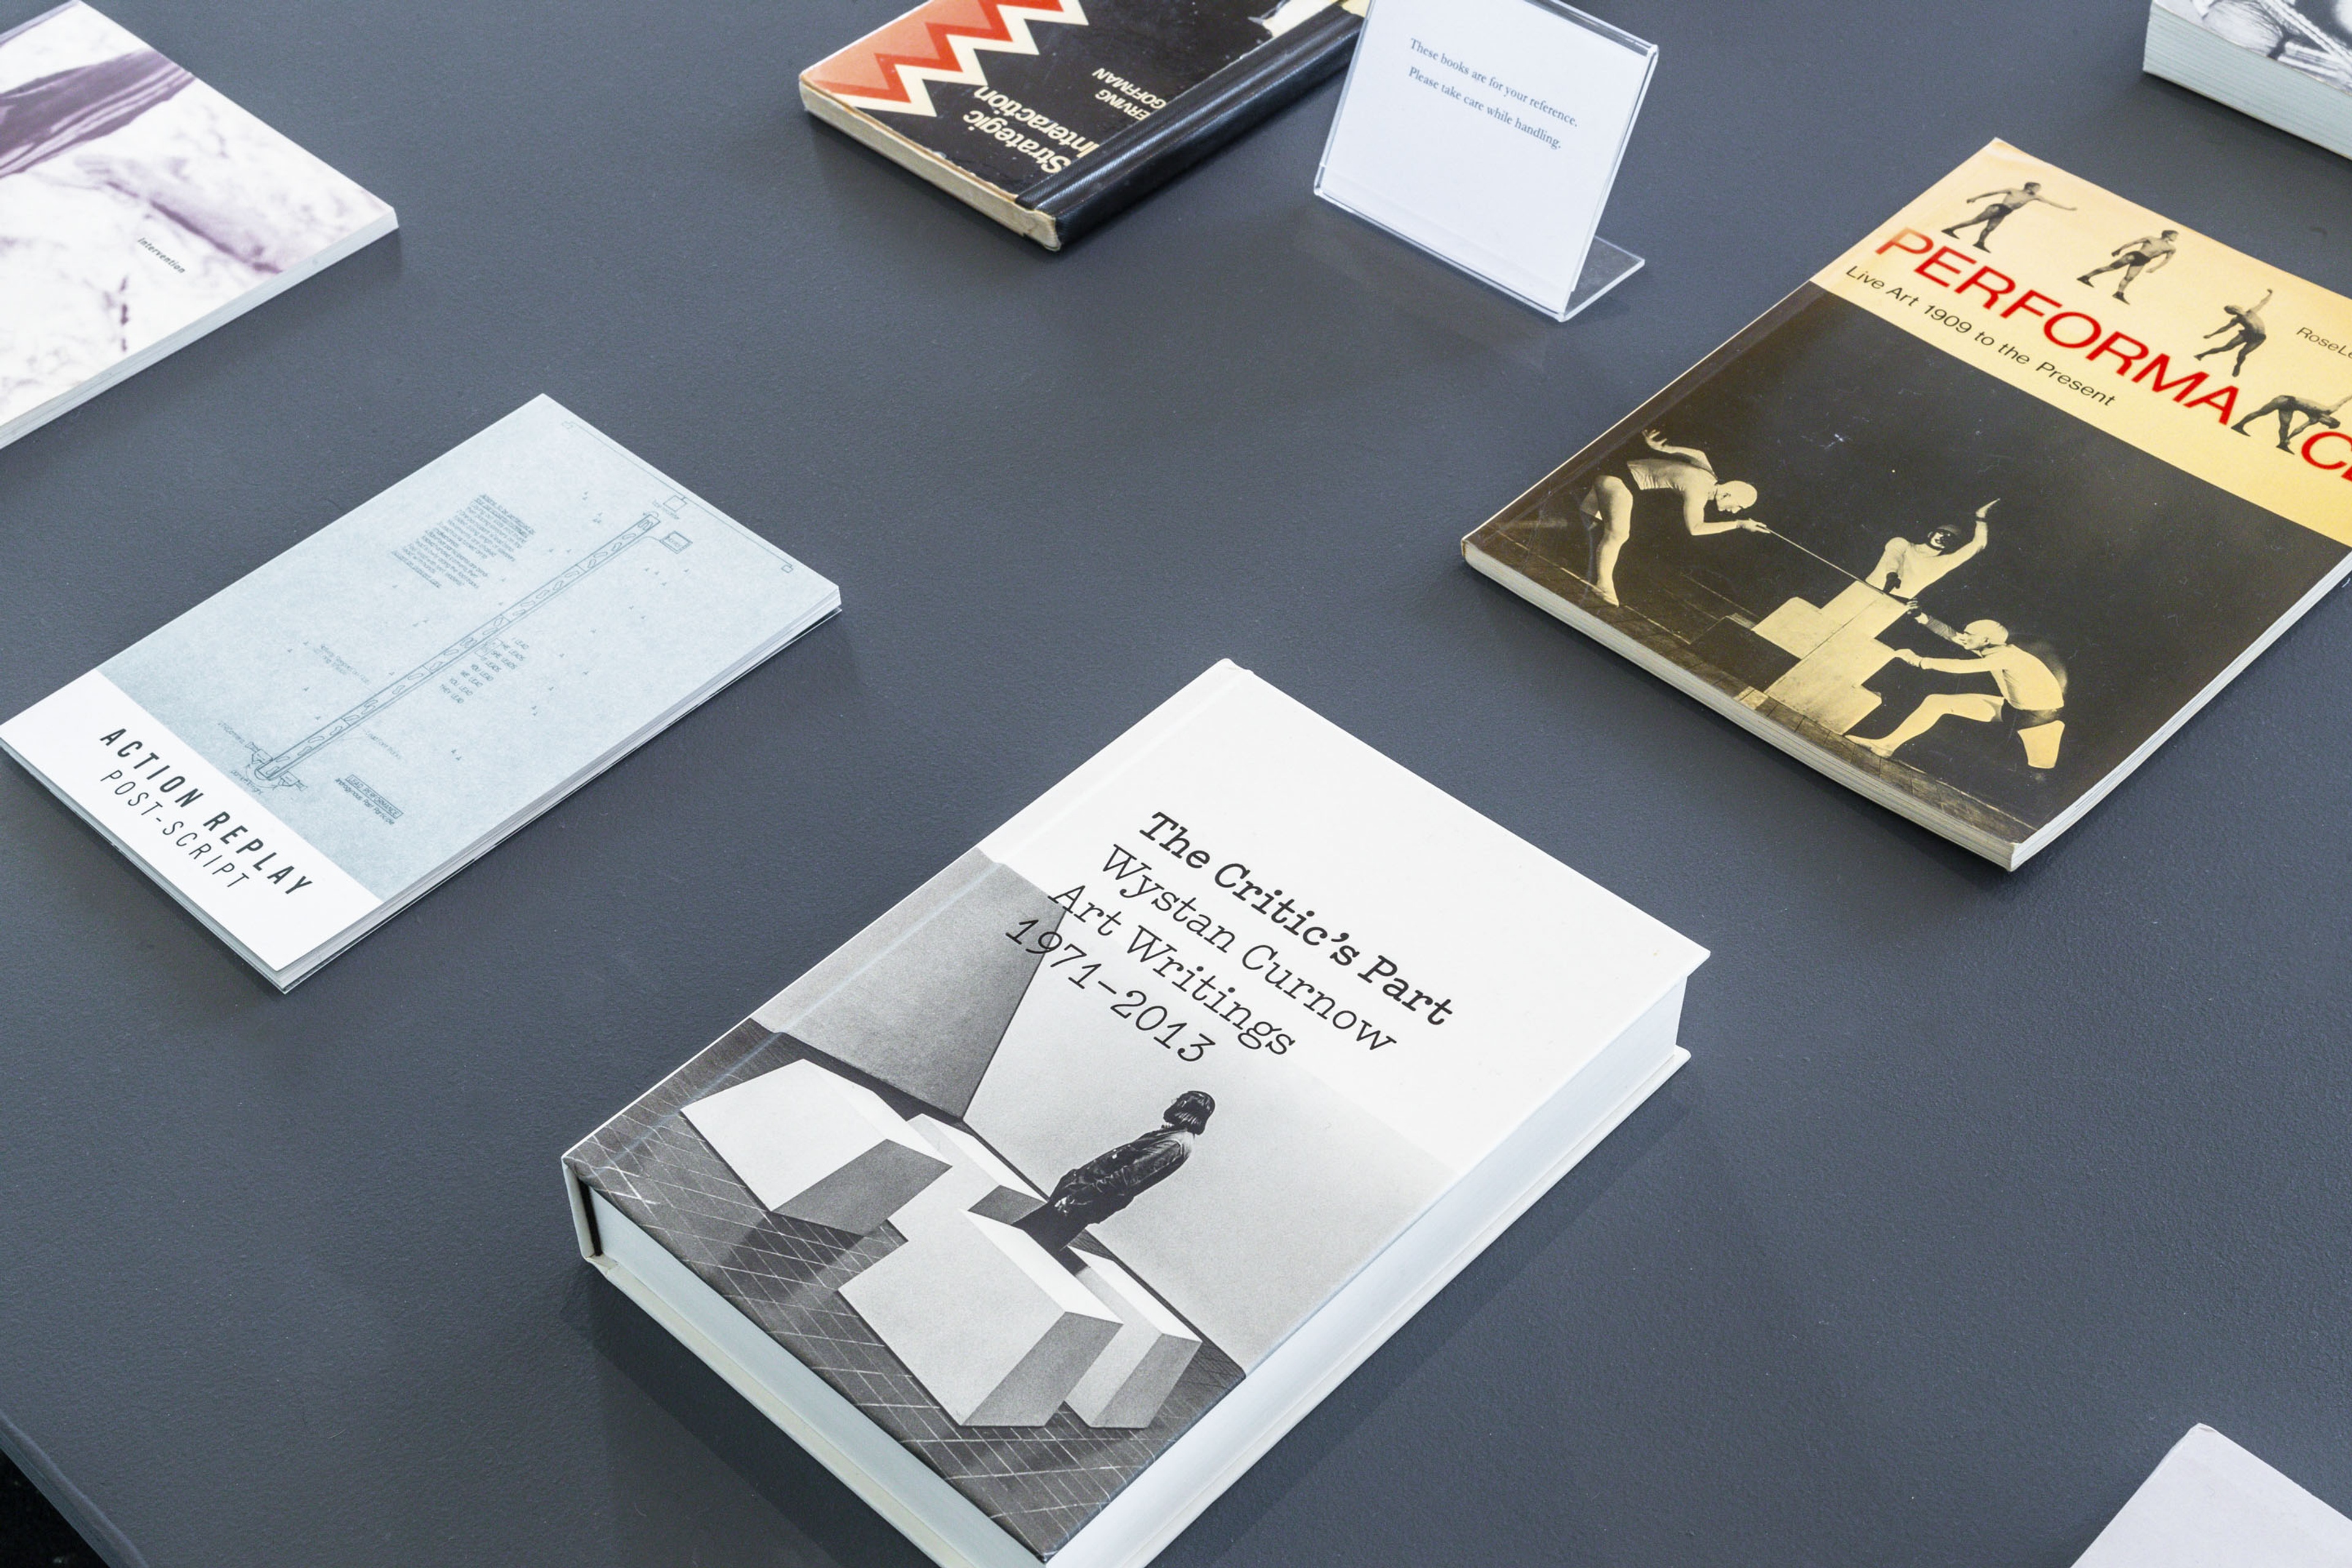
Reading table view, In Relation: Performance Works by Peter Roche & Linda Buis 1979–1985, Te Pātaka Toi Adam Art Gallery, Te Herenga Waka—Victoria University of Wellington. Photo: Ted Whitaker